When To Grease Baking Pans: Best Timing And Tips
Grease pans when baking sticky, high-fat, or delicate batters and when recipes instruct.
I’ve baked for over a decade, tested dozens of pans, and taught baking classes. This guide explains when to grease baking pans with clear rules, why it matters, how to do it, and which pans or recipes can skip greasing. You’ll get step-by-step tips, real mistakes I made, and easy swaps so your cakes and breads release perfectly every time.

When to Grease Baking Pans: Quick Rules
Grease pans when the batter or dough is likely to stick. This includes cakes with high sugar, moist breads, custards, cheesecakes, and sticky cookies. Greasing also helps with delicate shapes like angel food or bundt pans when the recipe asks for it.
Common cues for when to grease baking pans:
- Recipes that say grease, spray, or line the pan.
- Sticky batters such as pound cake, brownies, and cheesecakes.
- High-sugar items like caramel or sticky buns.
- Shallow pans and flat cookies that have little structure on their own.
A few recipes do not need grease. Sponge cakes and angel food often rely on pan texture to cling while rising. But most home baking benefits from at least a light coating.
Why Greasing Matters
Greasing creates a thin barrier between food and metal or glass. That barrier prevents sticking and preserves your bake’s shape. It also makes cleanup faster and reduces wasted food from broken or torn cakes.
Grease affects browning and crust. Too much grease can pool and cause soggy edges. Too little grease increases the chance of tearing or crumbling on release. A good balance keeps texture and appearance intact.
:max_bytes(150000):strip_icc()/GettyImages-72802100-5b34e927c9e77c00372af64c.jpg)
How to Grease Different Pans
Different pan materials and shapes call for different methods. Match the greasing method to the pan for best results.
Methods and uses:
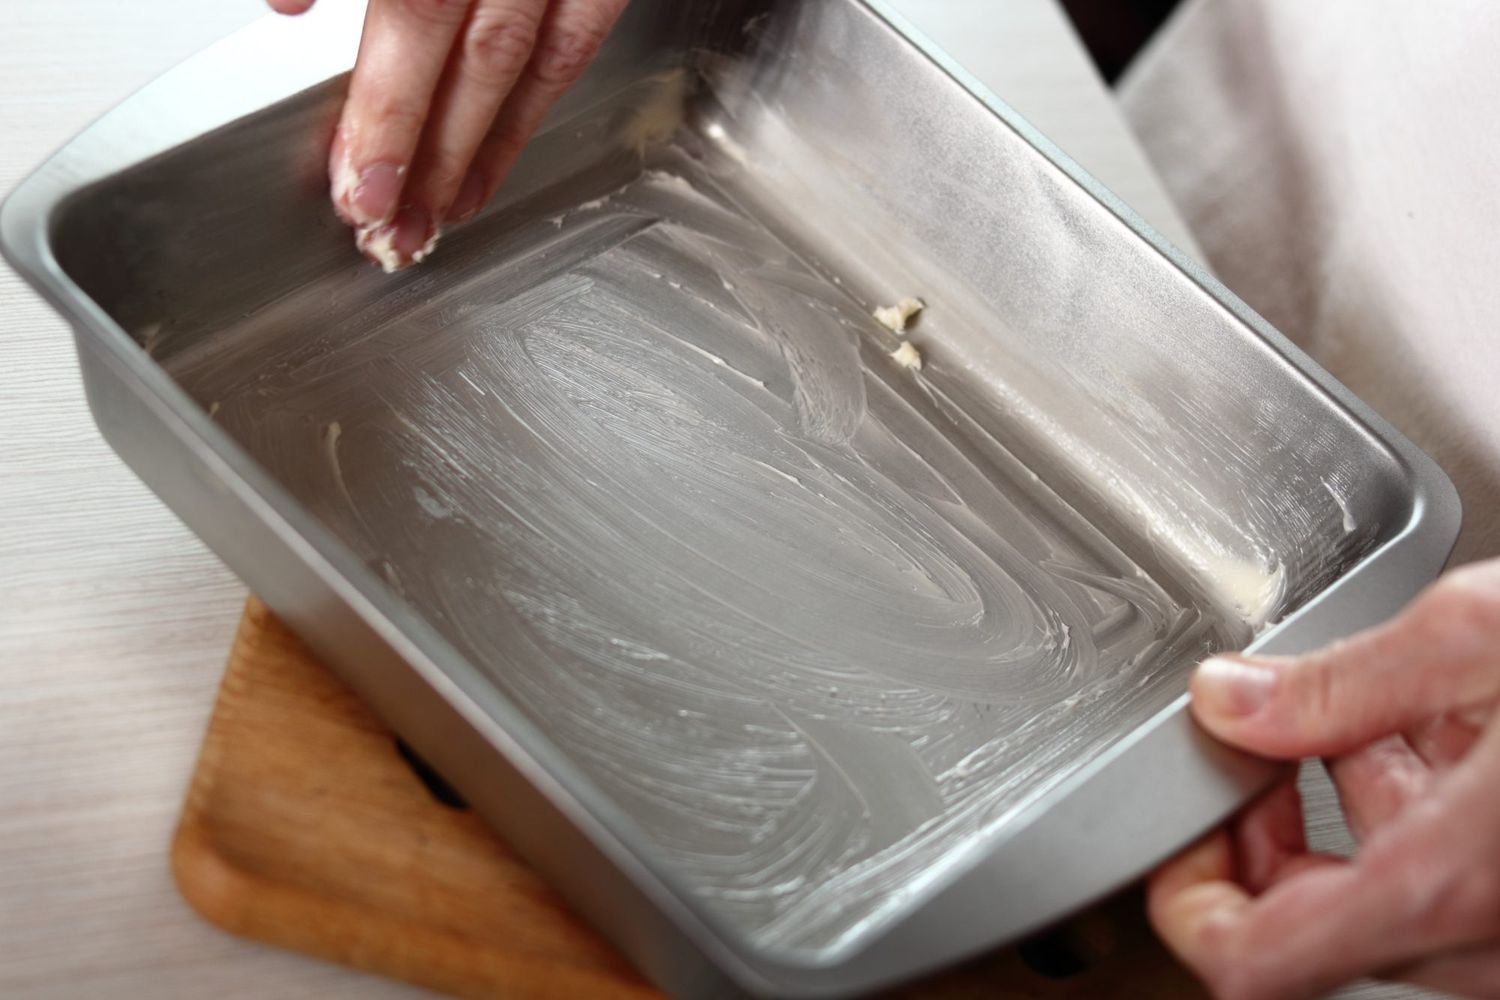
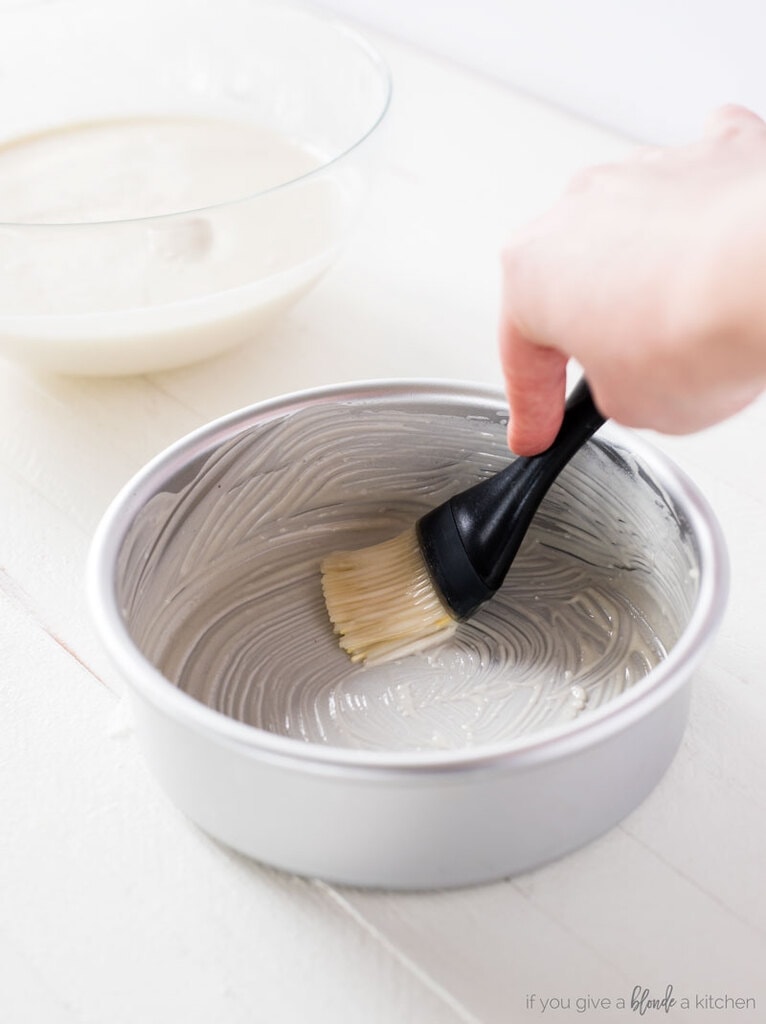
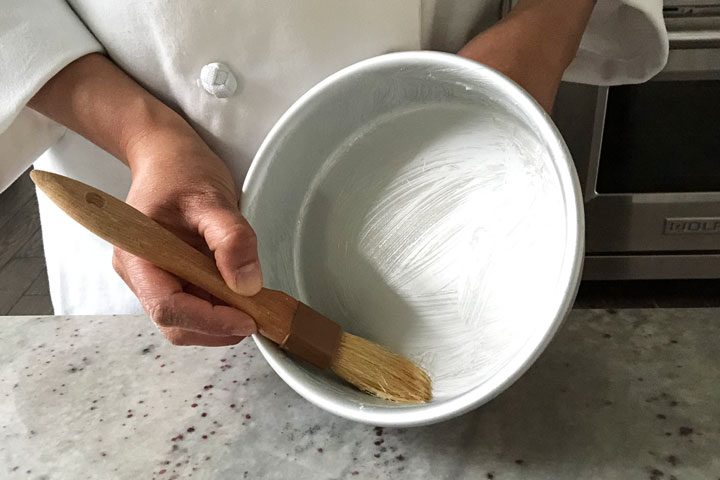
- Butter or shortening rubbed with a paper towel or pastry brush for a thin, even coat.
- Nonstick spray for an easy, even layer on sheet pans and loaf pans.
- Oil brushed on for high-heat bakes like quick breads or savory tarts.
- Flour after greasing for cakes and breads that need extra release; tap out excess.
- Parchment paper for sheet cakes and bars; grease then line for extra security.
Apply grease evenly and avoid puddles. For round cake pans, grease the bottom and sides. For bundt pans, use a pastry brush and get into every crevice. For glass and ceramic, reduce oven temperature by 25°F if the recipe suggests and stick to oil or shortening for release.

Greasing Alternatives and When to Skip
You can sometimes skip greasing or use alternatives. Choosing the right option saves time and keeps texture correct.
Alternatives and when to use them:
- Parchment paper used for brownies and layer cakes for perfect removal.
- Silicone mats or liners for sheet pan cookies and pastries.
- Dusting with cocoa powder instead of flour for chocolate cakes.
- Baking spray with flour for quick release on sticky recipes.
Skip greasing when:
- The recipe specifically says do not grease, as with some angel food cakes.
- You are baking on a silicone mat or well-seasoned nonstick pan.
- You are using a recipe that relies on batter gripping the pan for height, like some sponge cakes.

Common Mistakes and Troubleshooting
Avoid these common traps when deciding when to grease baking pans.
Frequent mistakes:
- Over-greasing which creates oily, uneven crusts and can cause soggy edges.
- Using flour on greasy chocolate cakes, which leaves white streaks. Use cocoa instead.
- Not greasing the sides of bundt pans; cakes will stick in narrow crevices.
- Removing pans too soon. Even if greased, let the cake rest for a few minutes to firm up before loosening.
If a cake sticks badly, cool briefly, run a thin knife around the edges, and invert gently over a warm plate. For minor sticking, freeze the pan for 10–15 minutes to firm the cake, then release.
Tips from My Baking Experience
I learned the hard way that "grease and flour" is not one-size-fits-all. Once I made a chocolate layer cake with standard flour dusting and got white streaks. Lesson learned: use cocoa on chocolate cakes.
Simple habits that helped me:
- Always read the recipe heading and notes before deciding whether to grease.
- Use a pastry brush for bundts and detailed pans.
- Test release by tapping the pan gently after cooling; if it pops, it’s good.
- Keep a small stash of parchment cutouts for common pan sizes.
These small habits save time and prevent crushed cakes on party day. They also reduce waste and stress.
Frequently Asked Questions of when to grease baking pans
How do I know if a recipe needs greasing?
If the recipe instructs to grease, do it. If it does not mention greasing, check the type of pan and stickiness of the batter; high-sugar or dense batters usually need grease.
Can I use nonstick spray instead of butter?
Yes. Nonstick spray is quick and even. For best results on cakes, choose a spray with flour or follow with a light dusting of flour or cocoa for chocolate cakes.
Should I grease glass or ceramic pans differently?
Use oil or shortening rather than butter for glass and ceramic to avoid uneven browning. Be mindful that glass can heat faster; some recipes suggest lowering temperature slightly.
Is parchment paper enough on its own?
Parchment alone is often enough for brownies, bars, and sheet cakes. For extra security, grease the pan then add parchment to prevent shifting.
What do I do if a cake sticks despite greasing?
Cool the cake briefly, run a thin knife around the edges, and invert onto a plate. If still stuck, chill the pan for 10–15 minutes to firm the cake, then try again.
Conclusion
Greasing pans is a simple step with big payoff. Know when to grease baking pans by checking the recipe, batter type, and pan material. Use the right method—butter, oil, spray, flour dusting, or parchment—to protect texture and ease release.
Try one new greasing tip on your next bake. Notice the difference and adjust to your pans. If this guide helped, leave a comment, share your go-to method, or subscribe for more practical baking tips.