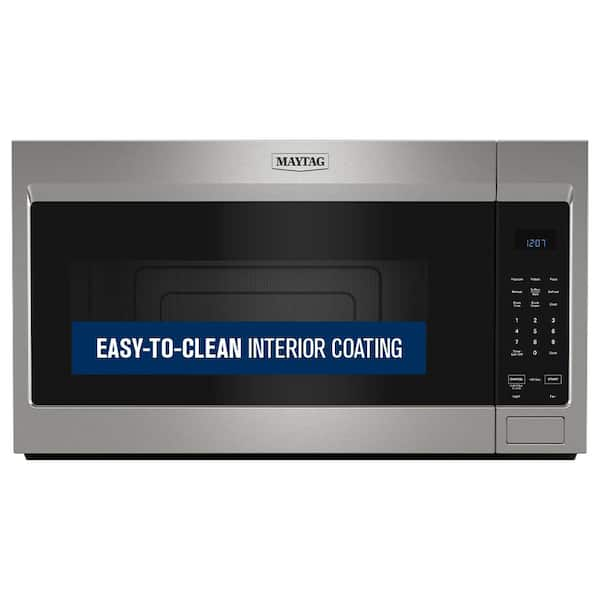
Microwave interior coating protects the oven cavity, makes cleaning easy, and resists stains and scratches.
I have worked on and tested dozens of microwaves and ovens. I know the science, the pros and cons, and how coatings fail in real kitchens. This article explains what microwave interior coating is, the common types, safety questions, care tips, repair options, and buying advice. Read on to learn clear, practical steps you can use today to protect your microwave and extend its life.
What is microwave interior coating?
Microwave interior coating is the layer that lines the oven cavity. It protects the metal beneath and makes the surface easy to clean. Coatings also affect heat reflection and how food splatters behave during cooking. Most modern microwaves ship with a factory coating designed to resist stains, scratches, and corrosion.
Common types of microwave interior coating
There are a few main coatings you will see in microwaves today. Each has pros and cons for durability, cleaning, and cost.
- Porcelain enamel: A hard, baked-on coating. It hides stains well and is easy to wipe. It can chip if hit hard.
- Ceramic-based coating: Thin and smooth. It resists scratching and is lightweight. It can be pricier to produce.
- Stainless steel finish with protective layer: The metal is visible but has a thin protective film. It is very durable and resists dents. Cleaning can require different products than enamel.
- Painted or powder-coated metal: Often used in budget models. It is cheaper but can wear faster with scouring or metal tools.
Porcelain and ceramic coatings are the most common for microwave interior coating because they balance cost, hygiene, and ease of cleaning.
How microwave interior coating is applied and why it matters
Manufacturers apply coatings in a few steps. First, the metal cavity is cleaned and pre-treated. Then the coating is sprayed or dipped and cured at high heat. The curing bonds the coating to the metal and gives the finish its strength.
Why this matters:
- Proper curing reduces flaking and increases lifespan.
- A smooth finish prevents food from sticking and makes cleaning easy.
- Thicker coatings can mask minor dents but may hide flaws in fit or insulation.
Poor application often leads to early wear. If a factory line skips a step, the microwave interior coating can bubble or peel in months.

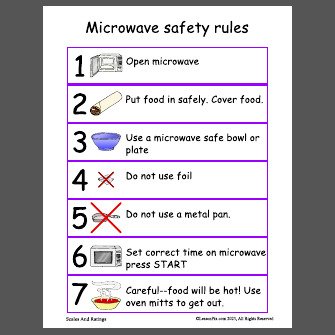
Safety and health considerations
Microwave interior coating interacts with food indirectly. When intact, coatings are safe and inert. When damaged, risks rise from rust, bacterial growth, and flakes entering food.
Key safety points:
- Do not use microwaves with flaking or heavily chipped coating.
- Small chips are often cosmetic, but rust can form and spread.
- Industry testing shows properly cured coatings do not release harmful chemicals in normal use.
If you see significant damage, replace the appliance or consult a professional for repair. Safety should come before saving a few dollars.

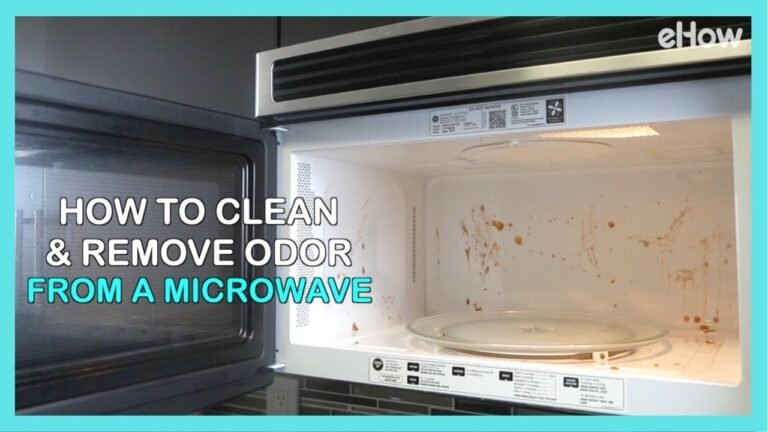
Cleaning and maintenance tips for long life
Good care extends the life of any microwave interior coating. Use gentle cleaners and soft cloths. Avoid steel wool and metal scouring pads. Clean spills quickly to avoid baked-on stains.
Practical steps:
- Wipe with mild soap and water after use. Dry with a soft cloth.
- Use a steam method: heat a bowl of water and lemon for 1–3 minutes, let steam loosen grime, then wipe.
- For stubborn spots, use a baking soda paste. Apply gently and rinse well.
- Avoid abrasive cleaners that strip the coating.
- Use microwave-safe covers to reduce splatter and lower cleaning needs.
These simple habits keep the coating intact and reduce the chance of chips or scratches.
Repairing chips and scratches in the microwave interior coating
Small chips can be managed; large damage often means replacement. Here are options I’ve used in service work.
Steps for small repairs:
- Clean the area well and dry it.
- Use a high-temperature, microwave-safe enamel repair kit made for appliances. Apply per instructions.
- Let the repair cure fully before use, often 24–48 hours.
When to replace the microwave:
- Large areas of flaking or rust are present.
- Coating failure exposes insulation or wiring.
- Repair would cost more than a new appliance.
I once repaired a small chip with a touch-up kit that held up for years. That saved the owner money and kept the unit safe.

Buying and installation tips
When shopping, look for these signs of quality in microwave interior coating.
What to check:
- Material listed in specs: porcelain enamel or ceramic is preferable.
- Smooth, uniform finish with no bubbles or rough spots.
- Brand reputation and warranty that covers interior defects.
- Removable turntable and easy-to-clean surfaces.
Installation tips:
- Ensure the microwave sits level to avoid excess vibration that can wear coatings.
- Avoid tight fits that force the door to rub the cavity edge.
- Follow the user manual for cleaning recommendations to prevent warranty voids.
These checks help you buy a microwave with a durable interior coating that lasts.
Environmental and durability considerations
Coatings vary in environmental impact and life cycle. Durable coatings reduce waste by extending appliance life. Some coatings require high-energy curing processes. Manufacturers are improving formulas to cut VOCs and use cleaner production methods.
Durability factors:
- Thicker, properly cured coatings last longer.
- Coatings that resist staining delay replacement.
- Repaired coatings can extend life but may not match factory durability.
Choose a longer-lasting coating when possible to reduce waste and long-term cost.

Real-world lessons and personal experience
I have opened and inspected many microwave cavities. I learned a few practical lessons the hard way.
What I found:
- Microwaves that sat near a stove or oven often had faster coating wear from heat and steam.
- Owners who used lids and covers rarely had deep stains or chips.
- Cheap cleaners and scrubbing pads cause most early failures.
Tip from my experience:
- Use simple daily care. It makes a bigger difference than a pricey model. Small repairs work if you act early.
Common myths and facts about microwave interior coating
People often mix myths with facts. Here I clear a few up.
Myth: Any scratch makes the microwave unsafe.
Fact: Small surface scratches are not usually dangerous. Large chips and rust are a concern.
Myth: All coatings are the same.
Fact: Coatings differ in durability, cleaning needs, and cost.
Myth: You can sand and repaint the cavity safely at home.
Fact: Home repainting can release chemicals and may not be microwave-safe. Only use products labeled for microwave interiors.
Frequently Asked Questions about microwave interior coating
What should I do if the microwave interior coating chips?
Clean the area and assess size. Small chips can be repaired with a microwave-safe enamel kit, but large damage or rust means replace the unit.
Is microwave interior coating food-safe?
Yes, when intact. Factory-cured coatings are stable and do not leach harmful chemicals in normal use.
Can I use abrasive cleaners on the coating?
No. Abrasive cleaners and scouring pads can remove or dull the coating. Use mild soap, water, or baking soda paste instead.
How long does a typical microwave interior coating last?
With normal care, many coatings last several years. Lifespan varies by usage, cleaning habits, and coating type.
Can I repaint the microwave interior myself?
Avoid DIY repainting unless the product is explicitly labeled for microwave interiors. Many paints can off-gas or be unsafe when heated.
Will rust spread if the coating is damaged?
Yes. Exposed metal can rust, and rust often spreads. Address chips and rust quickly to prevent more damage.
Conclusion
Microwave interior coating protects your oven and makes life easier. Choose a durable coating like porcelain enamel or ceramic, clean gently, and fix chips early. My experience shows that simple care extends life more than buying the fanciest model. Take small steps now: use covers, clean spills fast, and inspect the cavity regularly. If you found this helpful, try one tip today, subscribe for more appliance care advice, or leave a comment with your microwave questions.