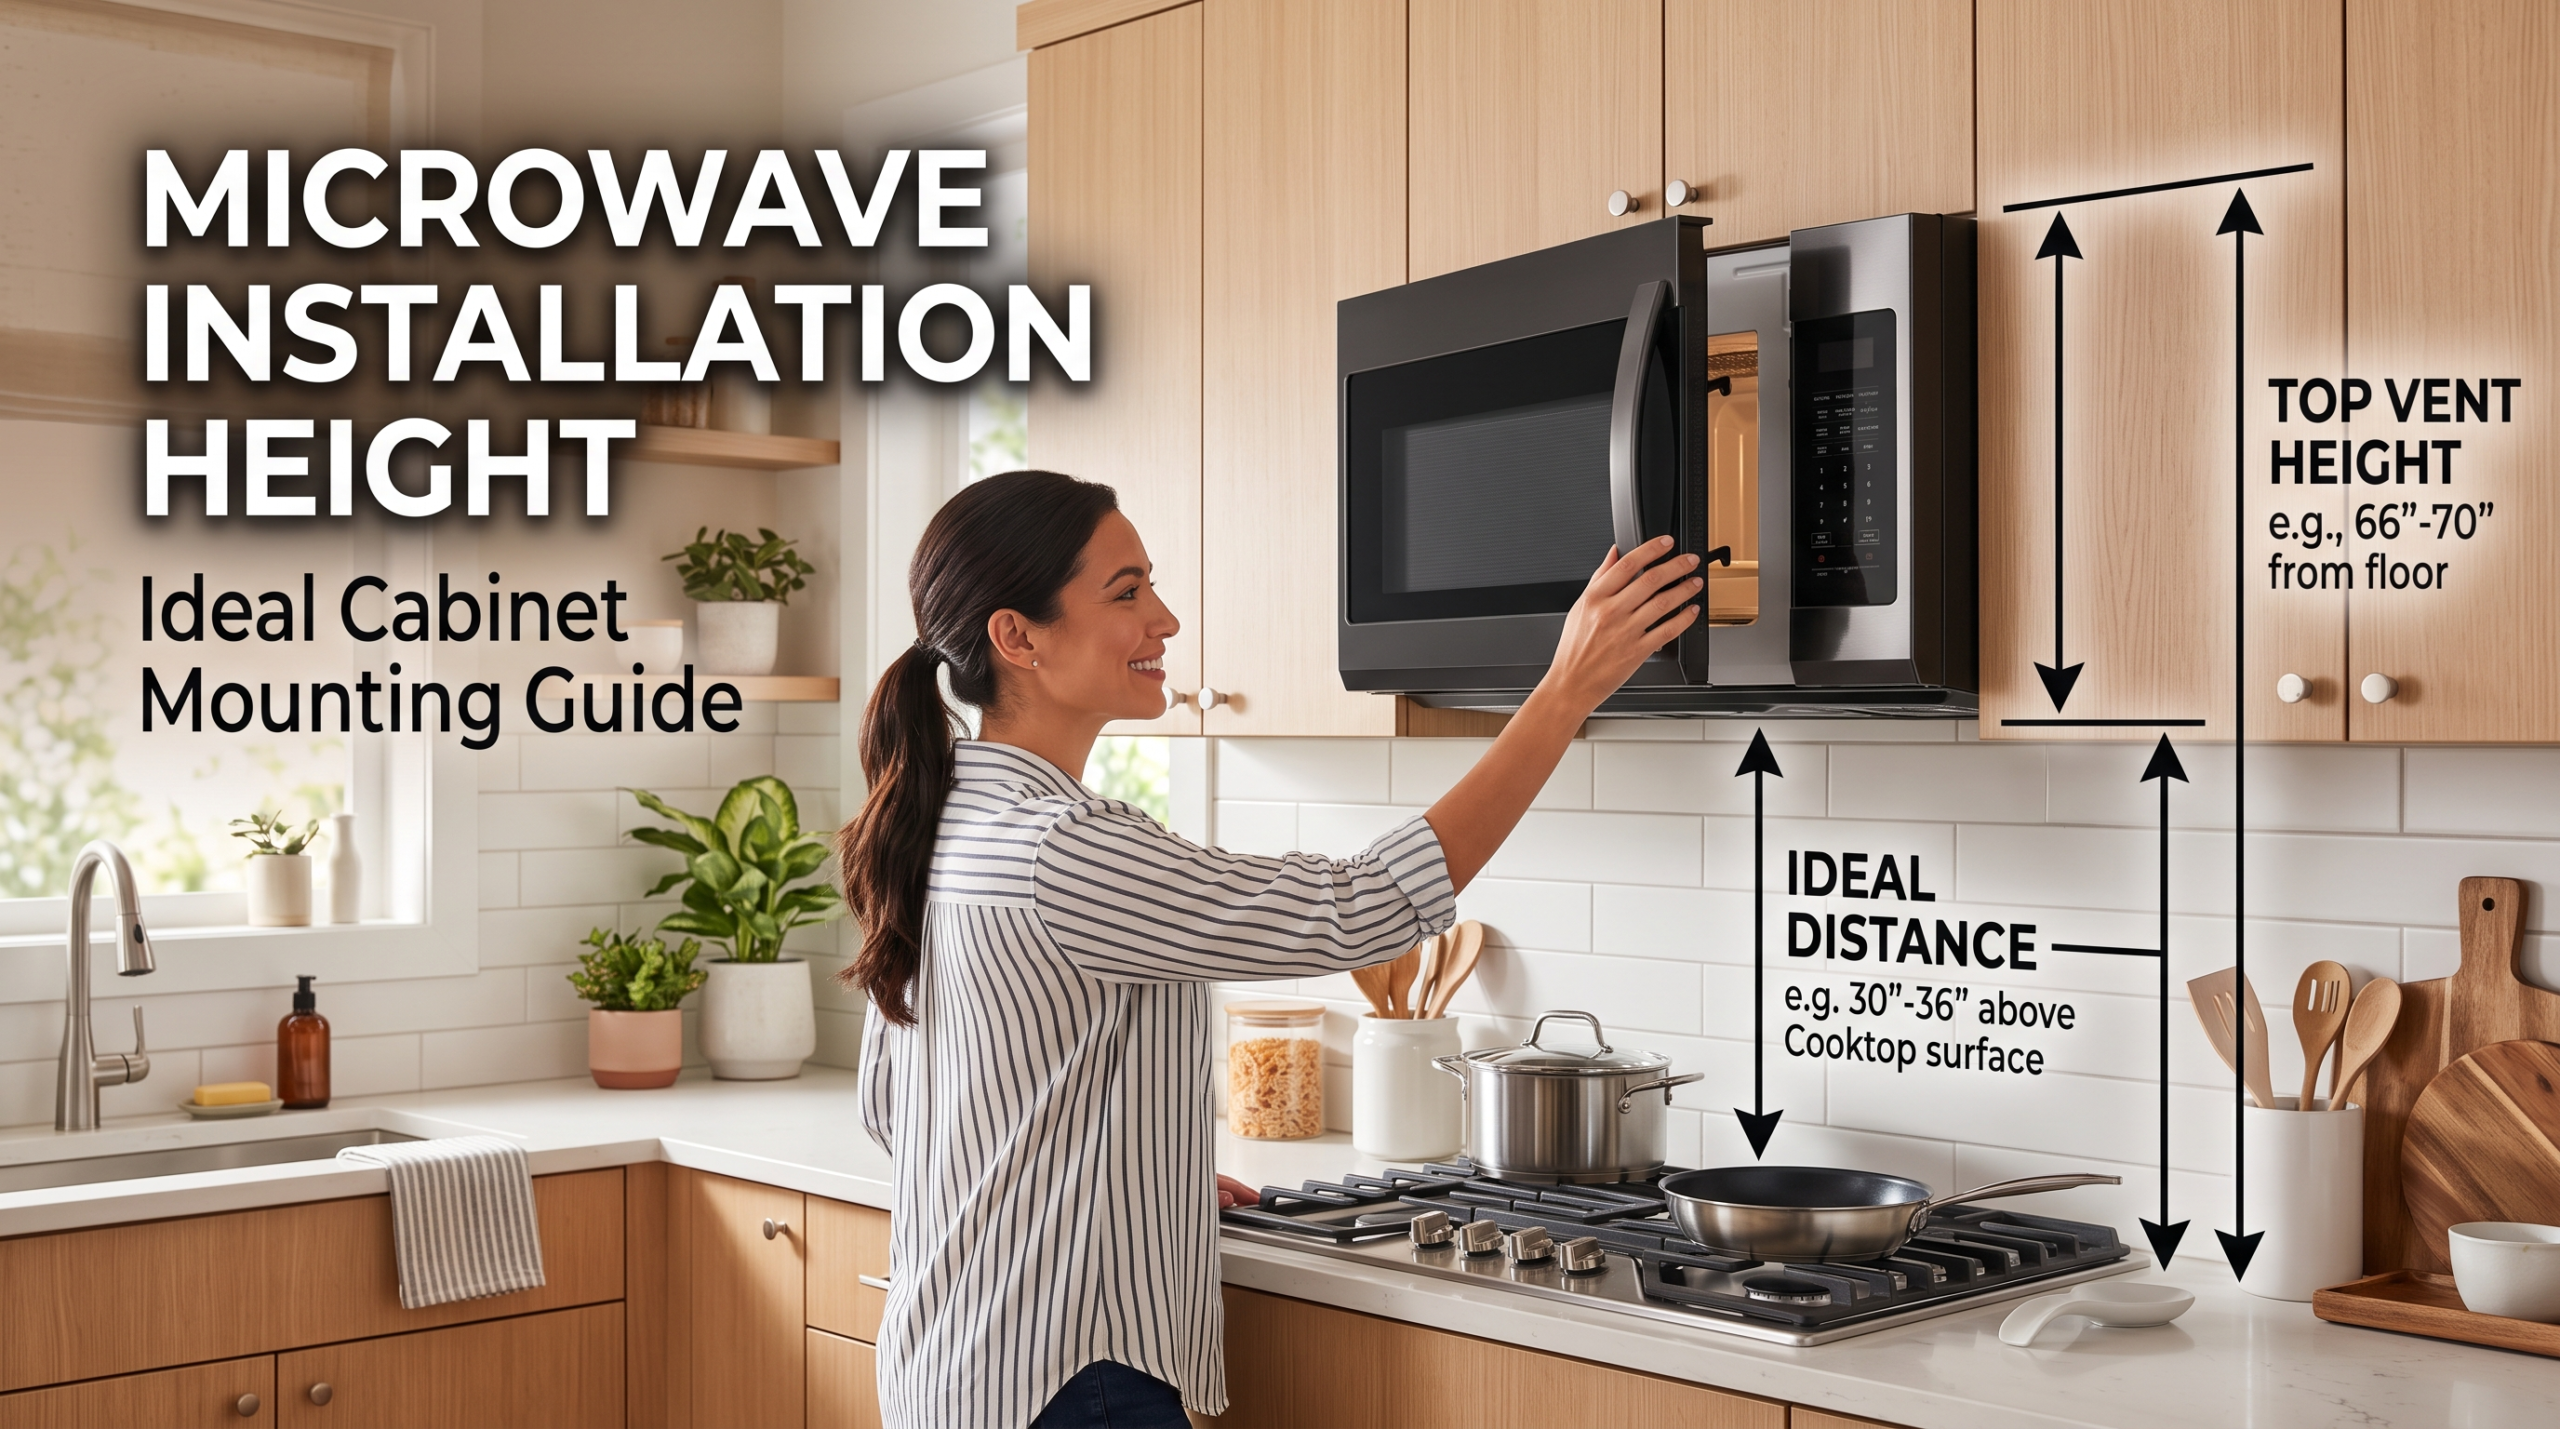
Microwave Installation Height: Ideal Cabinet Mounting Guide
Mount your microwave between 15 and 18 inches above the countertop for most standard installs.
I’ve installed dozens of kitchens and advised homeowners and designers on safe, practical microwave installation height. This guide explains clear rules, real-world tips, and measurements you can trust. Read on to learn the right microwave installation height for your setup, how to measure, and how to avoid costly mistakes.
Why microwave installation height matters
Microwave installation height affects safety, comfort, and performance. Too low and it wastes counter space. Too high and it becomes hard to reach, especially with hot dishes.
Proper height also affects venting and airflow. A poorly placed microwave can block a hood vent or trap heat. I’ve seen units that overheat because clearances were ignored.
Correct height improves kitchen flow. It makes cooking faster and reduces spills and burns. Good placement is both functional and thoughtful.

Recommended installation heights and measurements
Here are common guidelines for microwave installation height by type. Use these as starting points and always check the manufacturer instructions.
- Countertop microwave
- Place on the counter. No special mount needed. Keep at a comfortable reach, usually 15 to 20 inches above the floor if placed on low surfaces.
- Over-the-range microwave (above cooktop)
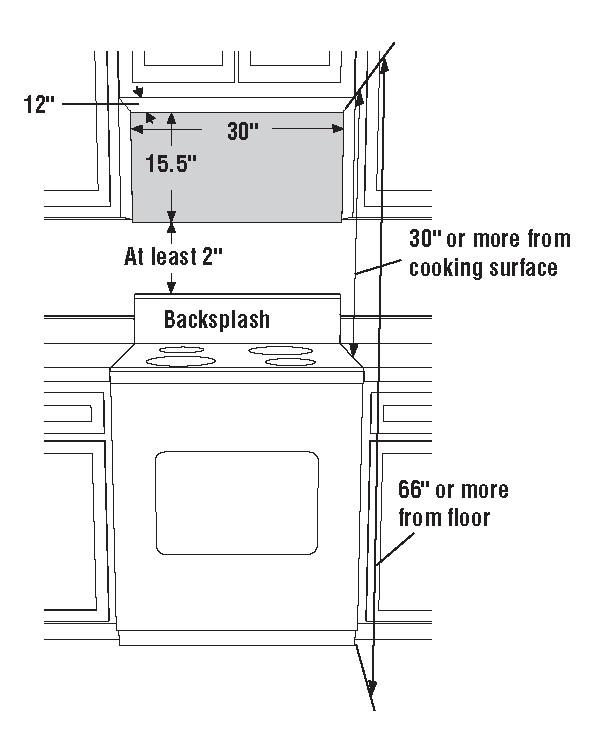
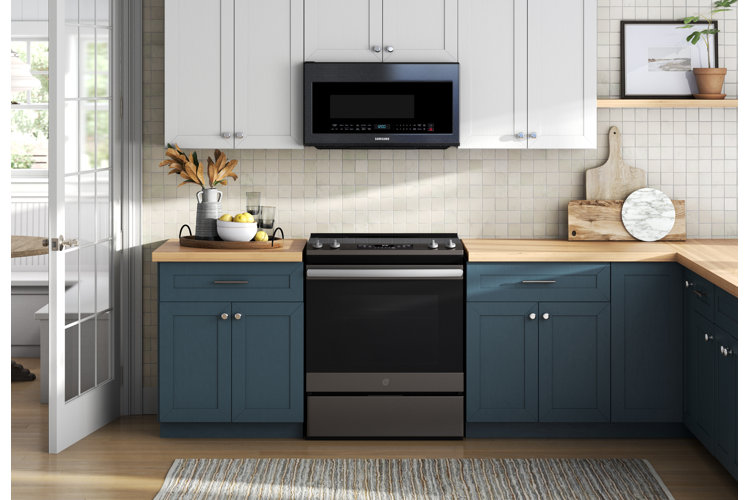
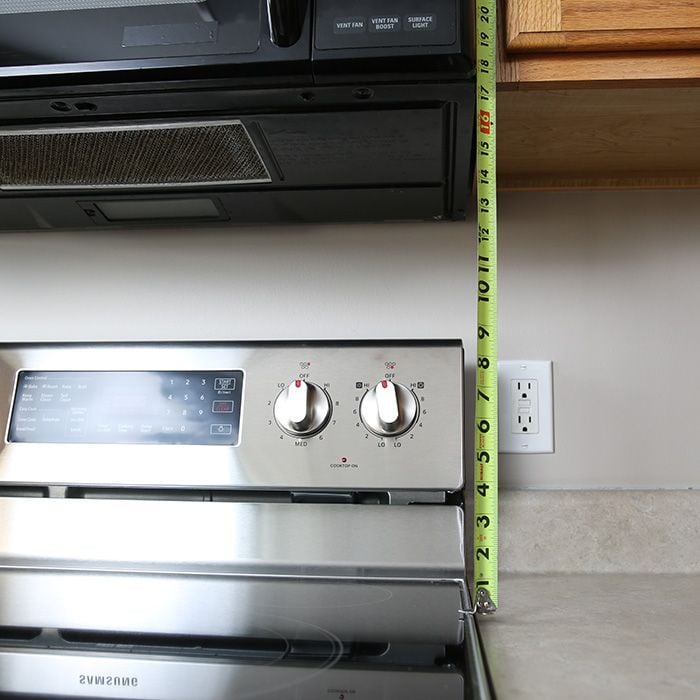
- Typical range of microwave installation height: 13 to 30 inches above the cooktop. Many manufacturers recommend 13 to 18 inches for electric ranges. Allow greater clearance for gas ranges or high-heat cooking.
- Built-in microwave (wall or column)
- Eye-level installs usually place the center or bottom of the unit between 36 and 48 inches above the finished floor. Aim for easy reach for the primary user.
- Under-cabinet or above-drawer microwave
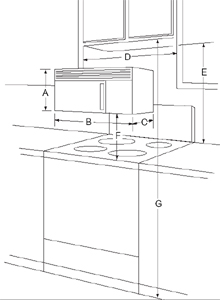
- Keep sufficient clearance for door swing and ventilation. A 2 to 3 inch gap behind and above can help airflow.
Examples to help choose a number:
- If you cook on a standard electric range, 15 inches from the cooktop to the bottom of the microwave is common.
- For a wheelchair-accessible setup, target a bottom height below 48 inches from the floor.
How to measure and install your microwave
Follow these simple steps for accurate placement and a safe install.
- Measure the countertop to finished-floor height. This sets a reference.
- Check your microwave’s manual for required clearances. Manufacturer specs override general rules.
- Mark the mounting height on the wall or cabinet face. Use a level and pencil.
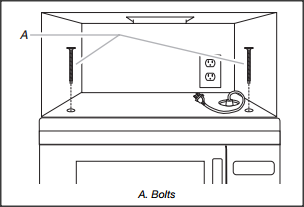
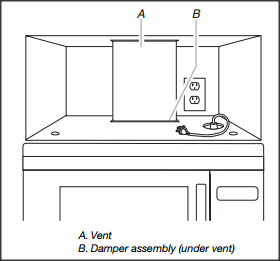
- Verify venting path and power location. Ensure the outlet and vent align with the microwave.
- Drill pilot holes and mount the bracket or cabinet supports. Use anchors rated for the microwave weight.
- Lift the microwave into place with a helper. Secure with screws and test the door and ventilation.
Keep measurements short and double-check before drilling. A precise template from the manufacturer speeds the process.
Venting, clearance, and local code considerations
Venting rules affect microwave installation height. Over-the-range microwaves often vent down or out. That changes the optimal distance above the stove.
Local building codes and fire codes can set minimum clearances. These codes vary. Always check local rules before installing above a cooktop.
Manufacturer instructions are the final word. They specify the minimum clearance and ventilation needs. Ignoring those specifications can void warranties and create hazards.
Design, accessibility, and ADA considerations
Accessibility should guide microwave installation height. For universal design, plan for multiple users and abilities.
Simple accessibility rules:
- Aim for a bottom height no higher than 48 inches from the finished floor for a forward reach. This helps wheelchair users and shorter people.
- Provide at least 15 inches of clear countertop space for landing hot dishes.
- Ensure the control panel is reachable and visible without needing to lift heavy items above shoulder height.
Design balance matters. Place the microwave where it’s useful but not dominant. Good spacing makes the kitchen look intentional and feel easy to use.

Common mistakes and safety considerations
Avoid these frequent errors during microwave installation height planning.
- Ignoring manufacturer clearances. This risks overheating and voids warranties.
- Placing the unit too high. This increases spill and burn risk when removing hot items.
- Blocking exhaust vents. Poor airflow reduces efficiency and increases fire risk.
- Weak mounting. Use proper anchors and supports for the microwave weight.
- Forgetting nearby cabinets. Doors and handles can collide if spacing is tight.
Safety tip from experience: test reach with a full plate before finalizing height. You’ll notice awkward reaches that drawings do not show.
Tools, materials, and cost estimates
Here’s what you’ll likely need and the costs to expect.
- Tools
- Tape measure, level, drill, stud finder, screwdrivers, utility knife.
- Materials
- Mounting bracket, anchors, screws, venting kit (if needed), electrical outlet or hardwire kit.
- Cost ranges
- Basic mounting hardware and tools: $20 to $80.
- Professional installation: $100 to $300 depending on complexity.
- Venting changes or electrical upgrades: $150 to $600 or more.
Budget extra for surprises like missing studs or nonstandard cabinet construction. A professional can help when structural changes or electrical work is required.
Personal experience and lessons learned
I once installed a microwave too high in a rental kitchen to match a cabinet line. The tenant could not reach the controls comfortably. We lowered it and added a small step shelf for safety.
Lessons I learned and share now:
- Always mock up the height with cardboard or tape first.
- Have a helper lift the unit to feel the real weight and reach.
- Prioritize safety over symmetry. A slightly lower microwave is safer than a perfectly aligned one.
These small checks save time and money. They also keep your kitchen functional for everyone.
Frequently Asked Questions of microwave installation height
How high should a microwave be above a stove?
Most manufacturers recommend 13 to 30 inches above the stove, depending on the model and stove type. Check your microwave manual and local code before installing.
What is the standard microwave installation height above the countertop?
A common range for over-the-countertop placement is 15 to 18 inches above the countertop. Built-in or wall-mounted units may sit higher for eye-level use.
Can I install a microwave too high?
Yes. Installing a microwave too high increases the risk of spills and burns when removing hot items. It also makes controls harder to reach.
Do I need a venting clearance for an over-the-range microwave?
Yes. Over-the-range microwaves require clearances for exhaust and heat. Follow the manufacturer’s specified ventilation and clearance distances.
Is there an ADA requirement for microwave height?
For accessibility, aim to keep the bottom of the microwave at or below 48 inches from the finished floor for a forward reach. This follows general ADA reach guidelines for many users.
Conclusion
Choosing the right microwave installation height improves safety, comfort, and kitchen flow. Use manufacturer specs first, then balance ergonomics, venting, and accessibility. Mock up heights, measure twice, and don’t hesitate to hire a pro for electrical or structural work.
Take action today: measure your space, check your microwave manual, and try a quick mock-up with tape to find the best height. If you found this helpful, leave a comment or share your installation questions.