Toaster & Toaster Oven Cleaning: A Complete Guide to Safe, Easy Cleaning
Toasters and toaster ovens work hard in many U.S. kitchens. They heat bread, bagels, pizza, frozen snacks, and small meals with little fuss. That daily use also leaves behind crumbs, grease, melted cheese, and food bits. Good Toaster & Toaster Oven Cleaning keeps the appliance cleaner, helps control smoke and odors, and lets you spot problems before they become serious.
The key is to clean these appliances in the right way. A toaster has exposed slots and electrical parts that do not mix with water. A toaster oven has a tray, rack, door, walls, and heating elements that need different care. In my experience with kitchen appliance care, the best results come from frequent light cleaning instead of waiting for a thick layer of burnt food to build up.

Why Toaster & Toaster Oven Cleaning Matters
Crumbs are more than a small mess. They can collect near hot surfaces and may burn during later use. Grease and food residue can also create smoke, bad smells, and stubborn stains. Regular Toaster & Toaster Oven Cleaning reduces this buildup and keeps normal cooking more pleasant.
A clean appliance is also easier to inspect. You can see damaged cords, cracked trays, stuck switches, worn seals, or other issues sooner. Cleaning does not repair a faulty appliance, but it can help you notice when the appliance should no longer be used.
- ✦ Less crumb buildup
Removing crumbs often helps prevent burning smells and smoke during normal use.
- ✦ Less grease and food residue
Cleaning spills and grease keeps old food from baking onto the oven floor and walls.
- ✦ Better inspection
A clean appliance makes it easier to spot damaged parts, frayed cords, or other safety concerns.
- ✦ Fresher cooking
Old crumbs and grease can affect the smell of food. Cleaning removes much of this source.
How Often Should You Clean a Toaster?
For a toaster used every day, remove loose crumbs often and give the outside a wipe as needed. Empty the crumb tray when it starts to collect food or at least on a regular schedule. A deeper clean makes sense when crumbs build up inside or when you notice smoke or a burnt smell.
Heavy use calls for more frequent care. A household that makes toast several times a day may need to empty the tray more often than a household that uses the toaster only on weekends.
How Often Should You Clean a Toaster Oven?
Wipe spills soon after the oven cools. Clean the crumb tray and cooking tray regularly, and give the rack and interior a deeper clean when residue becomes visible. If you cook greasy food often, you may need to clean it more frequently.
Do not wait until food turns into a thick black layer. Old residue takes more work to remove and may smoke the next time you heat the appliance.
What You Need for Safe Toaster & Toaster Oven Cleaning
You do not need a large set of special cleaners for most Toaster & Toaster Oven Cleaning jobs. A few basic kitchen tools can handle crumbs, light grease, and normal food marks. Always check the owner’s manual first because coatings and removable parts can vary by model.
Keep liquids away from electrical openings. Use a cloth that is damp rather than dripping wet, and never spray cleaner directly into a toaster or toaster oven. The goal is to clean the surface without letting moisture reach electrical or heating parts.

- ✦ Soft brush
Use a clean, dry pastry brush or soft cleaning brush to loosen crumbs from hard-to-reach areas.
- ✦ Microfiber cloth
A soft cloth works well for the outside, door, handles, and other surfaces that the manual allows you to wipe.
- ✦ Mild dish soap
A small amount of mild dish soap can help clean removable trays and racks when the manufacturer allows washing.
- ✦ Warm water
Use warm water with a cloth for wiping suitable surfaces. Do not pour water into the appliance.
- ✦ Non-scratch sponge
Use a soft sponge for removable metal parts when needed. Avoid abrasive pads that can damage finishes.
Cleaners to Avoid
Avoid harsh oven cleaner, abrasive powders, steel wool, and rough scouring pads unless the manufacturer specifically says they are safe. These products can damage coatings and finishes. Strong fumes may also remain if a product is not made for the appliance surface.
Do not mix cleaning chemicals. In particular, never combine bleach with ammonia or other cleaners. For routine toaster and toaster oven care, simple cleaning methods are usually enough.
- ✦ Do not soak the appliance
Never place the main toaster or toaster oven body in water or run water into openings.
- ✦ Do not spray into slots
Spray cleaner onto a cloth when appropriate, not into toaster slots, vents, controls, or electrical openings.
- ✦ Avoid metal scraping tools
Sharp tools can scratch surfaces and may damage coatings or parts.
How to Clean a Pop-Up Toaster Step by Step
Pop-up toaster cleaning is simple when you keep water away from the inside. Start by unplugging the toaster and moving it to a clear work area. Let it cool fully if it was recently used.
Turn the toaster upside down over a sink or trash can and gently shake it to release loose crumbs. Do not hit the toaster hard against a counter. Strong impacts can damage internal parts.

- ✦ 1. Unplug the toaster
Disconnect the power before cleaning. Never clean a plugged-in toaster.
- ✦ 2. Remove the crumb tray
Pull out the crumb tray if your model has one. Empty the crumbs and wash the tray only if the manufacturer allows it.
- ✦ 3. Brush loose crumbs
Use a dry, soft brush to loosen crumbs around the slots and other accessible areas.
- ✦ 4. Shake out crumbs
Turn the unplugged toaster upside down and gently shake it over a sink or trash can.
- ✦ 5. Clean the outside
Wipe the exterior with a slightly damp cloth. Keep moisture away from the slots and electrical openings.
- ✦ 6. Dry all washable parts
If you wash the crumb tray, make sure it is fully dry before putting it back.
- ✦ 7. Check before use
Look for damage, stuck controls, or a frayed cord. Do not use the toaster if you find a serious electrical or physical fault.
How to Get Crumbs Out of a Toaster Without Damage
The safest approach is gentle movement and a soft dry brush. Avoid inserting knives, forks, spoons, screwdrivers, or other metal objects into the slots. Even when the toaster is unplugged, sharp objects can damage internal parts.
If crumbs are trapped near the heating elements, do not force them out. Clean only the areas that the design lets you reach safely. If the appliance has an unusual buildup or a fault, follow the manufacturer’s service instructions instead.
How to Clean a Toaster Crumb Tray
Remove the crumb tray and empty it over a trash can. If the tray is washable, clean it with warm water and mild dish soap, then rinse and dry it well.
Do not put the tray back while it is wet. Moisture near the inside of the toaster can create a safety problem.
How to Clean a Toaster Oven Step by Step
Toaster oven cleaning takes more steps because the appliance has more food-contact and heat-exposed surfaces. Always unplug the oven and let it cool before you begin. Remove the rack, tray, crumb tray, and other parts that the manual says are removable.
Start with dry cleaning. Brush or wipe out loose crumbs before using water or soap. This prevents wet crumbs from turning into a paste that sticks to the oven floor.
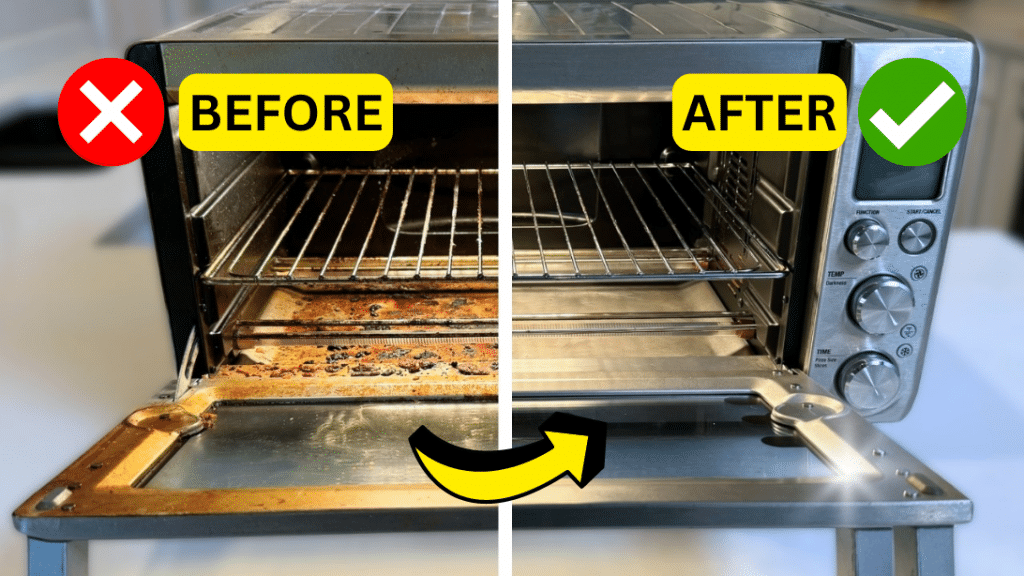
- ✦ 1. Unplug and cool
Disconnect the toaster oven and wait until all surfaces are cool to the touch.
- ✦ 2. Remove loose parts
Take out racks, trays, and crumb trays that the manual allows you to remove.
- ✦ 3. Remove dry crumbs
Brush or wipe loose crumbs into a trash can. Avoid pushing crumbs toward heating elements.
- ✦ 4. Wash removable parts
Clean suitable trays and racks with warm soapy water or as directed by the manufacturer.
- ✦ 5. Wipe the interior
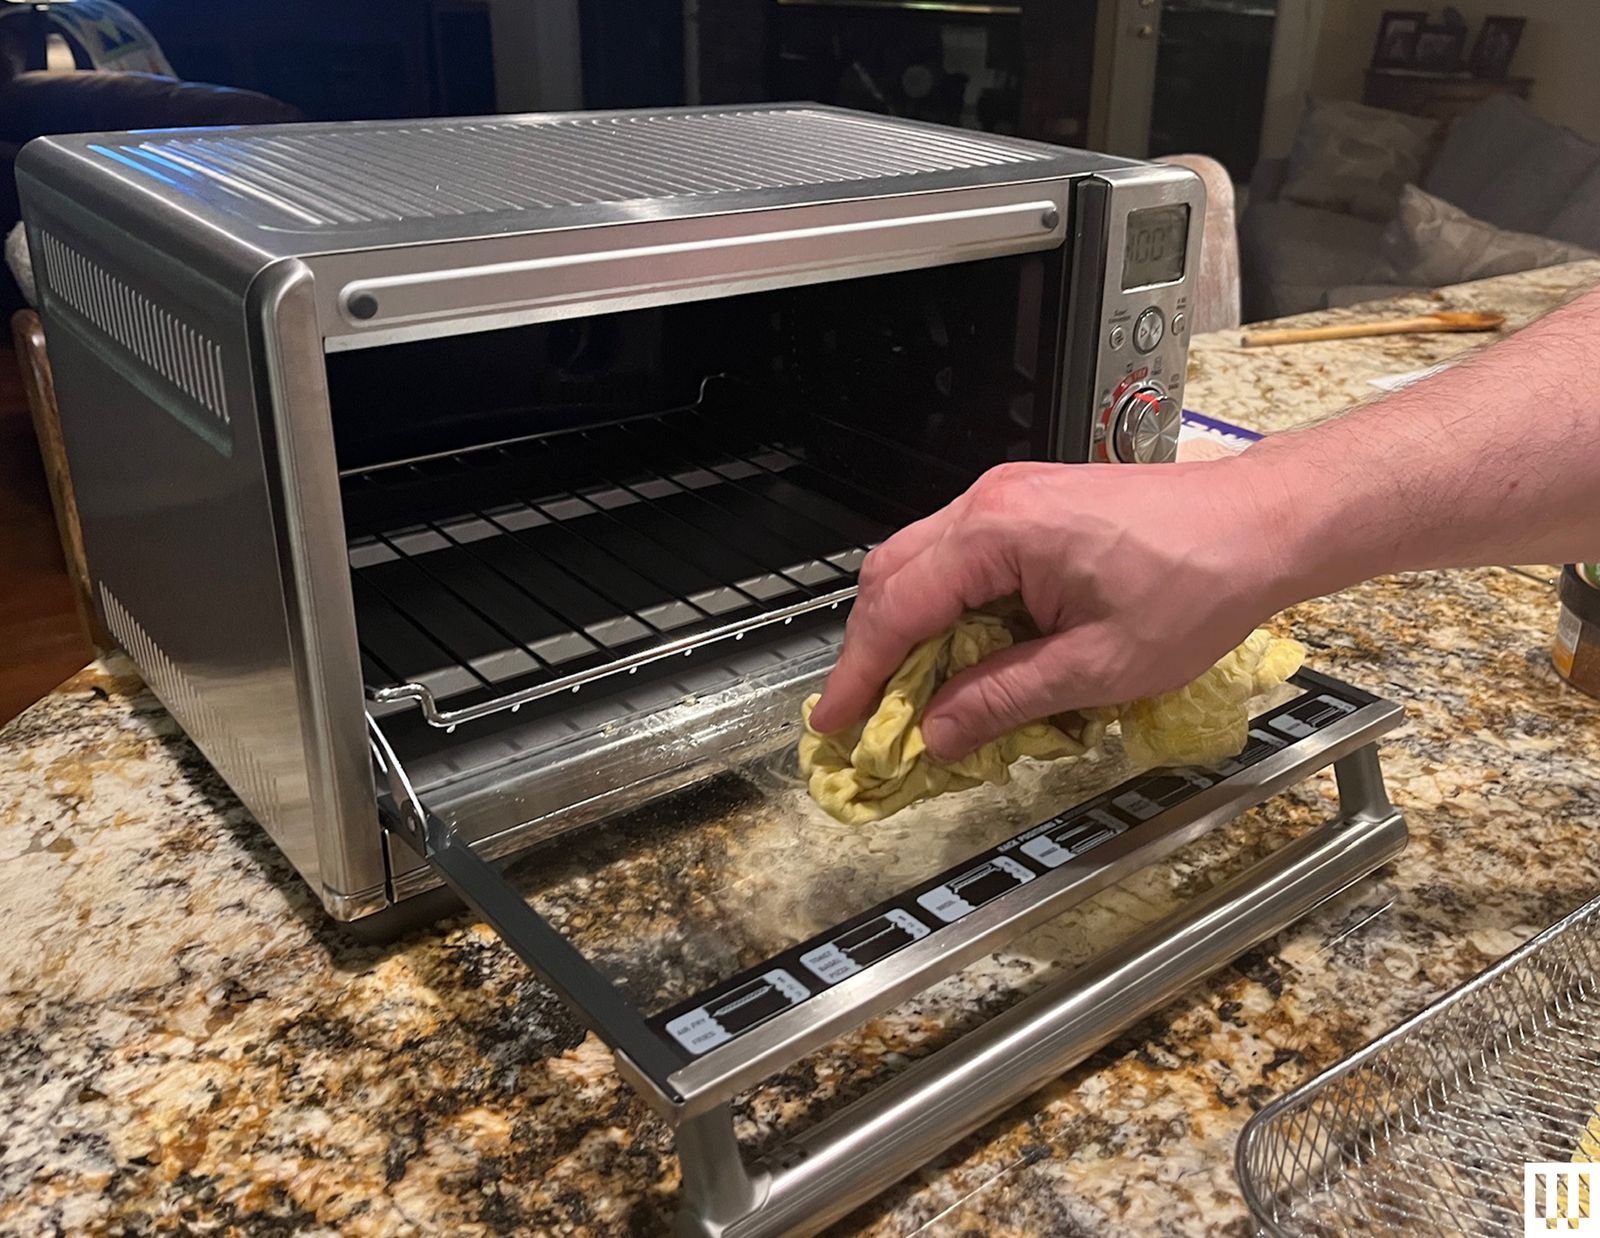
Use a damp cloth for suitable interior surfaces. Keep the heating elements and electrical parts dry.
- ✦ 6. Clean the glass door
Wipe the door with a soft cloth and a suitable mild cleaner. Avoid letting liquid enter vents or gaps.
- ✦ 7. Wipe the exterior
Clean the outside, handle, and controls with a lightly damp cloth.
- ✦ 8. Dry and replace parts
Let cleaned parts dry fully before putting them back into the oven.
How to Clean a Toaster Oven Tray and Rack
Remove the tray and rack and let them cool if they are still warm. Soak stubborn food residue in warm, soapy water when the manufacturer allows soaking. A soft sponge can then remove softened residue with less scrubbing.
Do not use a rough pad on a coated tray unless the maker says it is safe. Scratches can make the surface harder to clean later.
How to Clean the Inside of a Toaster Oven
First remove loose crumbs. Then use a soft cloth that is only slightly damp to wipe safe interior surfaces. Do not coat the heating elements with soap or water.
For baked-on food, place a damp cloth over the cooled spot for a short time to soften the residue. Wipe it away gently instead of scraping hard. Repeat the process if needed.
How to Clean Toaster Oven Glass
A toaster oven door can collect grease and baked-on food. Let the glass cool, then wipe it with a soft damp cloth and mild dish soap if the manual permits it.
Do not flood the door with liquid. Keep cleaner away from vents, seams, controls, and electrical openings. For double-pane or sealed doors, follow the manufacturer’s instructions rather than trying to open the glass.
How to Remove Grease, Burnt Food, and Stubborn Residue
Grease and burnt food are common reasons people delay Toaster & Toaster Oven Cleaning. The longer residue stays on a hot surface, the harder it can become. The safest approach is to soften the residue first and use gentle cleaning tools.
Never attack a stubborn spot with a knife or sharp metal tool. A few rounds of gentle soaking or wiping are safer than aggressive scraping. Always protect heating elements and follow the care instructions for your specific model.

- ✦ For light grease
Use a soft cloth with warm water and a small amount of mild dish soap on suitable removable or exterior surfaces.
- ✦ For dried food
Use a damp cloth to soften the residue before wiping it away.
- ✦ For baked-on tray residue
Soak a removable tray in warm soapy water if the manufacturer permits soaking, then use a non-scratch sponge.
- ✦ For burnt crumbs
Let the appliance cool fully, then remove loose debris with a dry brush or cloth.
- ✦ For strong odors
Remove the food residue that causes the smell and clean the affected removable parts. If an odor remains without visible food, stop using the appliance and inspect it for a possible fault.
Should You Use Baking Soda?
Baking soda can help with some greasy or stained removable surfaces because it provides mild cleaning power. However, it should not be treated as a universal cleaner for every toaster oven surface. Abrasive rubbing can damage some finishes and coatings.
If you use baking soda, keep it away from heating elements, vents, controls, and electrical openings. Check the owner’s manual before using any paste or powder inside the appliance.
How to Deal With Burnt Cheese
Burnt cheese can harden quickly and create smoke during the next use. Once the oven is cool, remove loose pieces and place a warm damp cloth on the residue to help soften it.
Clean the tray or removable part outside the appliance when possible. If cheese has reached a heating element, do not scrape or soak the element. Follow the manufacturer’s cleaning instructions.
Cleaning the Heating Elements Without Damage
Heating elements need special care. They become very hot during use and can be fragile. Most routine Toaster & Toaster Oven Cleaning does not require you to scrub them.
For loose crumbs near an element, use the cleaning method stated in the manual. If the manufacturer allows gentle brushing, use a soft, dry brush and very light pressure. Never bend, scrape, soak, or coat a heating element with cleaner.

- ✦ Keep elements dry
Do not apply water, soap, or liquid cleaner directly to heating elements.
- ✦ Do not bend elements
Heating elements are not designed to be pushed, pulled, or reshaped during cleaning.
- ✦ Avoid sharp tools
Knives and metal tools can damage the element or other internal parts.
- ✦ Follow the manual
Cleaning instructions can vary by model, especially for advanced toaster ovens with special heating systems.
What If Food Touches a Heating Element?
Unplug the appliance and let it cool completely. Do not try to wipe a hot element or remove stuck food while the appliance is connected to power.
If the food does not come away with the safe method listed in the manual, do not force it. Continued use with damaged or contaminated heating parts can create smoke or other problems.
How to Clean the Outside, Controls, and Door
The outside of a toaster or toaster oven often needs less work than the inside. Dust, fingerprints, flour, grease, and food splashes can collect around the handle and controls. A soft cloth is usually enough for daily cleaning.
Use only a small amount of moisture. Do not spray cleaner over the control panel, vents, slots, or seams. When cleaning a toaster oven door, make sure liquid does not run into the frame.
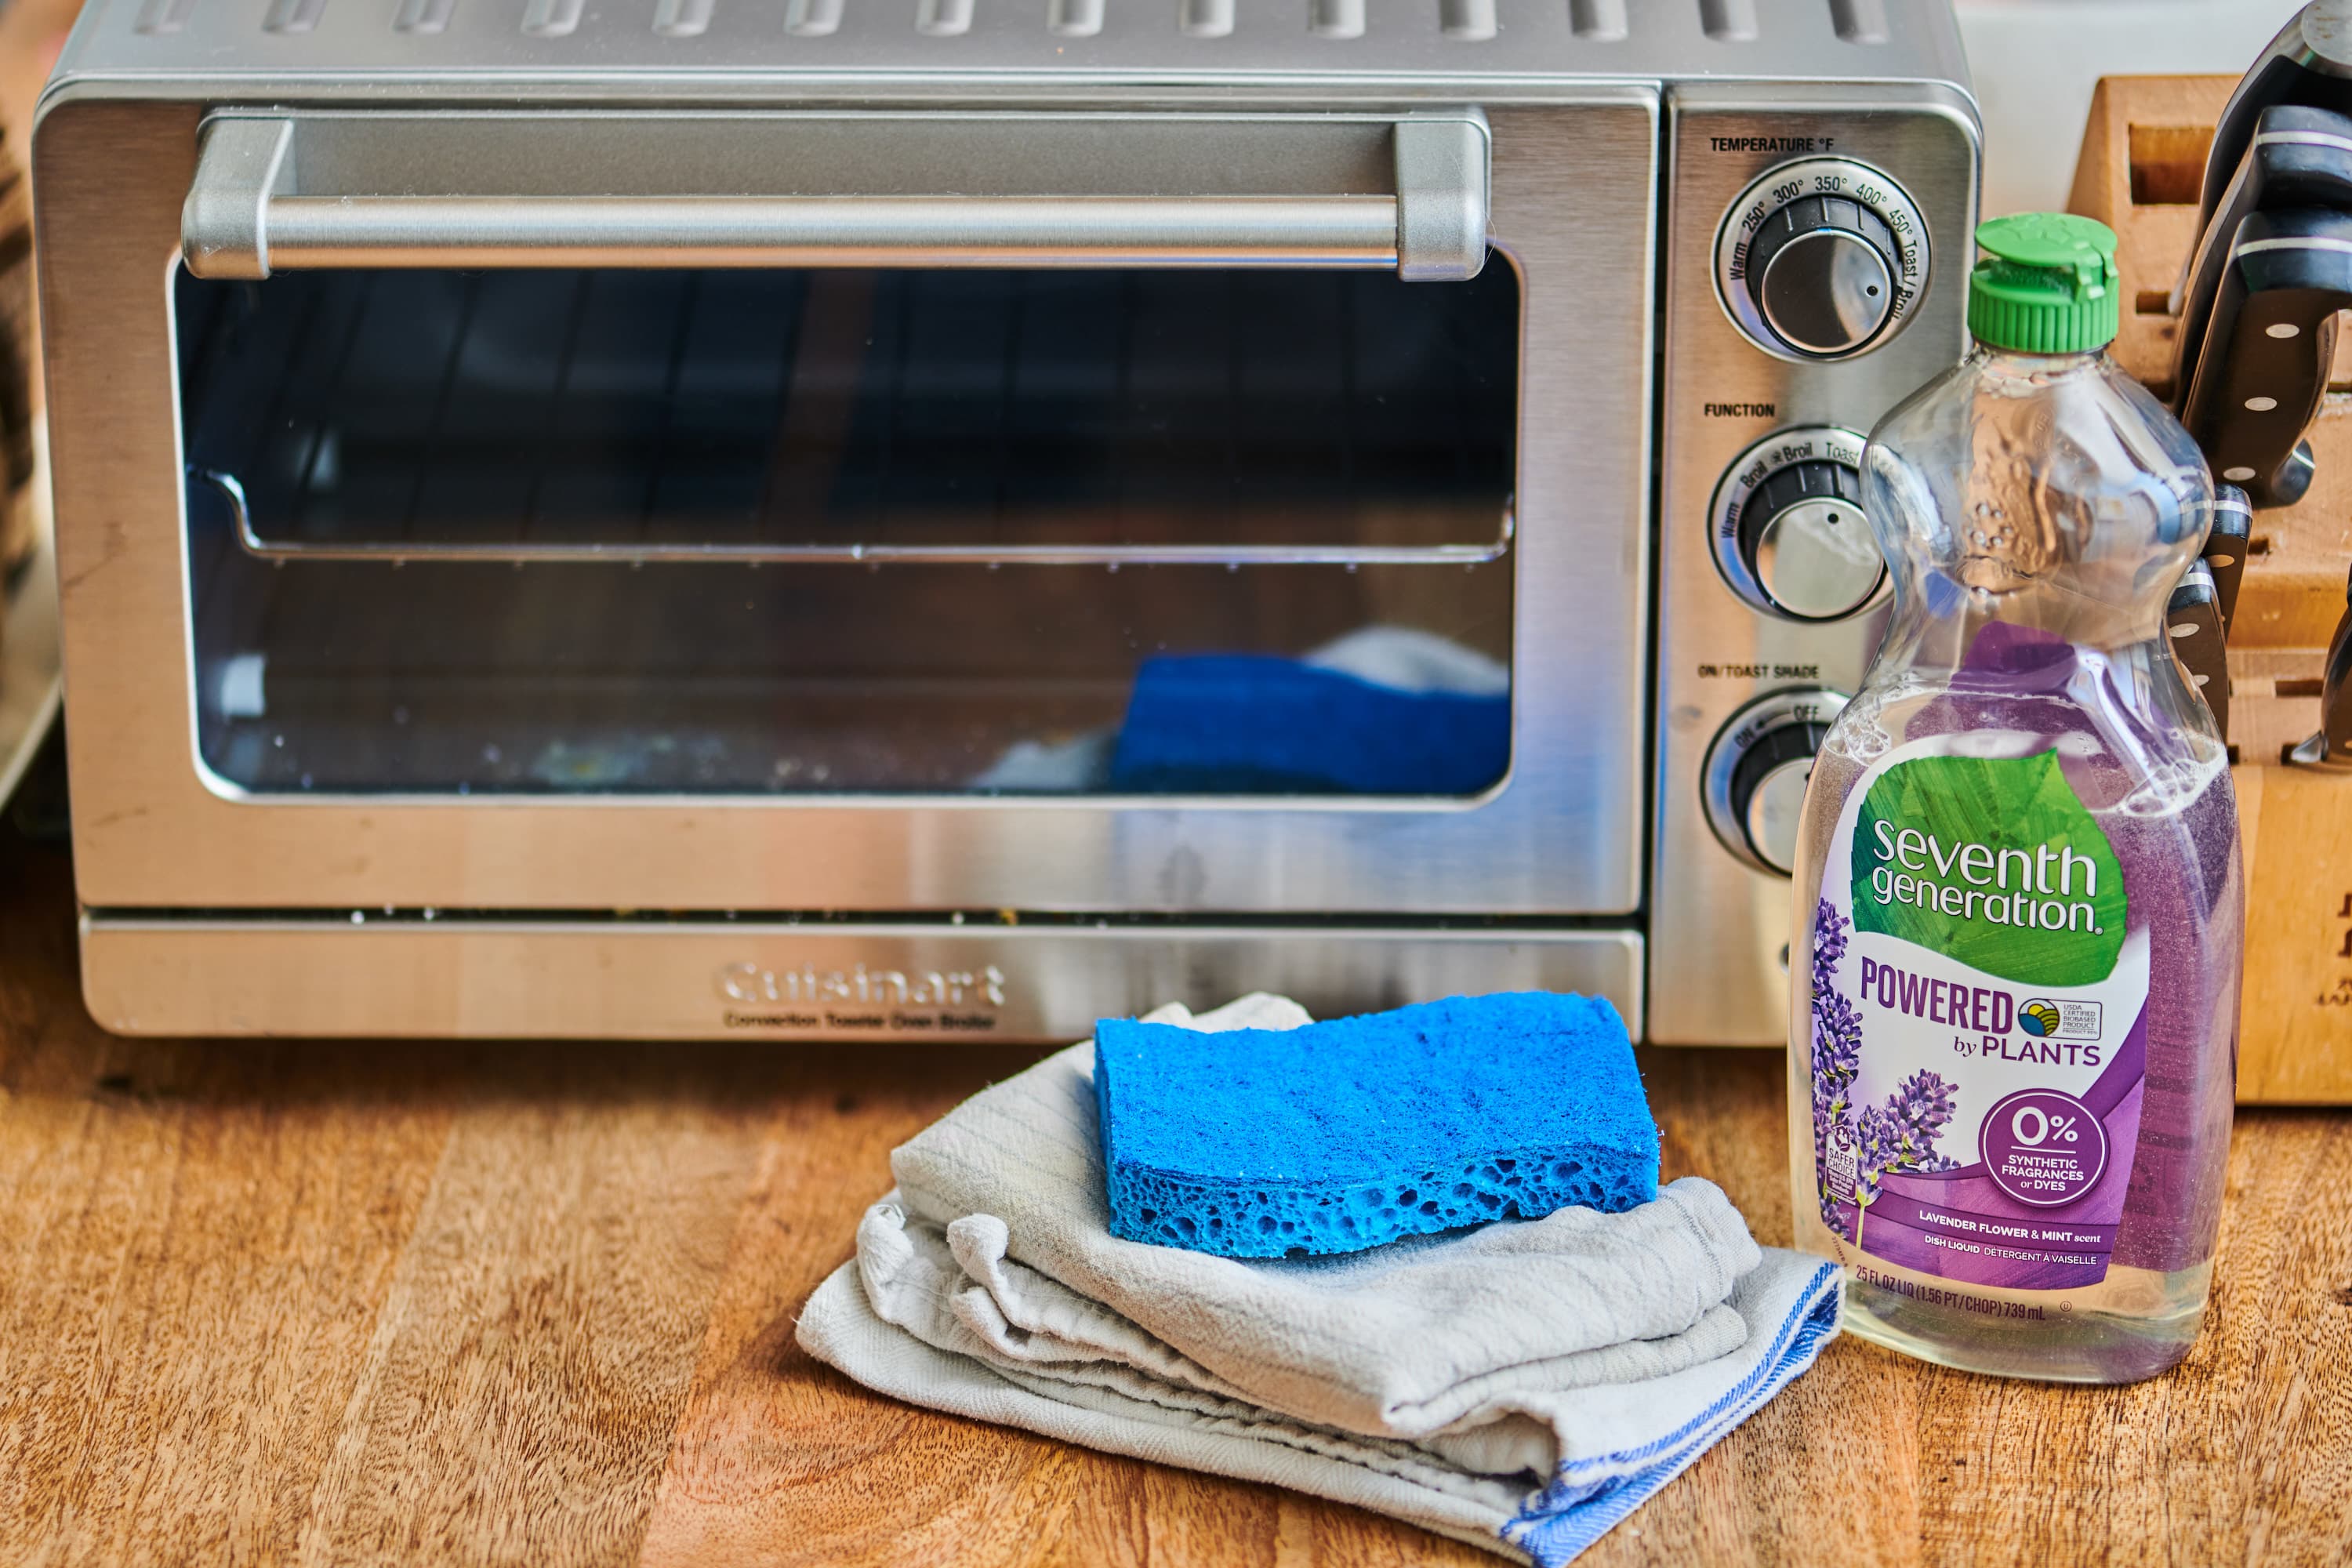
- ✦ Stainless steel
Use a soft cloth and a suitable cleaner approved for the finish. Wipe gently to avoid scratches.
- ✦ Plastic controls
Use a slightly damp cloth and mild soap when suitable. Avoid soaking knobs or control areas.
- ✦ Glass door
Use a soft cloth and mild cleaner suitable for the glass and appliance.
- ✦ Vents
Keep vents clear of grease and dust, but do not push wet cloths or debris into the openings.
How to Prevent Fingerprints and Grease
Wipe the handle and controls after cooking when the appliance is cool. Small, regular wipes take only a moment and stop grease from becoming a thick film.
Keep the appliance away from splashing cooking oil when possible. Good placement can reduce the amount of cleaning needed.
Toaster & Toaster Oven Cleaning Mistakes to Avoid
Many cleaning problems happen because people treat a toaster like a normal kitchen dish. It is an electrical appliance with hot parts, so water and aggressive tools can create real risks. A careful method is both safer and easier.
Another common mistake is cleaning only what can be seen. Crumbs often collect in trays, corners, and spaces below the cooking surface. Regularly cleaning the removable parts and accessible areas gives better results than wiping the front alone.
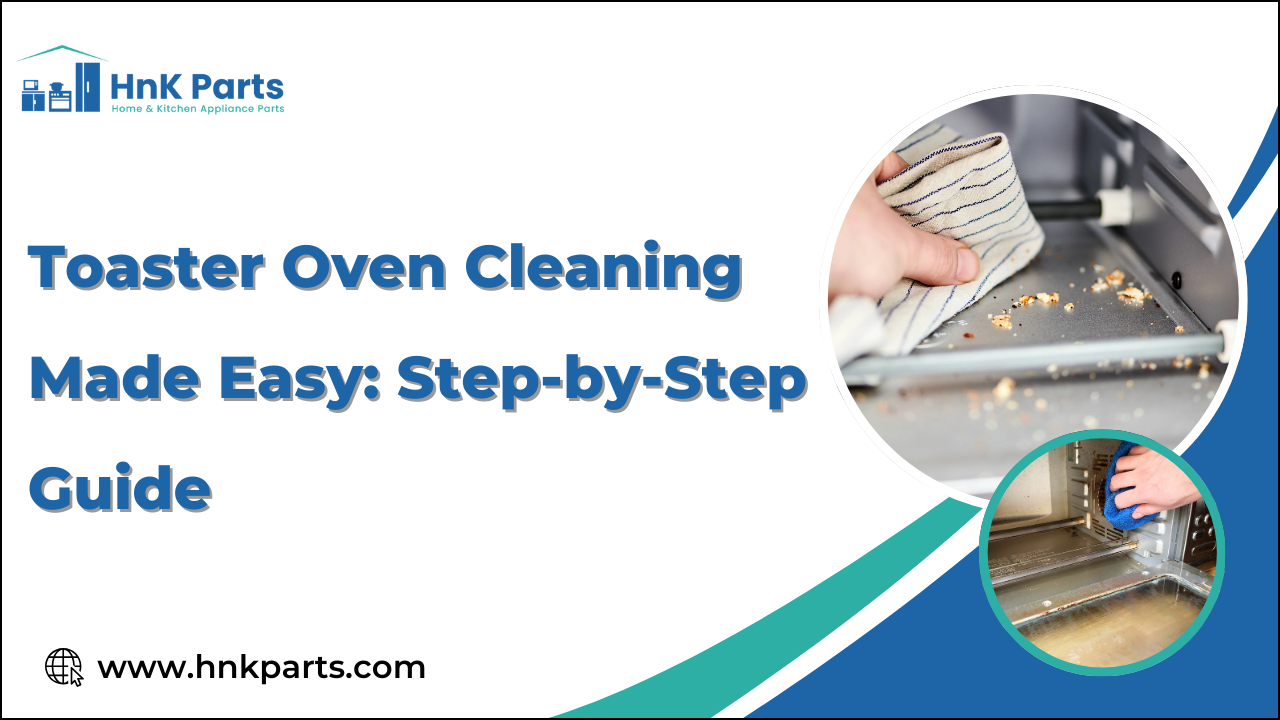
- ✦ Cleaning while plugged in
Always unplug the appliance before cleaning.
- ✦ Pouring water inside
Never pour water into a toaster or toaster oven.
- ✦ Spraying cleaner inside
Sprays can reach electrical parts or heating elements. Use a cloth for suitable surfaces instead.
- ✦ Using a knife to scrape food
Sharp tools can scratch surfaces and damage internal parts.
- ✦ Using steel wool everywhere
Steel wool and harsh scrubbers can damage finishes and coatings.
- ✦ Ignoring the manual
The manufacturer may give special rules for trays, racks, heating elements, coatings, and self-cleaning features.
- ✦ Using the appliance while wet
Make sure washable parts are fully dry before reinstalling them and using the appliance.
- ✦ Ignoring smoke
A small amount of smoke from old food may have a simple cause, but repeated smoke, burning smells, sparks, or unusual sounds need attention.
When Cleaning Is Not Enough
Cleaning can remove food and grease, but it cannot fix damaged wiring, a failed control, a cracked heating element, or a badly damaged cord. Stop using the appliance if you see sparks, melted parts, exposed wiring, or other serious damage.
If the appliance repeatedly smells like burning plastic or electrical insulation even after food residue is removed, treat that as a warning sign. Follow the manufacturer’s service guidance or replace the appliance when appropriate.
A Simple Maintenance Routine That Keeps Toasters Cleaner
The easiest way to keep up with Toaster & Toaster Oven Cleaning is to split the work into small tasks. Do not wait for a major mess. A quick crumb removal after regular use can prevent a much harder deep clean later.
For busy U.S. households, a short routine works well. Clean spills after the appliance cools, empty crumb trays often, and check the cord and outside surfaces from time to time. This keeps routine care simple without turning it into a large weekend project.

- ✦ After use
Let the appliance cool, then remove obvious crumbs or spills when safe.
- ✦ Regularly
Empty the toaster crumb tray and clean toaster oven trays and racks as needed.
- ✦ Monthly check
Inspect the cord, plug, controls, vents, tray, door, and visible heating parts for signs of damage.
- ✦ Deep clean
Clean the interior and removable parts when residue becomes visible or odors and smoke suggest buildup.
A Five-Minute Cleaning Habit
When the appliance is cool and unplugged, remove the crumb tray or loose crumbs. Wipe the outside and handle with a soft cloth. For a toaster oven, check the cooking tray and floor for fresh spills.
This small habit can prevent grease and crumbs from becoming hard, burnt layers. It also makes the next deep clean much faster.
How to Know When a Toaster or Toaster Oven Needs Attention
Cleaning is part of appliance care, but it should not hide warning signs. A toaster or toaster oven that suddenly behaves differently may have a problem that cleaning cannot solve. Pay attention to repeated smoke, sparks, burning electrical smells, damaged cords, or controls that do not work as expected.
A food smell after a messy cooking session can have a simple cause. But a strong smell that remains after thorough cleaning deserves more care. When in doubt, unplug the appliance and check the manual for troubleshooting or service instructions.
- ✦ Repeated sparks
Stop using the appliance and follow the manufacturer’s safety and service instructions.
- ✦ Burning electrical smell
Unplug the appliance and do not assume cleaning will solve the issue.
- ✦ Frayed cord
Do not continue normal use with a damaged power cord.
- ✦ Damaged heating element
Do not bend, repair, or scrub the element yourself unless the manufacturer provides a safe service method.
- ✦ Smoke with no food residue
Stop and inspect the appliance rather than repeatedly running it to see if the smoke goes away.
Cleaning Versus Repair
A good cleaning can solve problems caused by crumbs, grease, and old food. It cannot make an unsafe electrical appliance safe. If the problem continues after normal cleaning, treat it as an appliance issue rather than a cleaning issue.
When an appliance is damaged, repair should follow the manufacturer’s guidance. For older or badly damaged units, replacement may be more practical than continued use.