Place your microwave shelf where ventilation, height, and load capacity meet safety and convenience.
I have installed and tested dozens of kitchen setups, and microwave shelf placement is more than an afterthought. Good placement keeps your microwave safe, easy to use, and long-lasting. This guide walks through clear rules, practical steps, and real-world tips so you can pick the best spot for your unit with confidence. Read on to avoid common mistakes and make a smart, safe choice for your kitchen.

Why microwave shelf placement matters
Microwave shelf placement affects safety, cooking performance, and daily convenience. Poor placement can block vents, overload supports, or make the door hard to reach. Proper placement helps your microwave cool correctly and prevents damage to cabinets and walls. It also makes meal prep faster when the unit sits where you naturally work.
Key rules and common measurements
Follow manufacturer guidance first, then use these common guidelines as a practical baseline. These are typical ranges, not absolute rules — always check your microwave manual before final installation.
- Clearance above the unit: Aim for 2 to 4 inches above the microwave for basic ventilation in many models.
- Side clearance: Leave about 1 inch on each side to allow air to circulate and to fit the microwave easily.
- Rear clearance: Allow 2 to 4 inches behind the unit for cord space and ventilation if the fan vents to the back.
- Shelf depth: Make the shelf at least 1 to 2 inches deeper than the microwave body to protect the wall and let the door open fully.
- Weight capacity: Plan for 50 to 100 pounds of support, depending on the microwave size. Most mid-sized models weigh 25 to 50 pounds; larger convection units can be heavier.
Check your model’s spec sheet for vent direction, exact clearances, and mounting details. Following these steps keeps your microwave safe and effective.
:strip_icc()/microwave-cabinet-0e30c5bb-b016a1330988418990eca5aecd04658d.jpg)
Safety and ventilation considerations
Ventilation is the top safety concern for microwave shelf placement. Microwaves generate heat and steam. If vents are blocked, the internal fan works harder. That shortens the oven’s life and may trip safety cutouts.
- Identify vent type: Some microwaves vent through the top, some through the back, and some recirculate air with a charcoal filter. Match shelf spacing to the vent type.
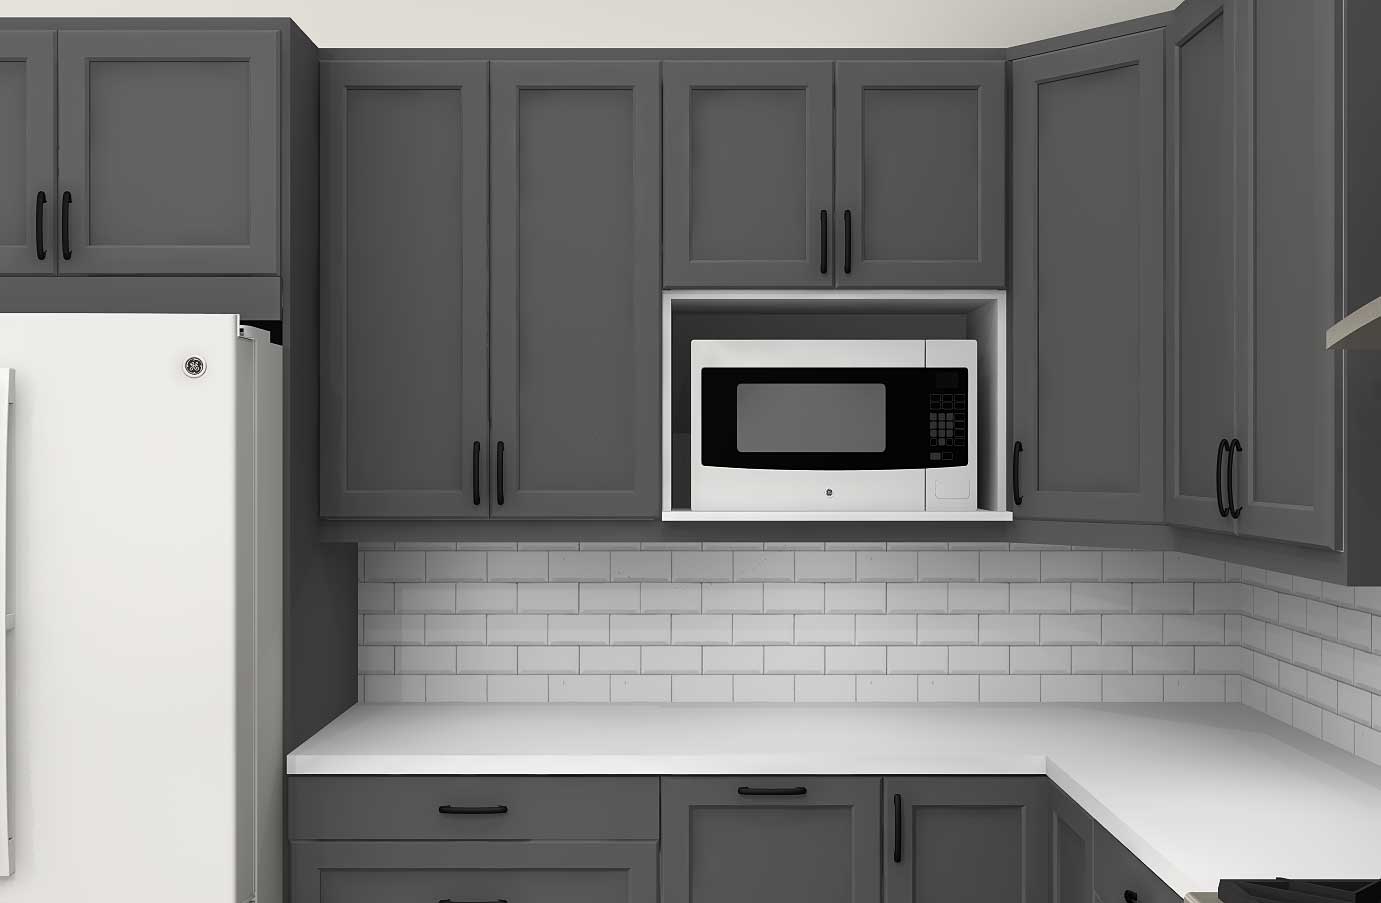
- Avoid enclosed spaces without ventilation: If you place the unit inside a cabinet, add vents or leave generous clearances.
- Keep flammable materials away: Do not mount the microwave near curtains, paper, or grease-prone surfaces.
- Provide airflow pathways: Gaps around the shelf edges help the fan move air.
I once installed a microwave into a shallow cabinet without checking venting. The unit overheated, and the owner's warranty did not cover the damage. Learn from that: good ventilation saves worry and money.

Height and accessibility: ergonomics and safety
Think about who will use the microwave most and how often. Height affects safety, comfort, and the risk of spills.
- Comfortable reach: Aim for the microwave center to sit within the user’s natural arm reach, roughly 15 to 48 inches from the floor depending on user height.
- For taller users: A higher shelf is fine if the door and controls are easy to see and reach.
- For children or seniors: Place the microwave lower for safer handling and to avoid spills when removing hot food.
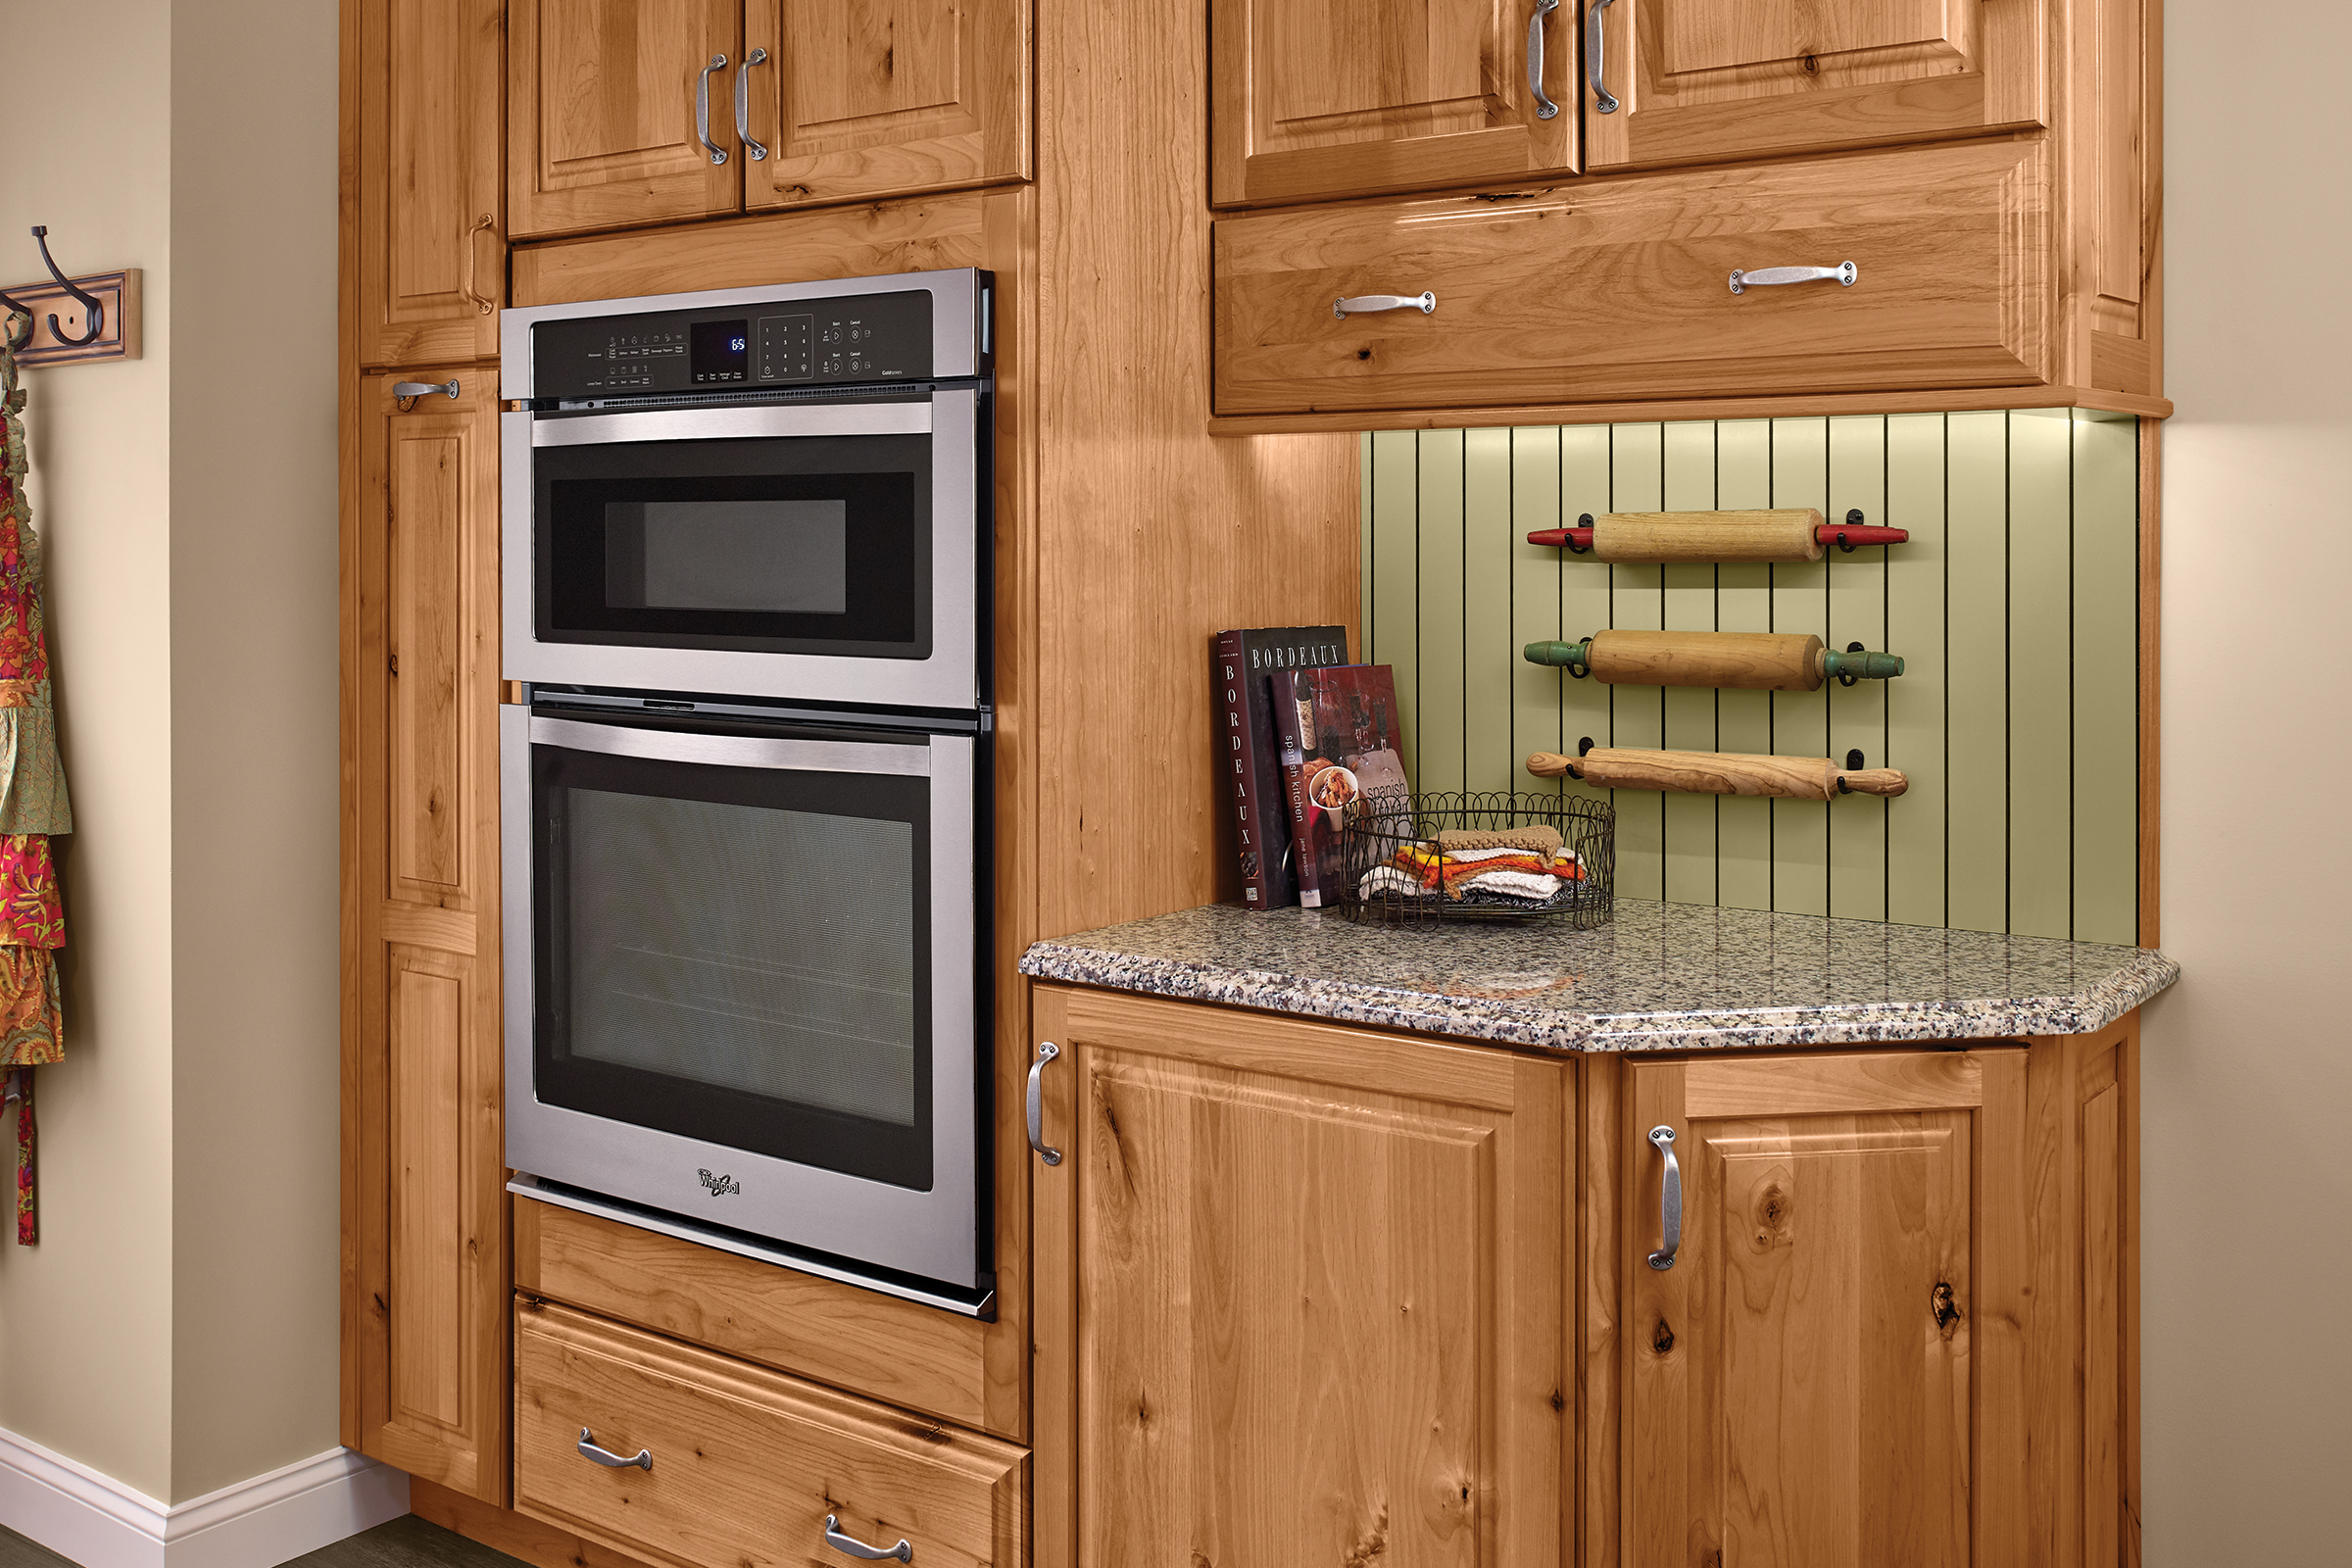
- Above-range mounting: If you place the microwave above a cooktop, follow the manufacturer and local code for minimum distance above the cooktop to avoid heat damage and ensure safe venting.
Ergonomics reduce accidents. I prefer setting the shelf so the bottom of the microwave is at or just above chest height for most adults. That makes lifting and viewing safer.
Materials, weight capacity, and mounting hardware
A reliable shelf starts with the right materials and hardware. Cheap shelving or weak mounts will fail over time.
- Shelf materials: Use solid plywood, hardwood, or metal for best strength. Avoid thin particleboard unless reinforced.
- Brackets: Use heavy-duty L-brackets or a metal mounting frame rated for the microwave’s weight.
- Fasteners: Anchor to studs when possible. Use heavy-duty toggle bolts only for light units if studs are not available.
- Weight testing: After installation, test the shelf with a load of similar weight before placing the microwave.
Most microwaves vibrate slightly when running. I always add vibration-damping pads under the feet. That minimizes noise and reduces wobble over time.

Step-by-step installation checklist
Follow a clear plan to install a shelf that is safe, level, and well ventilated.
- Measure microwave dimensions and check the manual for clearances.
- Mark a shelf location that meets height and ventilation needs.
- Find studs and mark anchor points with a stud finder.
- Cut or buy a shelf sized to the microwave plus clearance.
- Attach heavy-duty brackets to studs using lag screws and washers.
- Set the shelf, check level, and secure with brackets.
- Plug in the microwave, test operation, and observe for heat or vibration issues.
If you are unsure about electrical work or wall strength, hire a pro. Proper installation prevents damage and keeps warranties valid.
Design, layout, and aesthetics
Microwave shelf placement also affects kitchen look and workflow. Thoughtful design blends function with style.
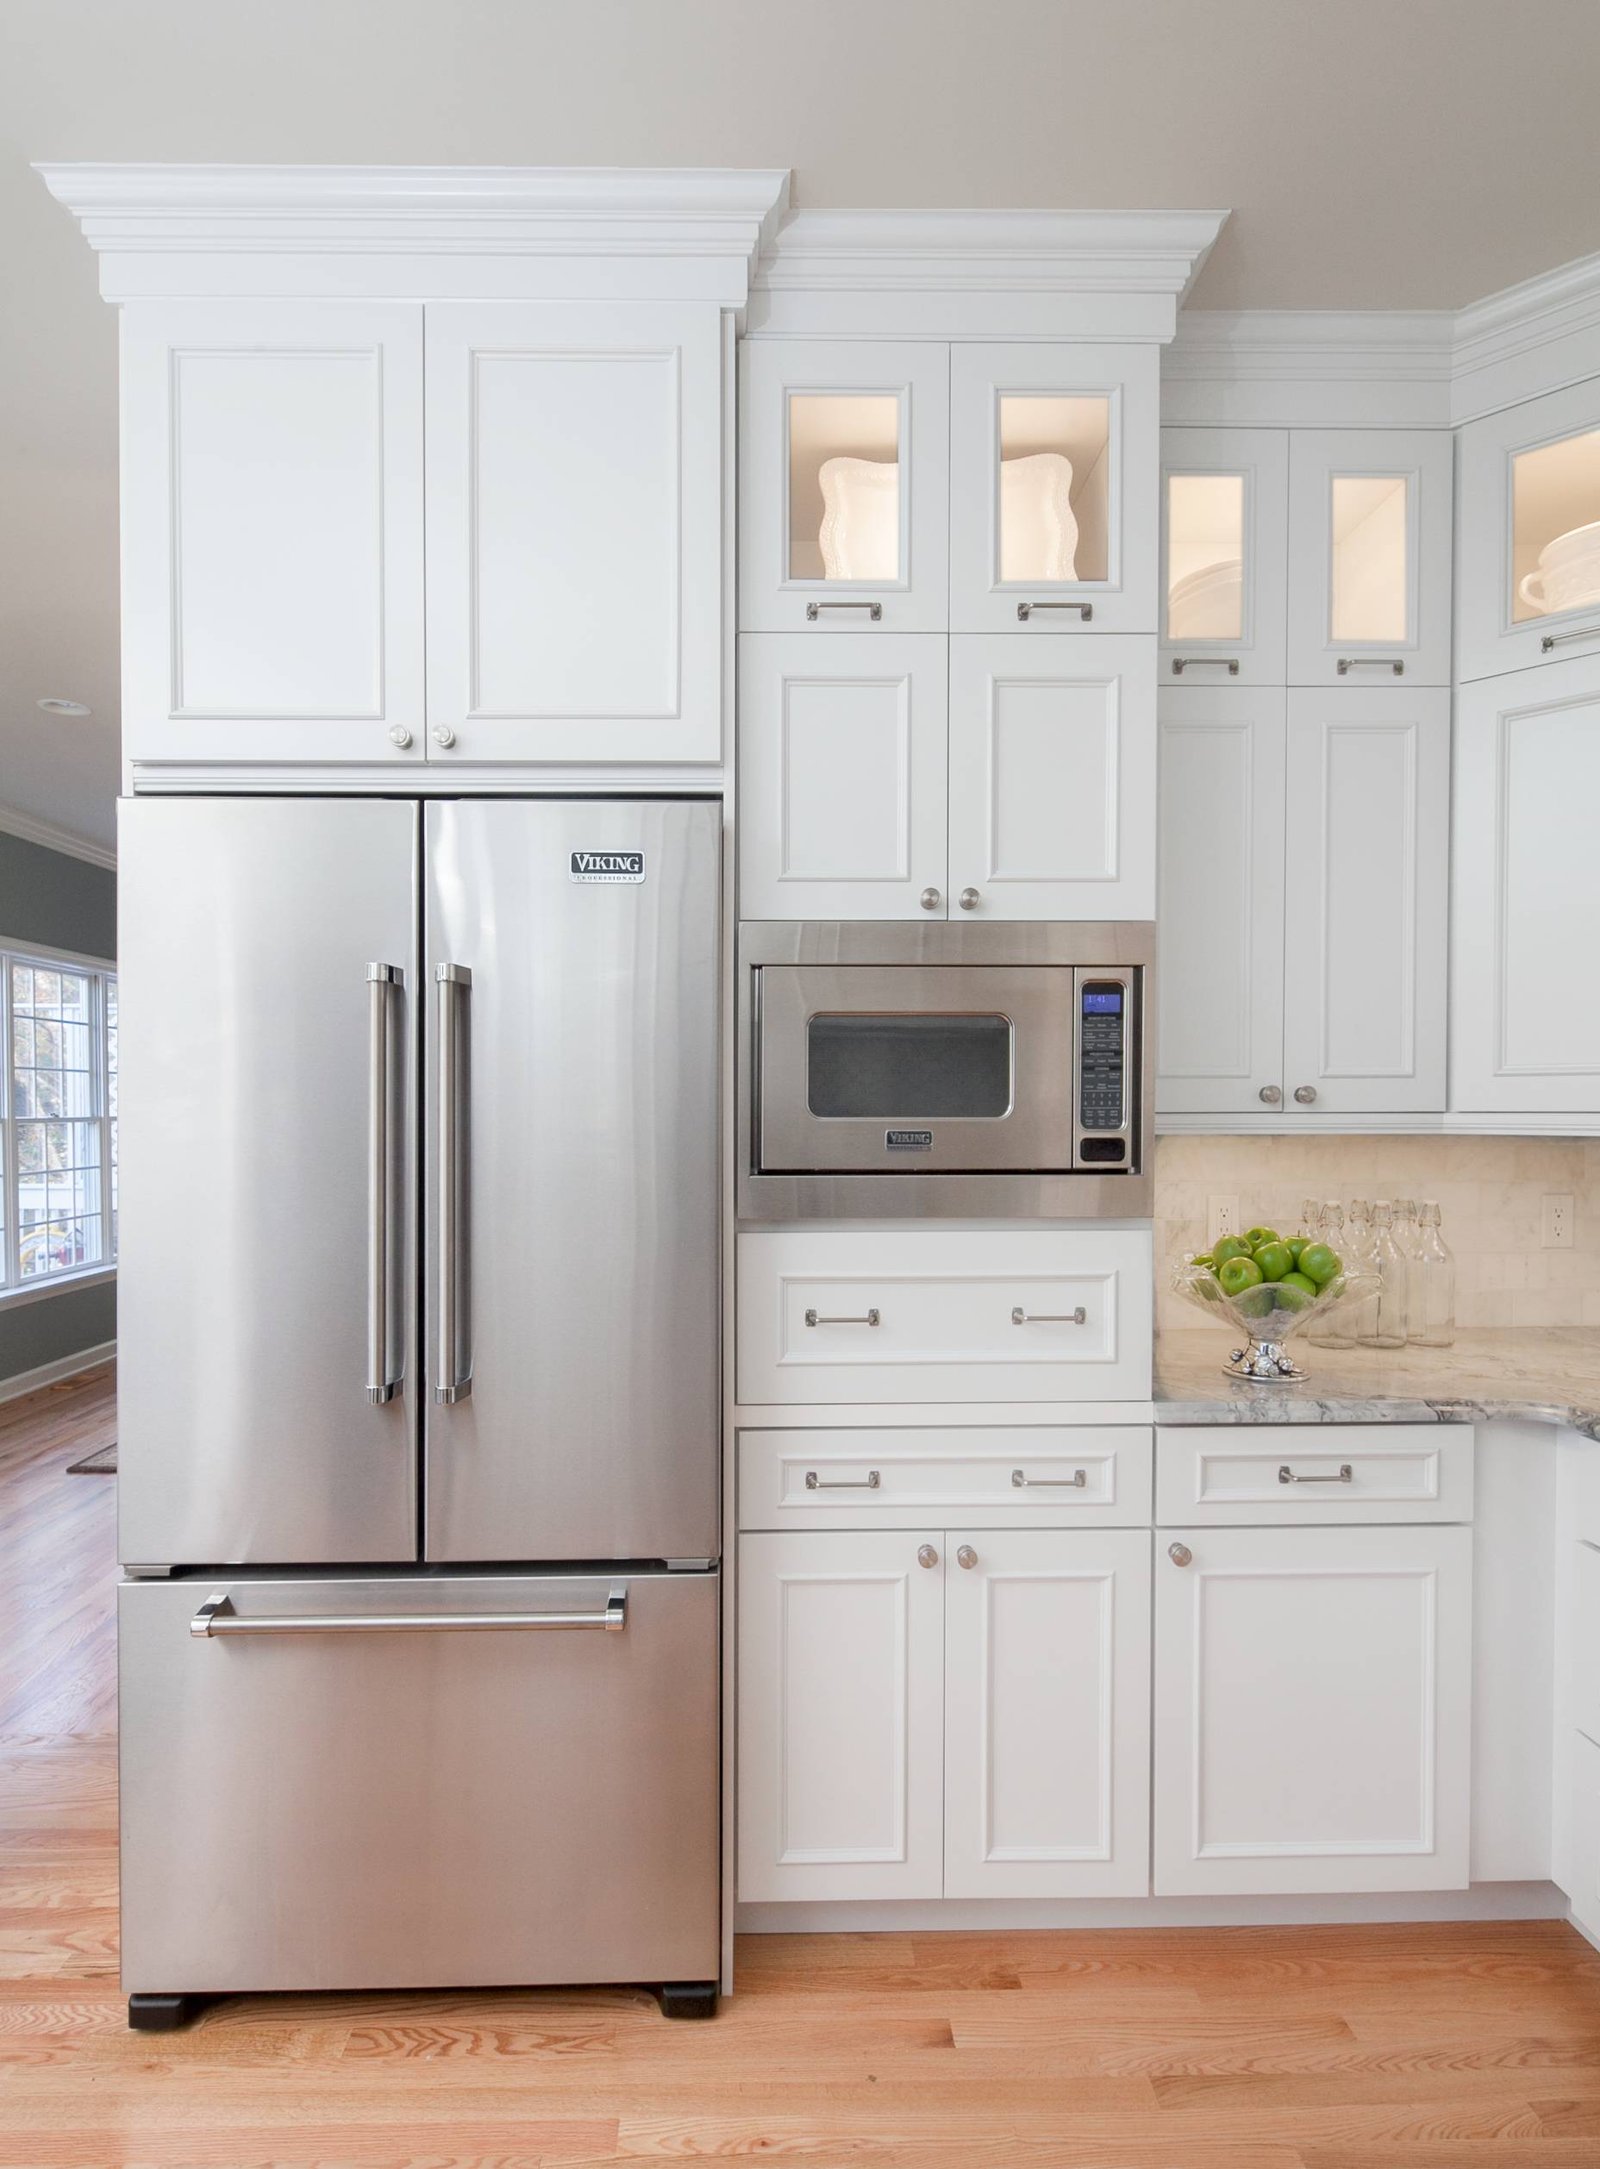
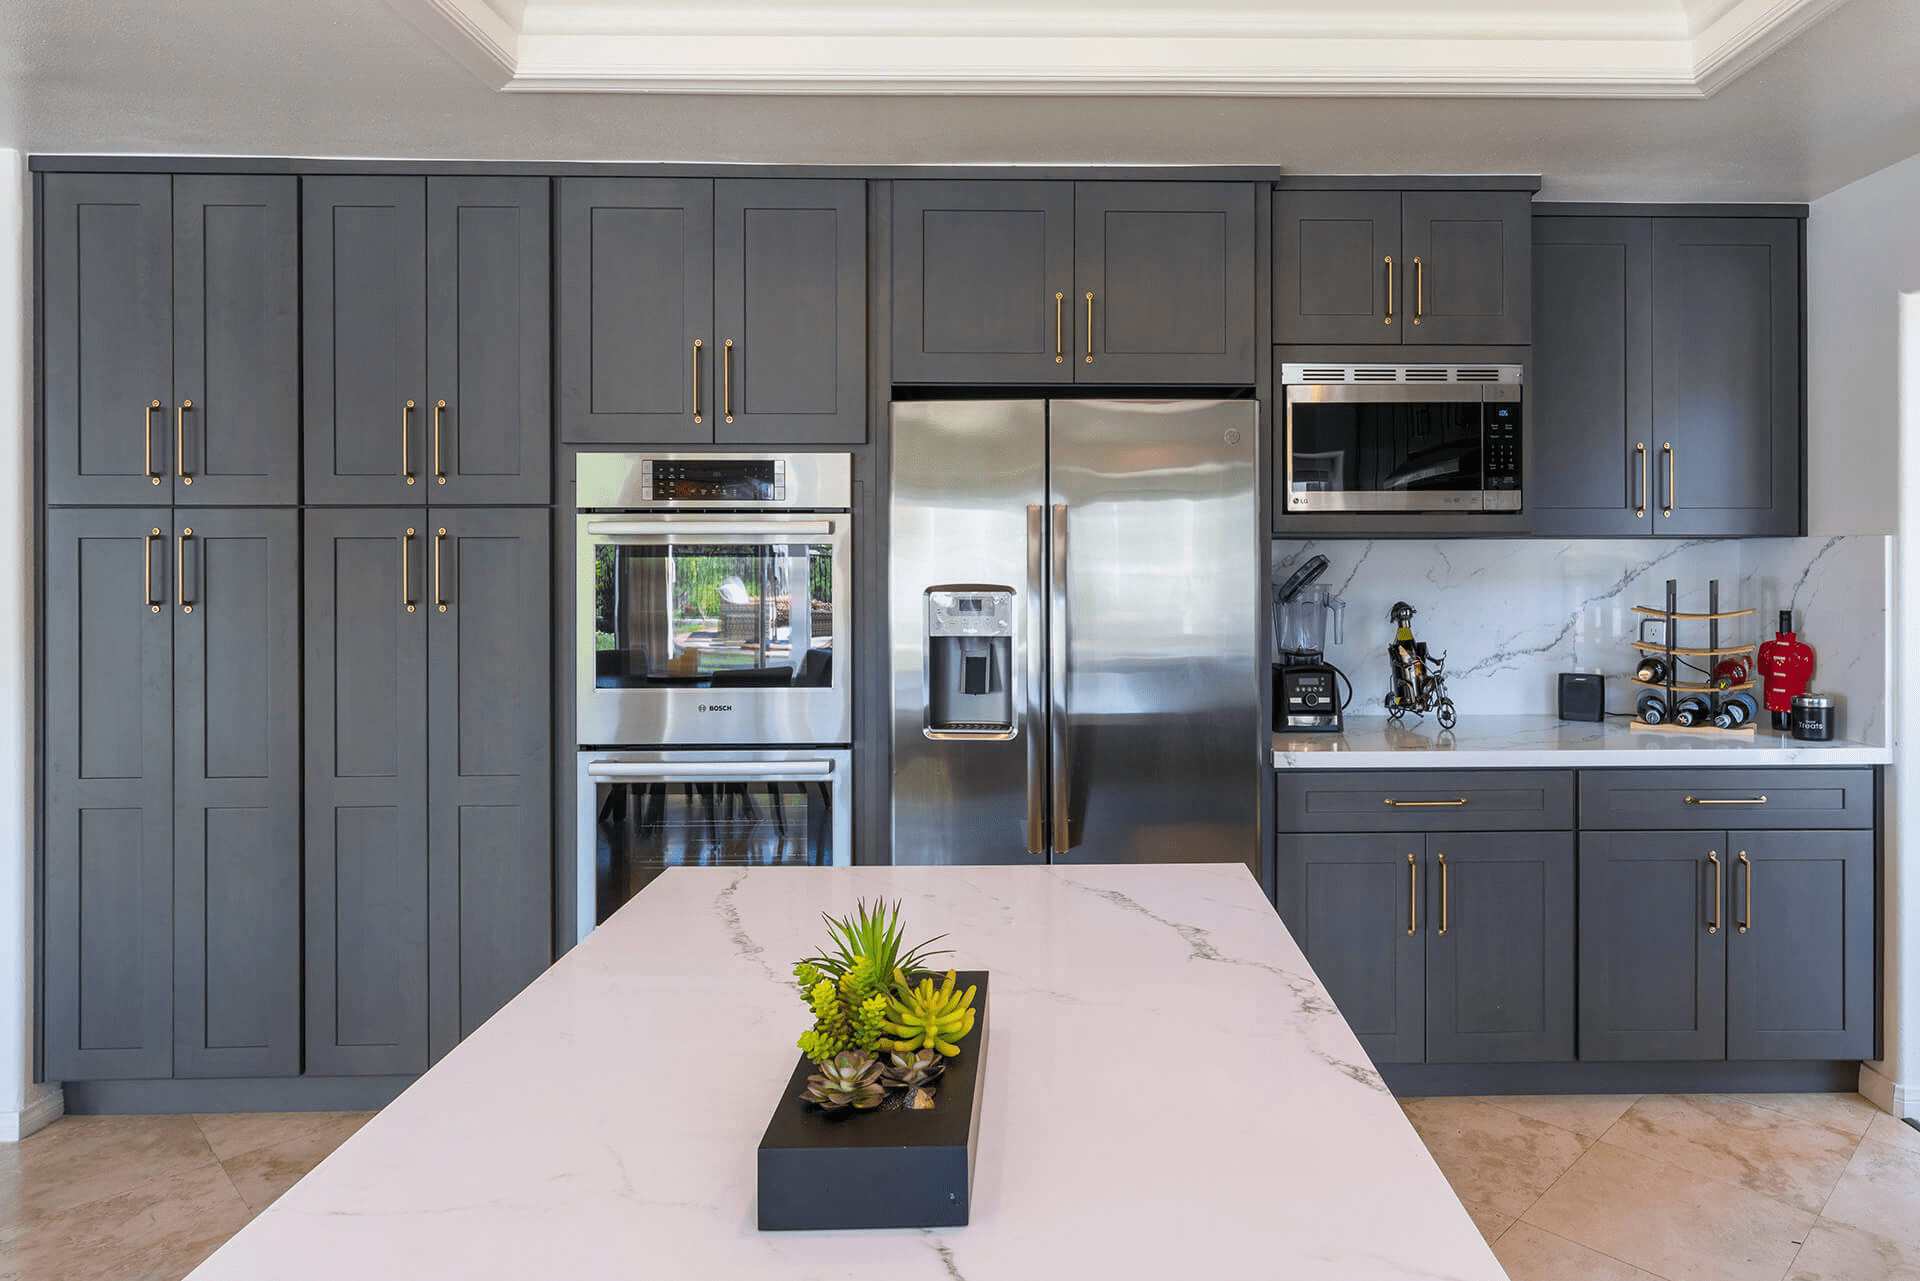
- Integrated look: Build the microwave into a cabinet cavity sized to the unit for a clean appearance.
- Floating shelf: Use a floating wood or metal shelf to add modern flair while maintaining strength.
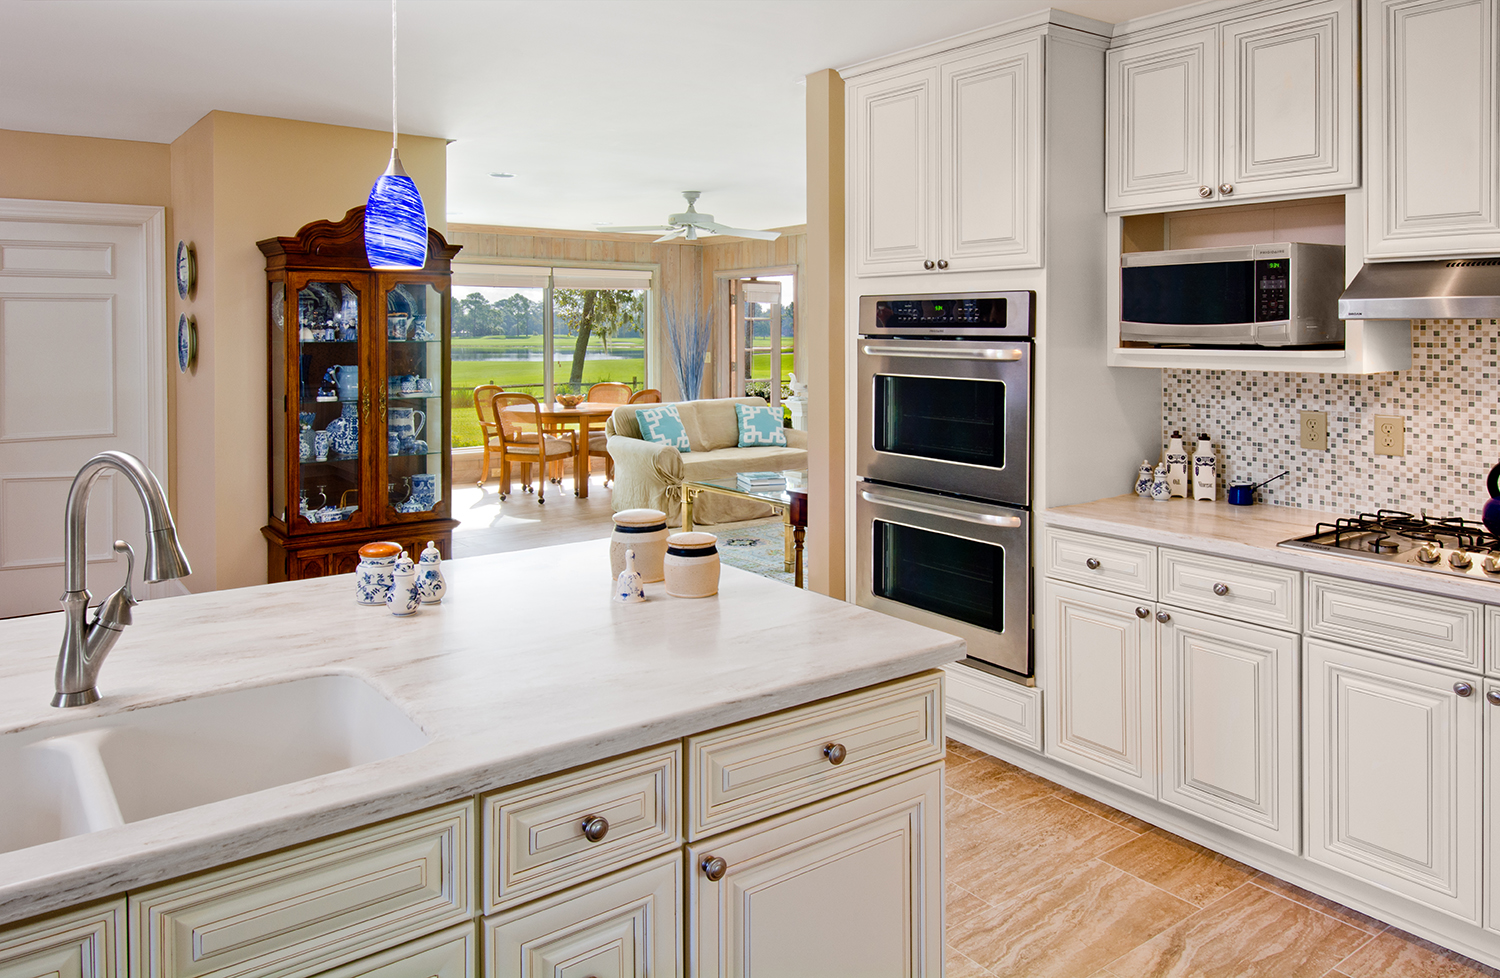
- Match finishes: Coordinate shelf material with cabinets for a unified look.
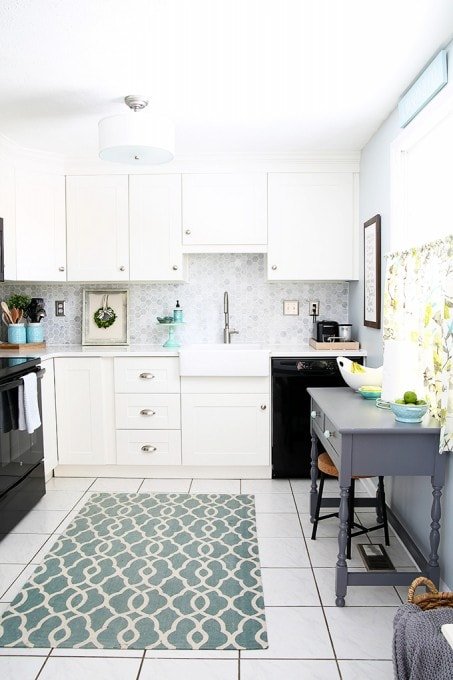
- Consider workflow: Place the microwave near prep areas or the fridge to streamline food flow.
A well-placed microwave feels like part of the kitchen design, not an afterthought. I like to align the microwave with nearby cabinet lines for a built-in feel.
Common mistakes and how to avoid them
Avoid these frequent errors to keep your microwave safe and functional.
- Blocking vents: Always verify vent direction and keep vents clear. Solution: provide extra space or add external ventilation.
- Underestimating weight: Thin shelves can sag or fail. Solution: use studs and rated brackets.
- Too high placement: Overhead installation can cause spills and burns. Solution: test reach height before fixing the shelf.
- Ignoring door swing: A tight corner can block the door. Solution: leave enough clearance for door travel and user comfort.
- Not checking the manual: Each microwave is different. Solution: read the spec sheet and follow mounting instructions.
Fixing these early saves time and money. I once reworked a kitchen after a customer picked a shelf too small; the extra hour of planning would have avoided a costly re-install.

Maintenance and long-term checks
A simple maintenance routine extends microwave life and keeps the shelf safe.
- Monthly check: Inspect for wobble or loose screws.
- Clean vents: Remove dust and grease around vents to keep airflow clear.
- Re-tighten fasteners: Vibration can loosen bolts over time.
- Replace worn pads: Vibration pads wear out and should be updated.
Small checks avoid big problems. I add a reminder to my phone to inspect mounted microwaves every six months.
Frequently Asked Questions of microwave shelf placement
How high should I place my microwave on a shelf?
Place the microwave where the center sits within a comfortable arm reach for regular users. Typically that means the bottom of the microwave sits between chest and eye level for most adults.
Can I put a microwave inside a cabinet?
Yes, if the cabinet allows required ventilation and the manufacturer permits enclosed installation. Add vents or open the cabinet back to ensure proper airflow.
How much clearance does a microwave need on a shelf?
Clearance needs vary by model, but commonly 2 to 4 inches above, 1 inch on the sides, and 2 to 4 inches behind are typical. Always follow the manual for your exact model.
Do I need special brackets for a microwave shelf?
Use heavy-duty brackets rated for the microwave’s weight and anchor them to studs. Brackets and fasteners should match the unit’s weight and vibration profile.
Is it safe to mount a microwave above a cooktop?
It can be safe if the microwave is an over-the-range model designed for that use and installed per manufacturer instructions and local codes. Proper clearance and venting are crucial for safety and warranty compliance.
What weight capacity should my shelf support?
Plan for at least the microwave’s listed weight plus 20% extra for safety. Many mid-size units weigh 25 to 50 pounds, while large convection models can weigh more.
Conclusion
Good microwave shelf placement balances ventilation, height, and sturdy support. Follow manufacturer guidelines, anchor to studs, and set the unit at a safe, reachable height. Small planning steps prevent damage and make daily use easier. Now take a moment to measure your space, read your microwave manual, and pick a shelf spot that fits safety and style—then enjoy a safer, smarter kitchen. Share your experience or questions below, or subscribe for more kitchen setup tips.