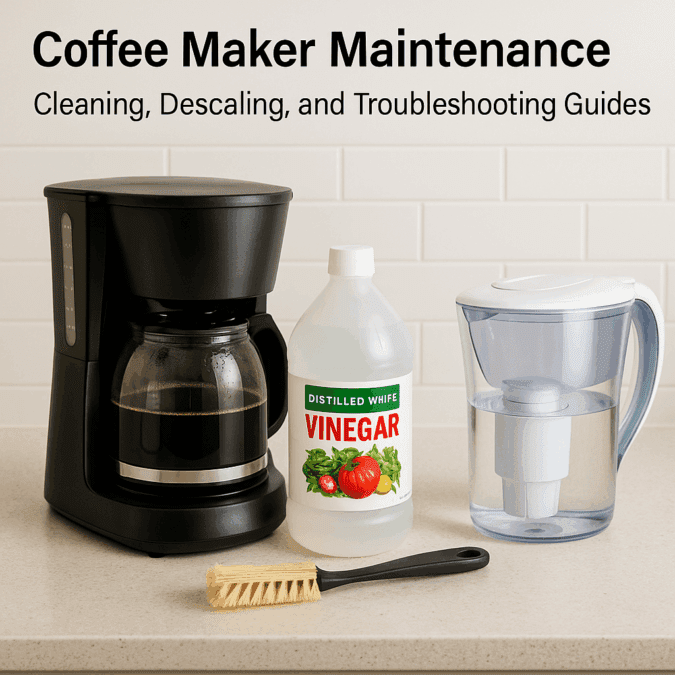
Coffee Maker Cleaning & Filter Maintenance: A Complete Guide for Fresh, Better-Tasting Coffee
Coffee Maker Cleaning & Filter Maintenance is easy to overlook. A coffee maker may look clean from the outside while old coffee oils and mineral deposits build up inside. Those deposits can affect taste, smell, flow, and brewing time.
For most U.S. homes, a simple routine works well. Empty the basket after each brew, rinse removable parts, wash them often, and keep the water reservoir fresh. Then descale the machine when mineral scale builds up or when the maker’s manual calls for it.
In practice, the biggest gains often come from small habits. A clean filter basket and carafe can stop stale coffee oils from getting into the next pot. A clean water path can also help the machine heat and move water as designed.

Why Coffee Maker Cleaning & Filter Maintenance Matters
Coffee makers move hot water through coffee grounds many times each week. Water leaves minerals behind, while coffee leaves oils and fine particles behind. Without regular cleaning, both can collect on parts that touch the water or coffee.
Coffee oils can turn stale over time. They may leave a bitter or rancid taste that is easy to mistake for poor coffee beans. Mineral scale can also narrow water passages and slow the flow through the machine.
Good Coffee Maker Cleaning & Filter Maintenance keeps the parts that touch your coffee clean and helps you spot problems early. It also makes the next cleaning job faster because less residue has time to harden.

- ✦ Better taste
Clean parts reduce old coffee oils, fine grounds, and stale residue that can affect the flavor of a fresh brew.
- ✦ Better flow
Removing mineral scale helps keep water passages clear and supports normal water flow.
- ✦ Less odor
Regular washing helps prevent old coffee residue from creating a stale smell around the basket, carafe, and reservoir.
- ✦ Easier care
Frequent light cleaning is usually easier than waiting until thick residue and scale build up.
What Builds Up Inside a Coffee Maker?
Three common types of residue are coffee oils, coffee particles, and mineral deposits. Coffee oils collect on the basket and carafe, while small particles can settle in hard-to-reach areas. Minerals from tap water can form scale inside the heating and water paths.
The amount of buildup depends on how often you brew, the water you use, and the design of your coffee maker. Hard water usually creates scale faster than soft or filtered water.
- ✦ Coffee oils
These come from brewed coffee and can coat baskets, carafes, lids, and other coffee-contact surfaces.
- ✦ Mineral scale
Calcium and other minerals in water can form a hard layer inside parts of the water path.
- ✦ Fine coffee residue
Small grounds and particles can remain in filter baskets and around seals or openings.
How Often Should You Clean a Coffee Maker?
There is no single schedule that fits every coffee maker. A person who brews one pot each day has different needs from a home that makes several pots each day. Your water hardness also changes how often you may need to descale.
For everyday Coffee Maker Cleaning & Filter Maintenance, empty the used grounds or disposable filter after each brew. Rinse the basket and carafe after use, and let wet parts dry instead of leaving them closed while damp.
Give removable parts a proper wash at least several times a week if you use the machine daily. Follow the manufacturer’s manual for the timing of deep cleaning and descaling, since some models have special cleaning programs or filter systems.
- ✦ After every brew
Remove used grounds or the disposable filter, empty leftover coffee, and rinse the basket and carafe.
- ✦ Several times per week
Wash removable coffee-contact parts with dish soap and warm water when the manufacturer allows it.
- ✦ About monthly
Inspect the machine for scale, oily residue, odors, and slow brewing. A monthly cleaning is a useful starting point for many daily-use machines.
- ✦ When scale appears
Run the approved descaling process when mineral buildup becomes visible or the manufacturer recommends it.
A Simple Cleaning Schedule
A simple routine makes Coffee Maker Cleaning & Filter Maintenance easier to remember. Think of it as three levels: quick care after brewing, regular washing, and deeper maintenance.
If you brew many times each day or use hard tap water, you may need more frequent care. If your machine has a built-in cleaning alert, use that alert along with the manufacturer’s instructions.
- ✦ Daily
Empty grounds, rinse the basket, empty leftover water or coffee, and leave removable parts open to dry.
- ✦ Weekly
Wash the basket, carafe, lid, and other removable parts with warm water and dish soap if the manual permits.
- ✦ Monthly or as needed
Inspect for mineral scale and run a descaling or cleaning cycle when required.
How to Clean a Coffee Maker Step by Step
Start with the machine unplugged and cool. Never put the electrical base, power cord, or plug under water. Read the care section of the manual before using soap, vinegar, a commercial descaler, or a dishwasher.
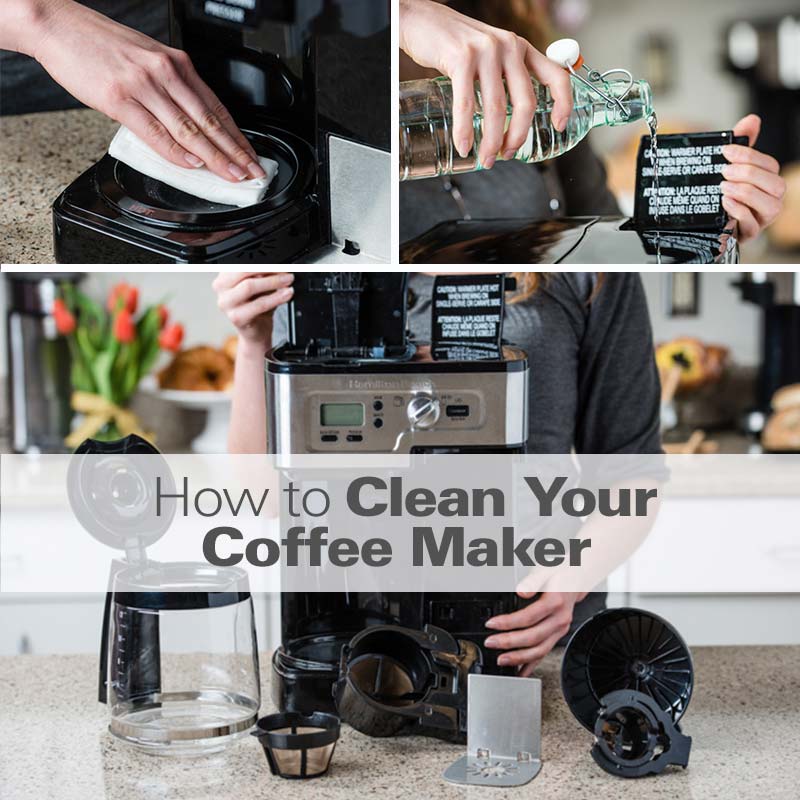
Good Coffee Maker Cleaning & Filter Maintenance starts with the parts you can see. Remove the filter basket, carafe, lid, and any other washable parts. Rinse away loose grounds, then wash the parts with warm water and mild dish soap when approved by the manufacturer.
Clean the outside with a damp cloth. Pay attention to the area around the basket and the surface where the carafe sits. Coffee splashes can dry into sticky residue that collects dust and old oils.
After washing, rinse each part well. Let parts dry fully before putting the machine back together. Trapped moisture can create stale smells, especially when a lid or reservoir stays closed for long periods.
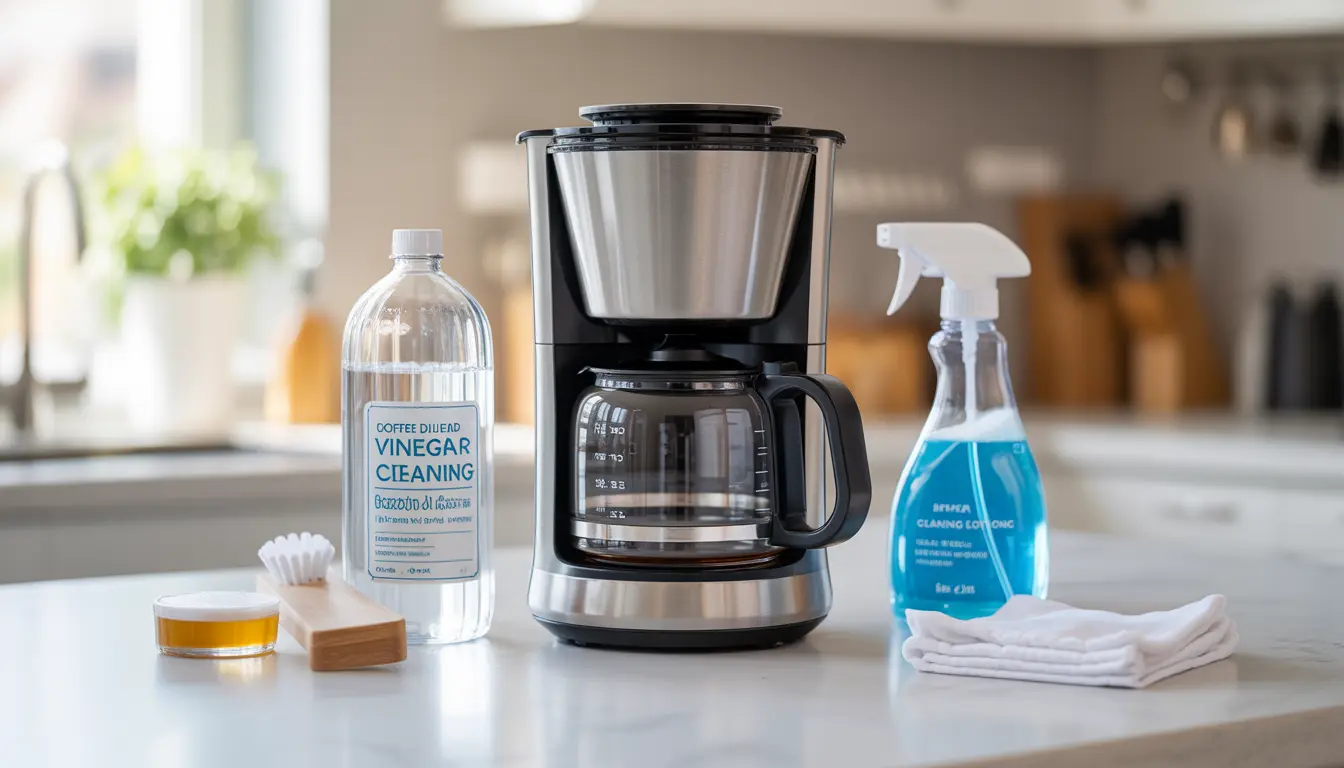
- ✦ 1. Unplug and cool the machine
Disconnect the coffee maker from power and wait until hot parts have cooled before cleaning.
- ✦ 2. Remove used coffee
Take out the used filter and grounds. Do not let wet grounds sit in the basket for long periods.
- ✦ 3. Wash removable parts
Clean the filter basket, carafe, lid, and other approved removable parts with warm water and mild dish soap.
- ✦ 4. Wipe the machine
Use a damp cloth to clean the housing, warming plate, control area, and other exterior surfaces.
- ✦ 5. Rinse and dry
Rinse soap away fully and allow parts to dry before reassembly.
- ✦ 6. Clean the water path
Use the manufacturer’s approved cleaning or descaling process when the inside of the machine needs deeper care.
What Not to Do When Cleaning
Do not soak the electrical base unless the manufacturer specifically designed it for that purpose. Do not use abrasive pads that can scratch surfaces. Avoid strong cleaners that the manufacturer does not approve for food-contact parts.
Also avoid guessing when a model has a special filter or cleaning system. Some machines use charcoal water filters, permanent filters, paper filters, or electronic cleaning programs. The manual should guide the care method for those parts.
- ✦ Do not immerse the base
Keep electrical components away from standing water and follow the manual’s cleaning instructions.
- ✦ Do not scrub with harsh abrasives
Rough cleaners can damage surfaces and coatings.
- ✦ Do not mix cleaners
Never mix vinegar, bleach, commercial descalers, or other cleaning chemicals.
Coffee Maker Filter Cleaning and Maintenance
The filter is one of the most important parts of Coffee Maker Cleaning & Filter Maintenance. It sits close to the coffee and can collect oils, grounds, and residue. A dirty filter basket can affect both taste and water flow.
The correct care depends on the filter type. Paper filters are normally single-use, while permanent metal or mesh filters are designed to be washed and reused. Some coffee makers also use a separate charcoal water filter that needs replacement rather than normal washing.
Before cleaning a reusable filter, empty the grounds and rinse away loose particles. Wash the filter with warm water and mild dish soap when allowed. Use a soft brush if fine particles remain trapped in the mesh, then rinse until no soap remains.

- ✦ Paper coffee filters
Treat standard paper filters as single-use unless the product maker clearly states otherwise. Remove them after brewing and discard them with the used grounds.
- ✦ Reusable mesh filters
Empty the grounds, rinse the mesh, wash it as directed, and check that no fine particles block the openings.
- ✦ Charcoal water filters
These filters are usually replaced on a set schedule rather than cleaned like a reusable coffee filter. Follow the coffee maker or filter maker’s replacement guidance.
- ✦ Filter baskets
Wash the basket regularly because coffee oils can build up on its walls and underside.
How to Clean a Reusable Coffee Filter
A reusable filter can last a long time when you clean it well. First, remove all grounds. Then rinse the filter from both sides so loose particles do not stay trapped in the mesh.
If the filter still feels oily, wash it with warm water and mild dish soap when approved by the manufacturer. Rinse it very well and let it dry fully before the next brew.
- ✦ Rinse first
A first rinse removes loose grounds before they can spread around the sink or clog the mesh.
- ✦ Wash gently
Use mild soap and a soft brush when needed. Avoid damaging fine mesh with hard tools.
- ✦ Inspect the mesh
Hold the filter up to the light and look for blocked openings, cracks, or damage.
When Should You Replace a Coffee Filter?
Replace disposable paper filters after each use. For reusable filters, replacement depends on the product design and condition. A filter that stays clogged, becomes damaged, or no longer cleans well may need to be replaced.
Charcoal water filters have their own replacement schedule. Follow the instructions for your exact coffee maker because filter life can vary by model and water quality.
- ✦ Visible damage
Replace a reusable filter if the mesh, frame, seal, or other part is cracked or damaged.
- ✦ Persistent clogging
A filter that remains blocked after proper cleaning may no longer work as intended.
- ✦ Manufacturer schedule
Replace water filters and other filter cartridges at the interval stated by the manufacturer.
How to Remove Mineral Buildup and Descale a Coffee Maker
Mineral buildup is different from coffee residue. It forms when minerals in water remain behind after repeated heating. Over time, scale can collect in the water path and heating area.
Descaling is a key part of Coffee Maker Cleaning & Filter Maintenance. It focuses on mineral deposits rather than the coffee oils that normal washing removes. If your machine has a cleaning or descaling program, use the method and product listed in its manual.
Many people use white vinegar as a home cleaning method, but vinegar is not suitable for every machine. Some manufacturers advise against it because of material, seal, odor, or warranty concerns. A manufacturer-approved descaler is often the safer choice when the manual recommends one.

- ✦ Check the manual first
Look for the approved descaling product, dilution, cycle, and rinse instructions for your exact model.
- ✦ Use the correct solution
Do not assume that vinegar is safe for every coffee maker. Use the product the manufacturer recommends.
- ✦ Run a full rinse
After descaling, follow the required fresh-water rinse cycles so cleaning solution does not remain in the water path.
- ✦ Watch for scale
White or chalky deposits, slower flow, unusual brewing sounds, or longer brew times can point to mineral buildup.
Vinegar vs. Commercial Descaler
White vinegar is a common home remedy for coffee maker cleaning because its acid can help break down some mineral deposits. However, a household method is not automatically the right method for every appliance.
Commercial descaling products are made for appliance use and may be the product the manufacturer recommends. If the manual says to avoid vinegar, follow that instruction rather than using a general cleaning recipe.
- ✦ Vinegar
It may help with mineral deposits in some machines, but only use it when the manufacturer permits it.
- ✦ Commercial descaler
This is often the preferred choice when the coffee maker maker specifies a descaling product.
- ✦ Fresh-water rinse
Always complete the required rinse process after descaling to remove the cleaning solution.
Cleaning the Carafe, Water Reservoir, Basket, and Other Parts
Coffee Maker Cleaning & Filter Maintenance is not only about the filter and internal water path. The carafe, lid, basket, and water reservoir also need care. These parts can hold coffee oils, water residue, and moisture between brews.
The carafe deserves special attention because coffee can leave a thin film on the glass or stainless steel. Wash it with warm water and mild dish soap, then rinse it well. For narrow openings, use a soft bottle brush if the manufacturer allows one.
The water reservoir should stay clean and free from standing water for long periods. Empty unused water when the manual recommends it, wipe or wash the reservoir as directed, and let it dry when practical.
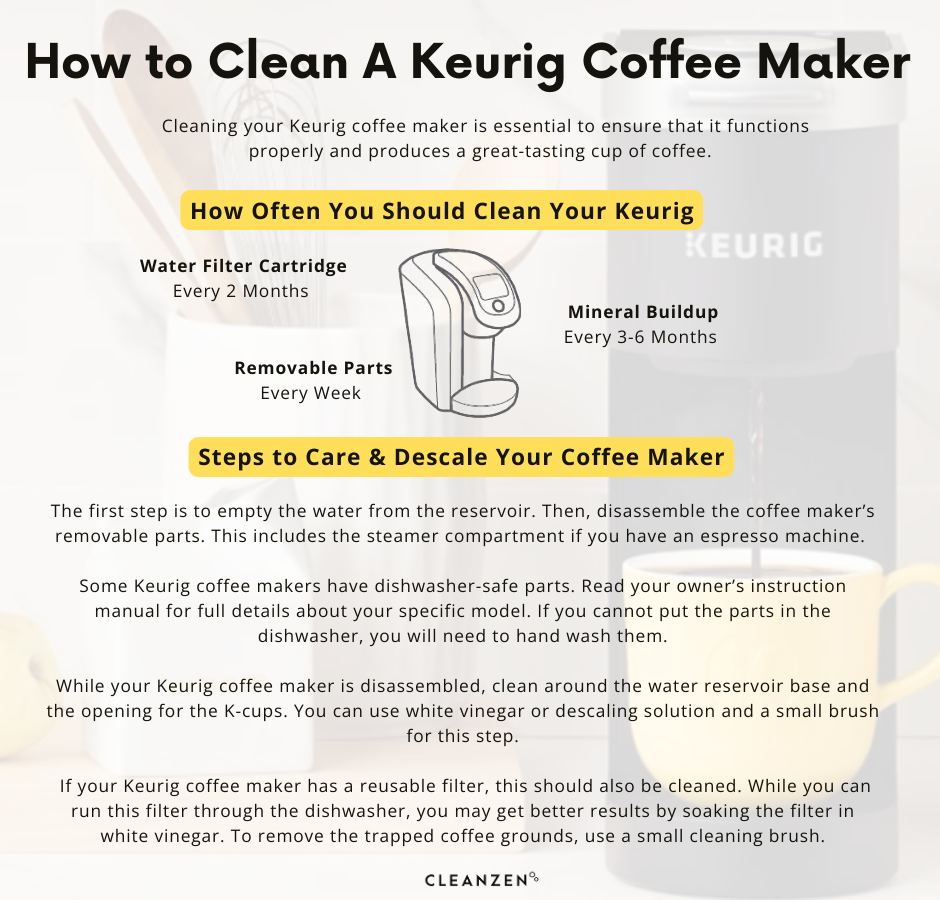
- ✦ Carafe
Wash away coffee oils and residue after use. Clean the lid and any removable parts as well.
- ✦ Filter basket
Rinse out fine grounds and wash away oils that can collect around the basket walls and openings.
- ✦ Water reservoir
Keep it free of stale water and clean it according to the maker’s instructions.
- ✦ Lid and seals
Check areas where moisture and coffee residue can hide, especially around removable seals and small openings.
- ✦ Warming plate
Once cool, wipe away spills and dried coffee to prevent a sticky layer from building up.
How to Deal With a Smelly Coffee Maker
A stale smell often comes from old coffee oils, wet grounds, or water that has sat too long. Start with the removable coffee-contact parts because they are easy to inspect and clean.
If the smell remains, inspect the reservoir, lid, basket, and water path. A manufacturer-approved cleaning or descaling cycle may be needed if residue has moved into internal parts.
- ✦ Remove old grounds
Do not leave wet grounds in the basket after brewing.
- ✦ Wash coffee-contact parts
Clean the basket, carafe, lid, and other removable parts that touch coffee.
- ✦ Dry parts well
Allow washable parts to dry before closing or storing them.
Common Coffee Maker Cleaning Mistakes to Avoid
Many coffee maker problems come from simple cleaning mistakes. People often focus on the carafe but forget the basket, reservoir, lid, or internal water path. Others clean the outside often but never descale the machine.
Good Coffee Maker Cleaning & Filter Maintenance should match the design of the appliance. A drip coffee maker, single-serve brewer, espresso machine, and thermal brewer may all need different care. Always treat the manufacturer’s instructions as the final guide for your model.
It is also important not to over-clean with harsh products. More cleaner does not mean better cleaning. The goal is to remove coffee and mineral residue without damaging food-contact parts, seals, coatings, or internal components.
- ✦ Ignoring the filter basket
Old oils and fine grounds can collect here even when the carafe looks clean.
- ✦ Leaving wet grounds inside
Wet grounds can create stale odors and make cleanup harder later.
- ✦ Skipping descaling
Normal washing does not remove all mineral scale from the internal water path.
- ✦ Using unapproved cleaners
Some materials and machines can react poorly to strong or unsuitable cleaning products.
- ✦ Failing to rinse
Soap or descaler residue should not remain in parts that contact coffee or brewing water.
- ✦ Cleaning while hot
Allow the machine and hot components to cool before cleaning to reduce the risk of burns and damage.
Signs Your Coffee Maker Needs a Deeper Clean
A change in coffee taste can be an early sign. If the same beans and recipe suddenly taste bitter, stale, or unusual, inspect the basket and carafe before changing the coffee.
Slow brewing can point to mineral buildup or a blocked filter. Unusual noises, poor water flow, visible scale, or repeated residue are also reasons to check the manual and perform the recommended cleaning cycle.
- ✦ Bitter or stale taste
Old coffee oils or residue may be affecting the flavor.
- ✦ Slower brew time
Mineral scale or a blocked filter can restrict normal water flow.
- ✦ Visible white deposits
Chalky deposits often suggest mineral scale.
- ✦ Persistent odor
Old coffee residue or standing moisture may need deeper cleaning.
A Practical Long-Term Maintenance Routine
The best Coffee Maker Cleaning & Filter Maintenance plan is one you can follow without much effort. Empty the filter after brewing, rinse the basket and carafe, and keep the parts clean and dry. Then use the manufacturer’s cleaning and descaling schedule for deeper care.
If you use hard water, watch the machine more closely for scale. A suitable water filter may reduce mineral load in some machines, but it does not replace regular cleaning or descaling.
- ✦ Keep a simple routine
Small cleaning steps after each brew prevent large amounts of residue from building up.
- ✦ Track filter changes
Write down when you replace a charcoal or other replaceable water filter.
- ✦ Follow model-specific instructions
Use the manual for dishwasher safety, cleaning cycles, filter types, and descaling products.
- ✦ Check water quality
Hard water can increase mineral buildup, so adjust maintenance when your machine shows scale sooner than expected.
Coffee Maker Cleaning & Filter Maintenance for Different Coffee Maker Types
Different coffee makers need different care. A standard drip brewer has a filter basket, water reservoir, carafe, and internal water path. A single-serve machine may have a pod holder, needle area, reservoir, and separate water filter.
The basic rule stays the same: clean coffee-contact parts, keep water-contact parts fresh, remove mineral scale when needed, and replace filters according to the instructions. Do not assume that a cleaning method for one machine is safe for another.
Coffee Maker Cleaning & Filter Maintenance also changes with use. A brewer used by several people each morning may need more frequent washing than a machine used only on weekends.
- ✦ Drip coffee makers
Focus on the filter basket, carafe, lid, reservoir, warming plate, and internal water path.
- ✦ Single-serve brewers
Clean the pod holder, needle or puncture area, reservoir, drip tray, and other model-specific parts.
- ✦ Thermal coffee makers
Clean the carafe and lid carefully because coffee oils can build up inside narrow openings.
- ✦ Espresso machines
Follow the machine’s specific cleaning routine for the brew group, portafilter, steam system, water reservoir, and scale removal.
When to Read the Manual Instead of Using a General Cleaning Method
Use the manual whenever the machine has a special filter, automatic cleaning cycle, removable brew unit, electronic descaling alert, or unusual material. The same cleaner may be fine for one machine and unsuitable for another.
The manual also tells you which parts are dishwasher safe. If that information is missing, hand washing with mild soap and warm water is often the more cautious approach for removable parts, but the manufacturer’s instructions should take priority.
- ✦ Special water filters
Check the required replacement interval and whether the filter should ever be rinsed or soaked.
- ✦ Automatic cleaning cycles
Use the programmed cycle as directed instead of changing the solution amount or process.
- ✦ Removable brew units
Follow the manufacturer’s instructions for removal, washing, drying, and lubrication if applicable.