Microwave Trim Kits: Upgrade Your Built-In Microwave
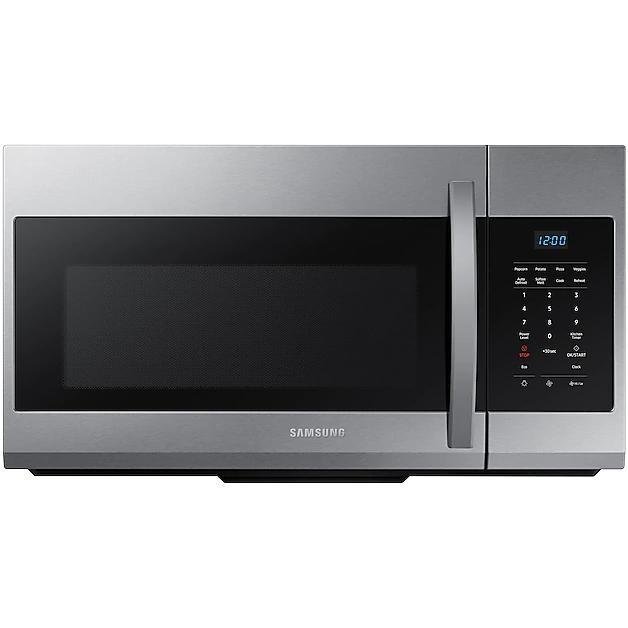
Microwave trim kits are decorative frames that finish and fit over built-in microwaves.
I have installed and tested microwave trim kits across many kitchens. I will explain what they are, how they work, how to pick the right one, and step-by-step tips I learned on real installs. This guide covers definitions, types, measurements, installation steps, compatibility checks, common mistakes, costs, and buying advice so you can choose the best microwave trim kits for your space with confidence.

What are microwave trim kits and how do they work?
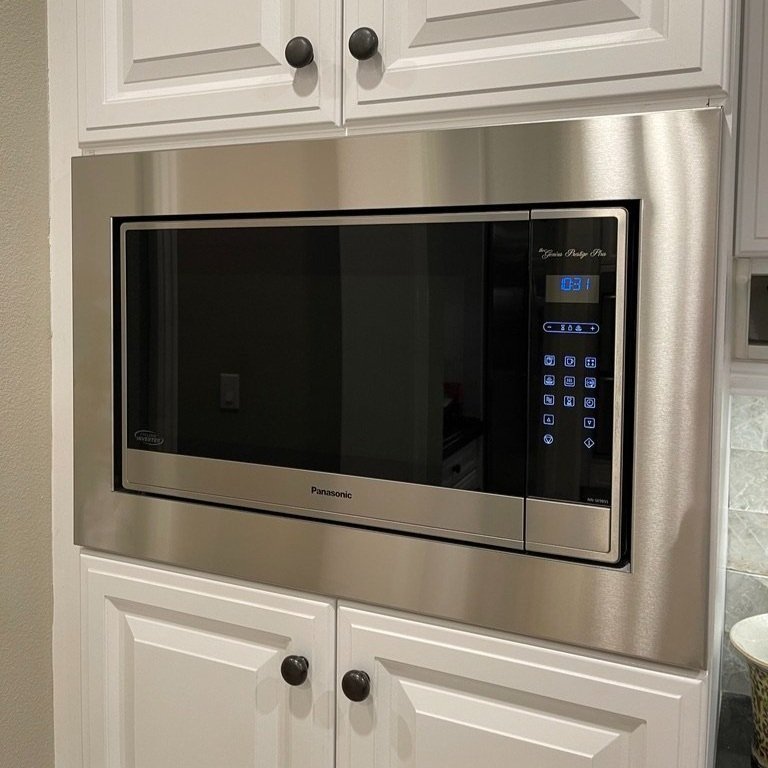
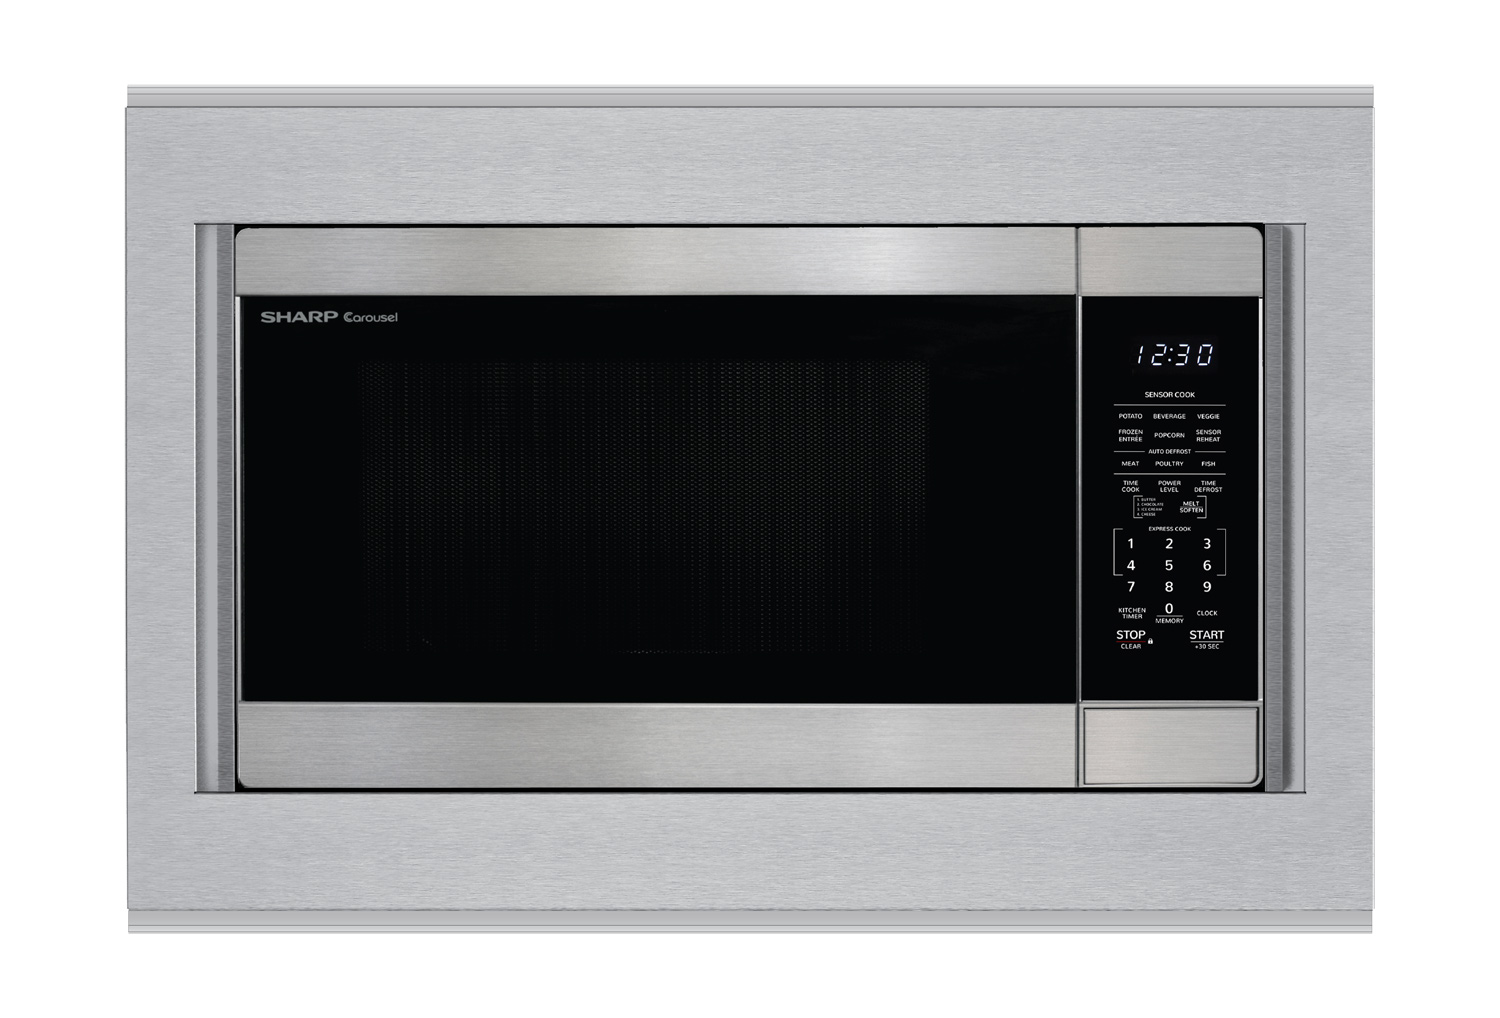
Microwave trim kits are metal or plastic frames. They cover gaps around a built-in microwave. They give a finished look and help the appliance blend with cabinets or a wall. Trim kits also secure the microwave in place in some models.
A trim kit usually includes:
- A front frame that hides gaps
- Mounting brackets or screws
- Corner pieces for a clean joint
Most trim kits attach to the microwave or to the cabinet opening. They do not change microwave functions. They change fit and look. I prefer simple kits that match the microwave finish and cabinet design.

Why use microwave trim kits?
Trim kits solve both look and fit problems. Many microwaves are designed for countertop use but also sell as built-in. Without a trim kit, a built-in microwave looks unfinished. Trim kits:
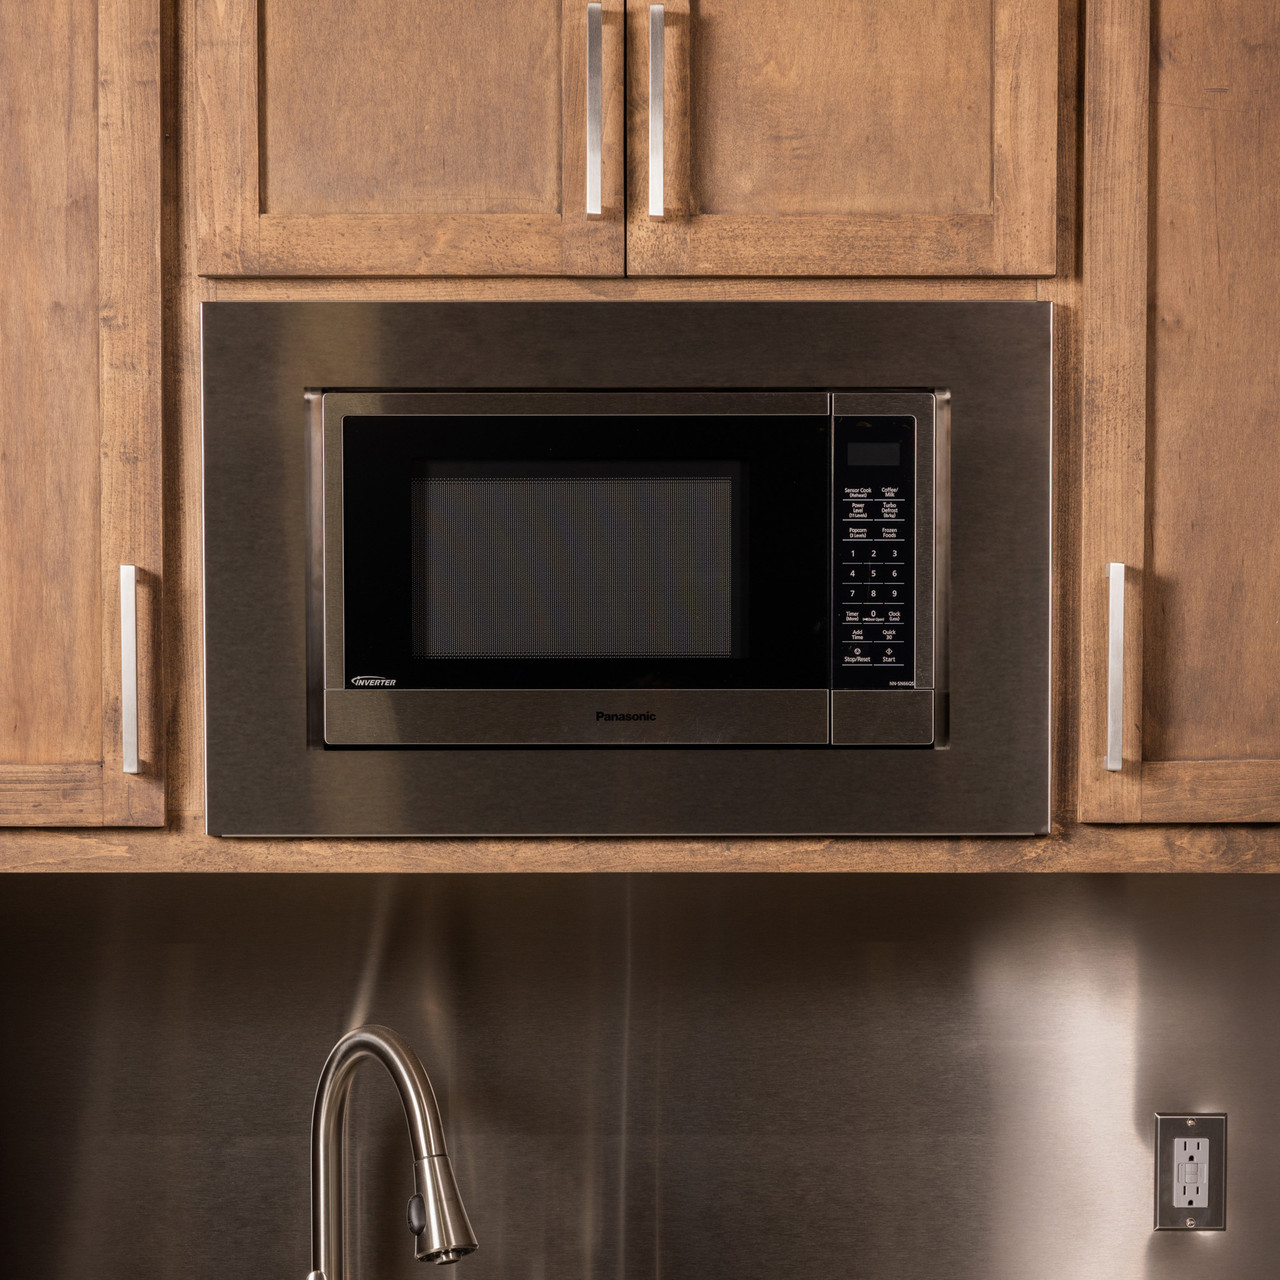
- Create a flush, built-in appearance
- Hide uneven cabinet cuts
- Reduce drafts and light leakage around the cavity
- Provide a safer, tidier installation
From experience, a trim kit can make an older microwave look like a custom built-in. It is a small upgrade with a large visual effect.
Types of microwave trim kits and finishes
Trim kits come in several styles. Choose a type that fits your microwave model and kitchen look.
Common types:
- Universal trim kits: Fit many sizes with adjustable edges.
- Model-specific trim kits: Made for a specific microwave model. Fit is precise.
- Flush-mount trim kits: Make the microwave sit level with cabinetry.
- Overlay trim kits: Fit around counter-depth microwaves to match cabinets.
Finish options:
- Stainless steel: Matches modern appliances.
- Black or white: Works for contrasting looks.
- Custom painted or wood-faced: Blends with cabinet doors.
I recommend model-specific kits for the cleanest fit. Universal kits work if you want flexibility.

Measuring and compatibility: getting the right fit
Accurate measures are key for any trim kit install. A wrong size can leave gaps or prevent the microwave from fitting.
Measure these items:
- Width of the microwave unit
- Height of the microwave unit
- Depth from the front face to the rear
- Cabinet opening width and height
- Clearance for vents and doors to open
Check compatibility:
- Match trim kit model number to microwave model
- Verify venting type: rear, bottom, or top vents must stay clear
- Confirm weight support for upper cabinet installs
Tip from my installs: measure twice and check the microwave manual for cutout specs before buying a trim kit. A small error forces a return or tweak.
How to install microwave trim kits: a simple step-by-step
Installing a trim kit is often doable for a confident DIYer. If you are unsure, hire a pro.
Basic steps:
- Read the microwave and trim kit manuals fully.
- Turn off power and clear the installation area.
- Fit the microwave into the cabinet opening carefully.
- Attach mounting brackets to the microwave as directed.
- Secure the microwave to cabinet framing or the trim kit screws.
- Place the trim frame over the microwave face and fasten evenly.
- Check that the door clears the trim and opens smoothly.
- Restore power and test microwave functions.
Common tools you may need:
- Screwdrivers
- Drill and bits
- Level
- Tape measure
- Utility knife or shims for small adjustments
My mistake on a first install was rushing the leveling step. A misaligned trim kit can make the door hit the frame. Take time to level and shim before final screws.

Benefits, limitations, and safety considerations
Benefits:
- Professional built-in look
- Hidden gaps and cleaner kitchen lines
- Some kits add heat shielding or vent alignment
Limitations:
- Not all microwaves accept trim kits
- Some kits reduce door clearance
- Improper install can block vents and cause overheating
Safety tips:
- Keep vents clear for air flow and heat.
- Follow manufacturer instructions on clearance from cabinets.
- Use proper electrical connections and, if needed, a licensed electrician.
From my experience, prioritizing venting and electrical safety avoids damage and fire risk.
Choosing the right microwave trim kits: practical shopping checklist
Use this checklist when buying:
- Confirm model compatibility and part number.
- Choose a finish that matches other appliances.
- Verify the kit includes all mounting hardware.
- Check return policy and warranty.
- Read user reviews and install notes.
Where to buy:
- Manufacturer parts departments
- Appliance dealers
- Major home improvement stores
- Specialty online shops
I once ordered a universal kit for a tight opening. It required custom trimming. If you want low hassle, buy a model-specific kit.

Common mistakes, troubleshooting, and quick fixes
Common mistakes:
- Wrong measurements before purchase
- Ignoring vent clearance
- Over-tightening screws that warp the frame
Troubleshooting tips:
- If the door sticks, loosen trim screws and realign the frame.
- If vents are blocked, add a spacer or use a vent relocation kit.
- If the finish scratches during fit, protect the face with tape or cloth.
Quick fixes I use:
- Use thin cardboard shims for minor leveling.
- Masking tape protects stainless finishes during adjustment.
- A touch-up kit covers small paint chips on colored trims.
These small steps save hours of rework and keep the kitchen looking sharp.
Cost, warranty, and where to get help
Typical price range:
- Budget universal kits: low to mid price range
- Model-specific kits: mid to high price range
- Custom or wood-faced trims: higher end
Warranty and support:
- Many manufacturer kits include limited warranties.
- Keep receipts and model numbers for claims.
- For complex installs, contact manufacturer tech support.
If you need help, an appliance installer or cabinet pro can ensure safe fit and finish. I often advise readers to budget for a pro install if the microwave sits above a cooktop or in a high cabinet.
PAA-style quick questions
What size trim kit do I need for a built-in microwave?
Measure the microwave width, height, and the cabinet cutout. Then match those numbers to the trim kit specs or choose a model-specific kit.
Can I install a trim kit myself?
Yes, if you are comfortable with measuring, leveling, and basic tools. Hire a pro when dealing with tight vents or complex cabinetry.
Will a trim kit affect microwave cooling?
A proper trim kit will not if vents remain clear. Always follow vent clearance instructions to avoid overheating.
How long does an install take?
A typical DIY install takes one to two hours. Complicated cabinet work can take longer.
Do trim kits come with mounting hardware?
Many do, but always verify. Keep spare screws and check the included parts list before starting.
Frequently Asked Questions of microwave trim kits
What is the main purpose of a microwave trim kit?
A trim kit finishes the edges around a built-in microwave. It hides gaps and gives the unit a built-in look while providing some support.
Are trim kits universal or model-specific?
Both exist. Universal kits fit a range of sizes. Model-specific kits match one microwave model for a precise fit.
Can I use a trim kit with a vented microwave?
Yes, but ensure the kit does not block vents. Follow the microwave manual for vent clearance and placement.
How do I know my trim kit is the right depth?
Measure the microwave depth and cabinet recess. The trim kit specs list the compatible depth range. Confirm before buying.
Is a professional install necessary?
Not always. Many DIYers can install trim kits. Hire a professional if you are unsure about electrical work or venting.
Conclusion
Microwave trim kits are a small investment with a big visual payoff. They make microwaves look built-in, hide gaps, and improve kitchen aesthetics when chosen and installed correctly. Measure carefully, match the kit to your microwave model, and keep vents clear to ensure safe operation. If you feel unsure, seek professional help to avoid mistakes. Try one on your next kitchen refresh and notice how a simple frame can change the whole look. Leave a comment about your install or subscribe for more appliance tips.