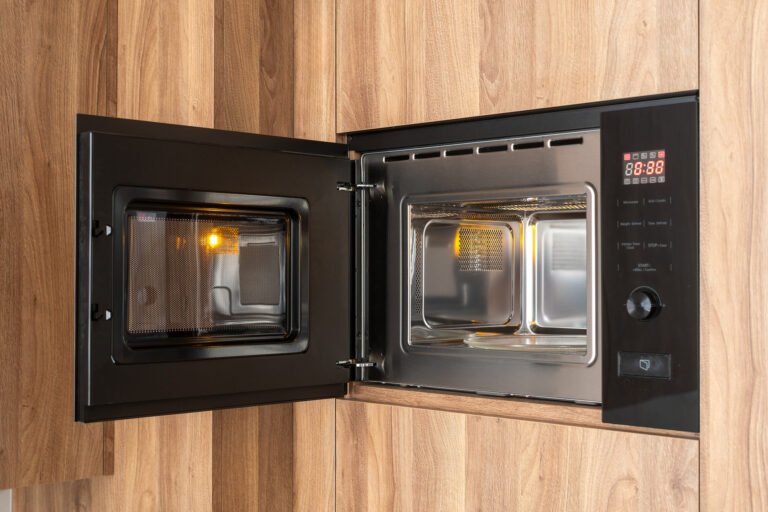
Microwave countertop spacing needs at least a few inches on all sides for safe ventilation.
I have installed and tested many kitchen microwaves over the years, and I know how crucial proper microwave countertop spacing is for safety, performance, and long life. This guide explains how much space to leave, why it matters, how to measure and plan, and smart fixes for tight kitchens. Read on for clear, practical steps and tips you can use right away.
Why microwave countertop spacing matters
Proper microwave countertop spacing lets heat and steam escape. Good spacing keeps vents clear. That helps the microwave cool itself and avoid damage.
Safety depends on spacing. Too little room can cause overheat, shorten the appliance life, and raise fire risk. Proper spacing also helps the microwave cook food evenly and keeps controls and handles safe to touch.
I once placed a microwave with almost no clearance. It overheated and tripped the circuit within weeks. After I moved it to allow proper microwave countertop spacing, it ran quietly for years. That taught me to always plan space first.

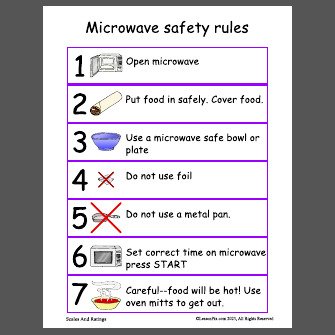
Recommended clearance and safety guidelines
Manufacturer needs vary, so check the manual first. Common safe ranges are:
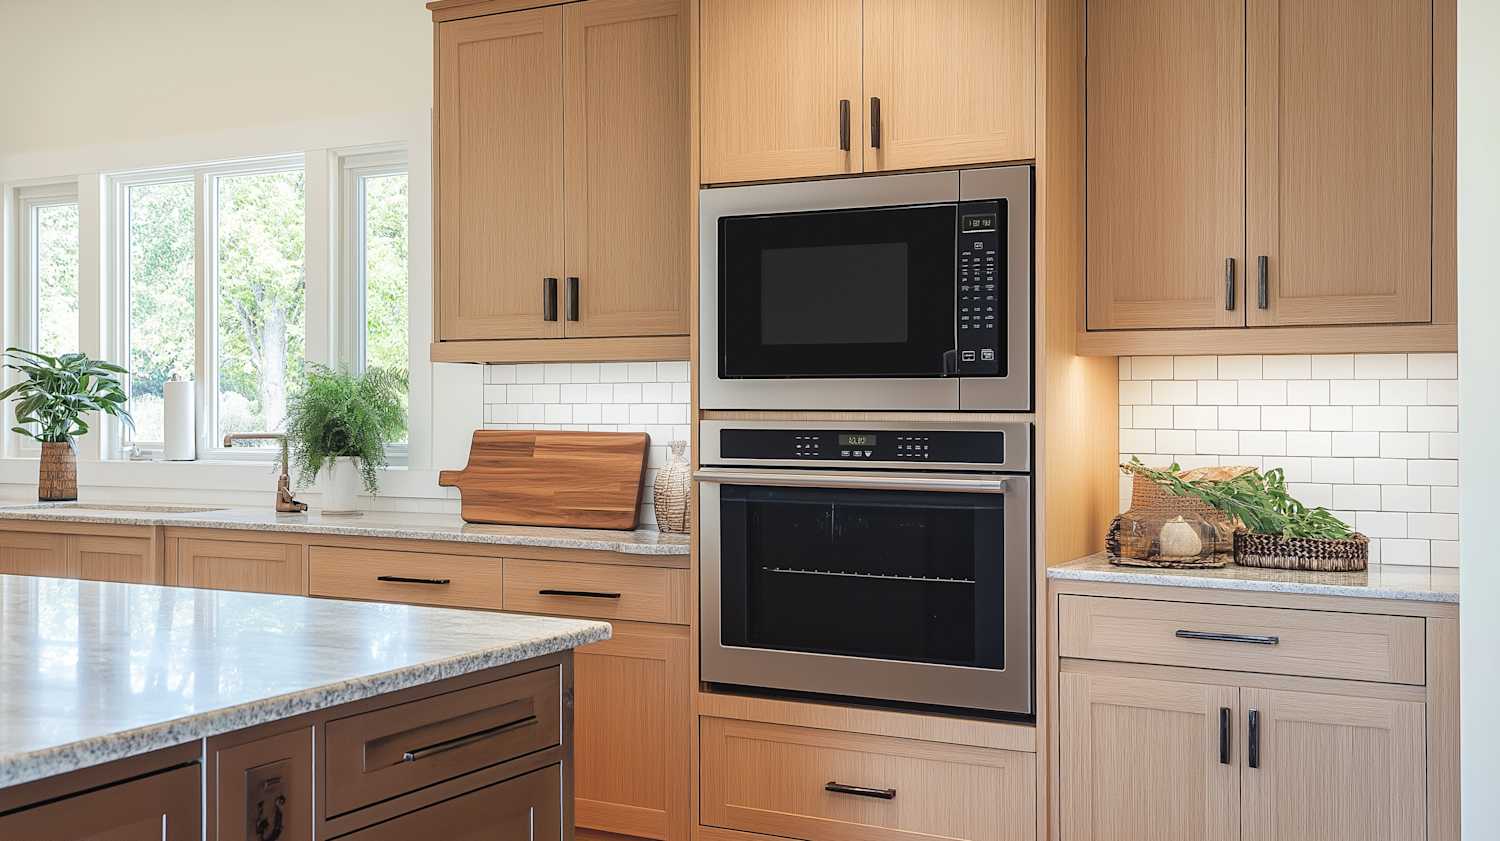
- Top clearance: 3 inches is common; 1 to 6 inches may be required by some models.
- Side clearance: 1 to 3 inches on both sides to allow air flow and door swing.
- Back clearance: 1 to 2 inches from the wall to help vent hot air.
- Front: Allow space for the door to open fully and for steam to escape.
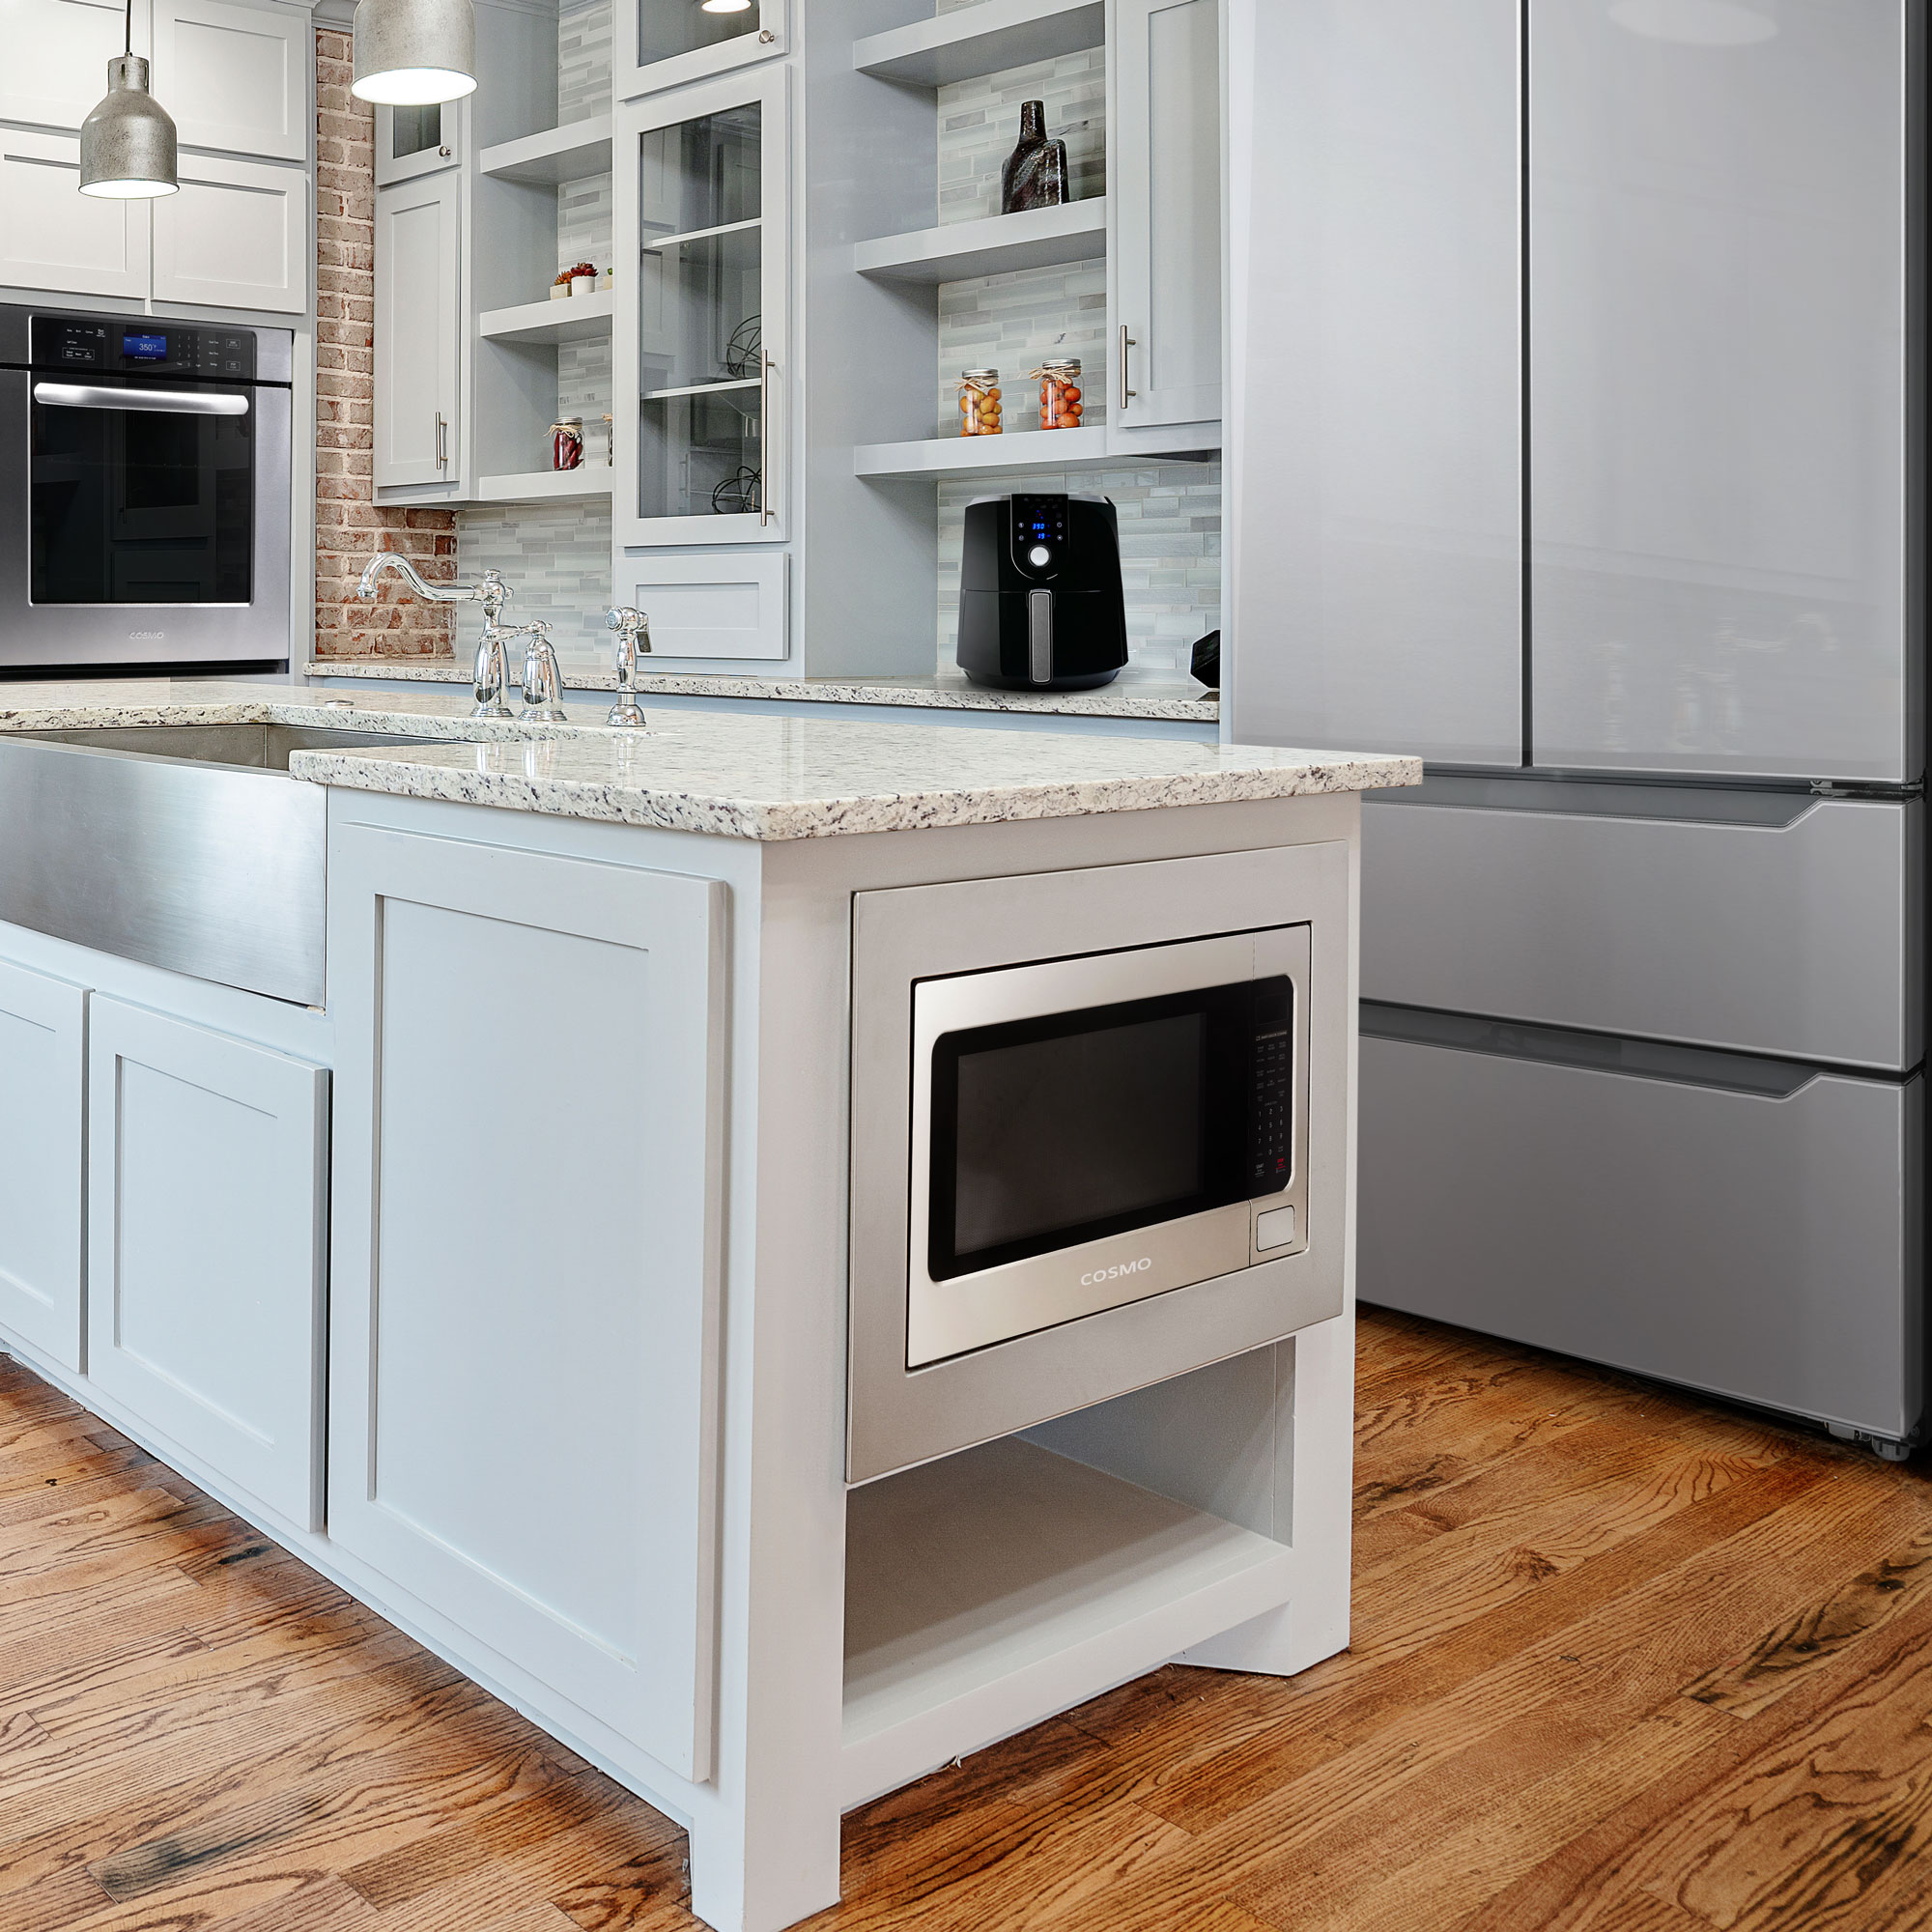
If your microwave has vents on the top, add extra top space. Built-in or trim kits change needs. Never box a countertop microwave in unless the manual says it is safe. When in doubt, give more room, not less.

How to measure and plan microwave countertop spacing
Follow these steps to set spacing right:
- Read the manual for the exact required clearances.
- Measure the microwave width, depth, and height.
- Add the manufacturer clearance numbers to each side.
- Check surrounding cabinets, shelves, and walls for interference.
- Plan power access and cord routing so the plug is not pinched.
Practical tip from my experience: mark the footprint and clearance on the counter with tape. Then sit the microwave there for a day to see if it feels cramped. This simple test avoids mistakes.
Effects of poor microwave countertop spacing
Poor spacing can cause several problems:
- Overheating and reduced life span
- Kiln-like conditions inside that damage components
- Tripped breakers from thermal overload
- Warped or discolored nearby surfaces from heat
- Poor cooking performance and uneven heating
I fixed a friend's microwave that died after months of tight placement. Moving it a couple of inches solved the issue and avoided a costly replacement.

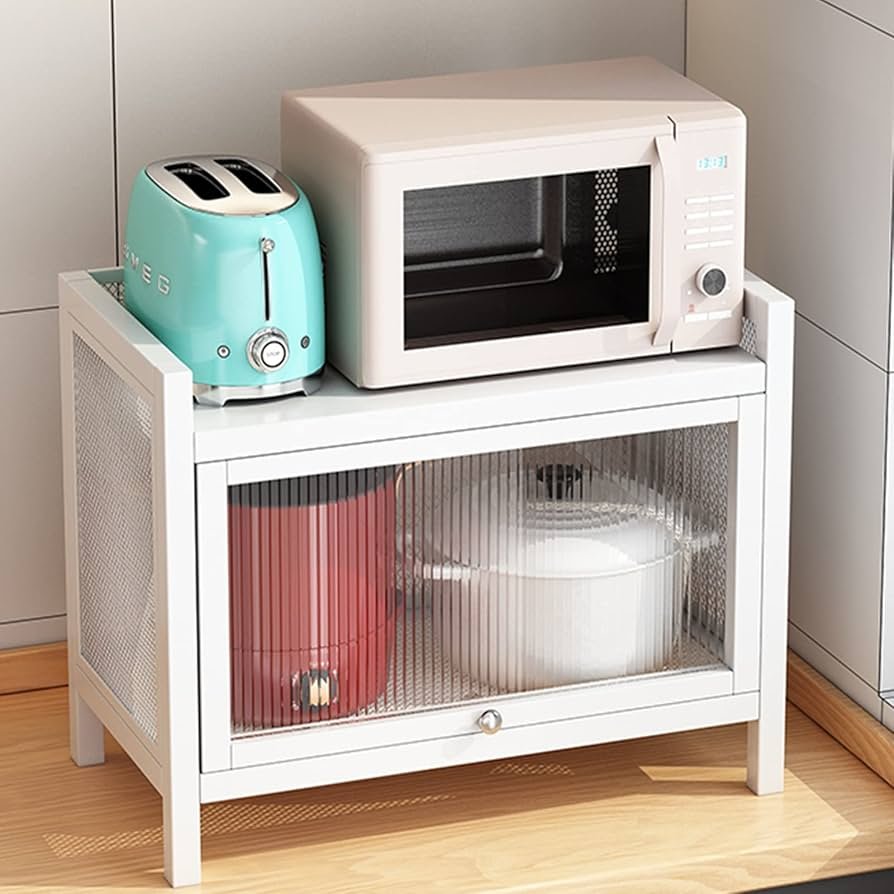
Tips for tight kitchens and small spaces
Small kitchens need smart moves to keep proper microwave countertop spacing:
- Use a microwave shelf to raise the unit while keeping air flow below.
- Choose a slim or low-profile model that needs less clearance.
- Place the microwave near an open wall rather than inside a deep cabinet.
- Avoid closed cubbies unless the model is rated for built-in use.
- Ensure vents are not blocked by backsplash or items placed on top.
If you must use a cabinet, confirm the model is built for built-in installation. Never cover vents with tape or foil; that traps heat and causes damage.
Installation checklist and tools
Keep this checklist handy before you set the microwave:
- Owner’s manual with clearance specs
- Tape measure and level
- Masking tape to mark footprint and clearance
- Power outlet within reach and not behind the unit tightly
- Non-slip pads or anti-tip devices if recommended
Install on a flat, stable surface. Avoid stacking heavy items on top. Test the door and vents after placement to ensure nothing blocks them.

Frequently Asked Questions of microwave countertop spacing
How much space should I leave above a countertop microwave?
Most manufacturers suggest about 3 inches above, but some models need more. Always check the owner’s manual for the exact requirement.
Can I put a microwave inside a cabinet?
Only if the microwave is rated for built-in use or you use an approved trim kit. Many countertop microwaves need open air around them and should not be enclosed.
What happens if my microwave has too little space at the back?
Too little back clearance can trap heat and steam. This can cause overheating, shorten the appliance life, and create a fire risk.
Are vents on the sides or top more important?
Both matter. You must keep all vent areas clear. If vents are on the top, give extra space there; if vents are on the back, allow more rear clearance.
Can I put items on top of my microwave?
It is not recommended to place items that block vents or that can be damaged by heat. Small lightweight items that do not cover vents are okay, but keep the top mostly clear for safety.
Conclusion
Proper microwave countertop spacing is an easy step that protects your appliance, your kitchen, and your family. Give your microwave enough room to breathe, follow the manual, and use simple tools to measure and test placement. Start by measuring your space, mark the clearance, and adjust as needed—this small effort saves time and money later. Try the footprint tape test today, and leave a comment sharing your setup or any space-saving hacks you use.