Blender Cleaning & Maintenance: A Complete Guide to Safe Care and Long-Term Use
A blender can look clean while food stays under the blade, around the gasket, or inside the lid. That hidden buildup can cause bad smells, stains, leaks, and poor hygiene. Good Blender cleaning & Maintenance is simple when you make it part of your normal kitchen routine.
For most U.S. homes, a blender may handle smoothies, sauces, soups, frozen drinks, nut butters, and baby food in the same week. Each use can leave a different type of residue. Fruit can dry into a sticky film, oils can cling to seals, and thick foods can pack around the blade assembly.
The best approach is not to scrub harder later. Clean the blender soon after use, use the right method for each part, and never put the motor base under running water unless the manufacturer clearly allows it. This guide explains safe daily cleaning, deep cleaning, maintenance checks, odor control, stain removal, and common problems.
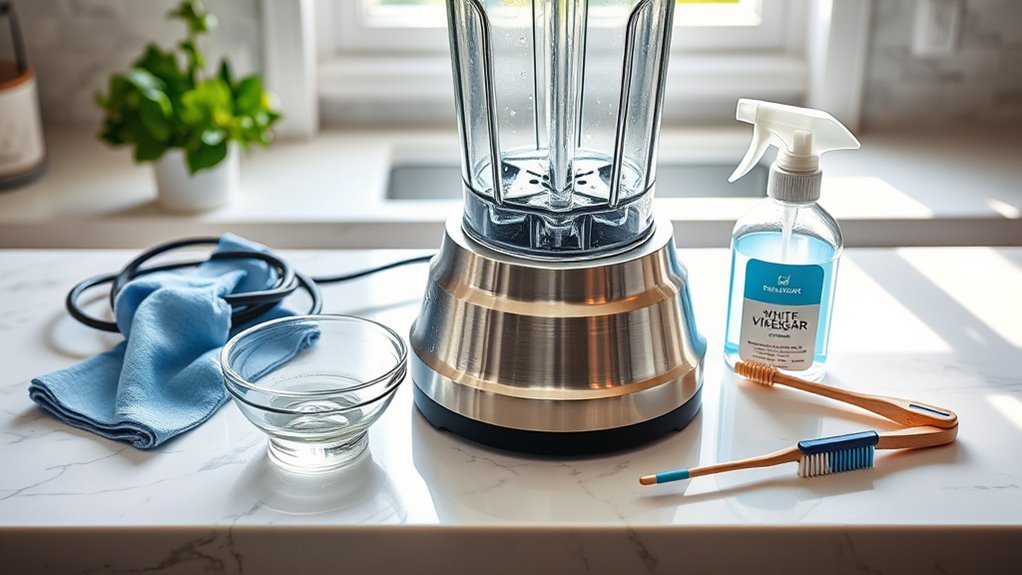
Why Blender Cleaning & Maintenance Matters
A blender has several parts that touch food and several parts that do not. The jar, lid, blade area, and gasket need regular cleaning. The motor base needs a different type of care because it contains electrical parts.
Food left in the jar can dry and become much harder to remove. Moist food can also leave an odor if it sits for hours. Regular Blender Cleaning & Maintenance keeps the machine easier to clean and helps you spot small problems before they become bigger ones.
Maintenance also protects performance. A loose gasket may cause a leak. A damaged blade assembly may affect blending. A wet motor base can create a safety risk, so separating cleaning from electrical care is important.
- ✦ Better hygiene
Prompt cleaning removes food residue before it can dry or remain trapped around the blade and seals.
- ✦ Less odor
Removing fruit, dairy, sauces, and other residues quickly helps prevent lingering smells.
- ✦ Fewer leaks
Cleaning and checking the gasket can help reveal damage, dirt, or poor seating that may cause leaks.
- ✦ Longer useful life
Careful handling reduces unnecessary wear on the jar, seals, blade assembly, and motor base.
Cleaning and Maintenance Are Not the Same
Cleaning removes food, grease, stains, and residue. Maintenance means checking the blender and keeping its parts in good working order. Both matter, but they involve different steps.
For example, wiping the base is cleaning. Checking the power cord for damage is maintenance. Washing the jar after a smoothie is cleaning. Checking the blade seal for a leak is maintenance.
- ✦ Clean
Remove food and residue from the parts that contact food.
- ✦ Maintain
Inspect parts, dry them well, store them correctly, and replace damaged components.
How to Clean a Blender After Every Use
The easiest Blender Cleaning & Maintenance routine starts right after blending. Do not let food sit in the jar for a long time if you can avoid it. Fresh residue is usually much easier to remove than dried residue.
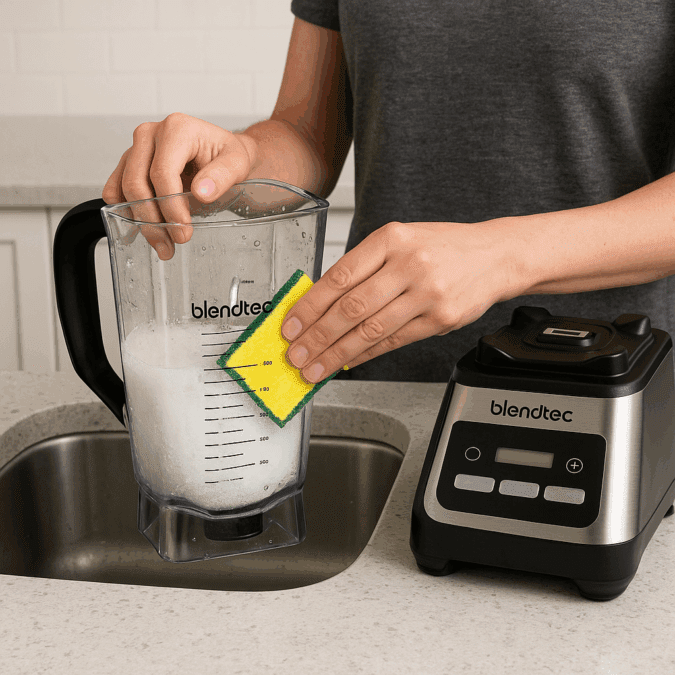
Start by turning off the blender and unplugging it when your model’s instructions call for this before handling parts. Remove the jar from the base and empty any remaining food. Never place your fingers near moving blades, even when the blender is unplugged.
Wash the removable parts based on the manufacturer’s instructions. Some jars, lids, and blade assemblies can go in a dishwasher, while others require hand washing. If you are unsure, check the manual rather than assuming a part is dishwasher safe.
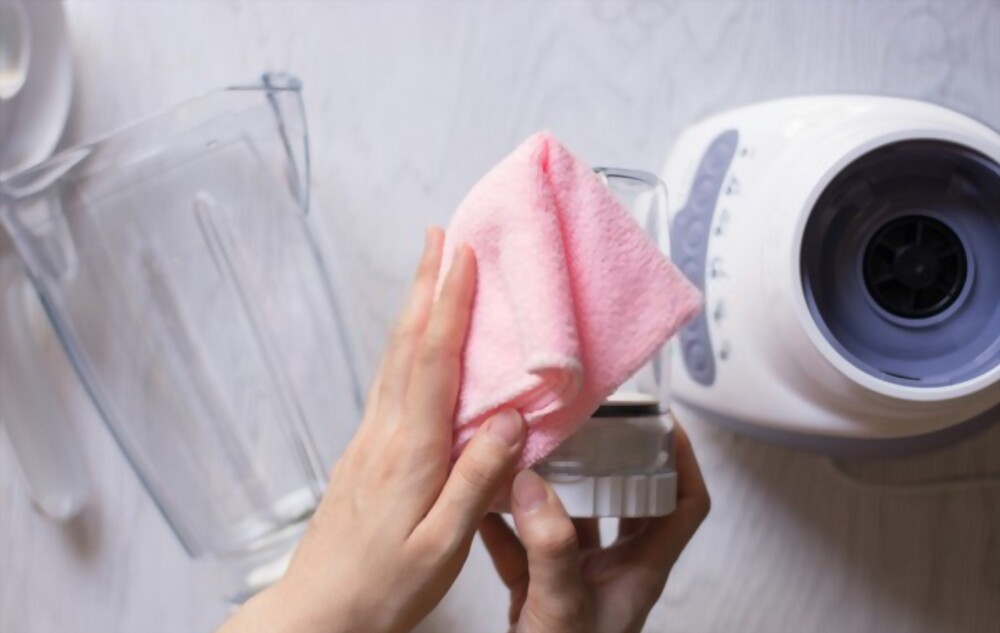
- ✦ Step 1: Unplug and separate
Turn the blender off, unplug it when appropriate, and separate the food container from the motor base.
- ✦ Step 2: Remove food
Empty the jar fully and use a soft spatula for thick food if needed.
- ✦ Step 3: Wash removable parts
Use warm water and dish soap unless the manufacturer’s instructions require another method.
- ✦ Step 4: Clean around the blade
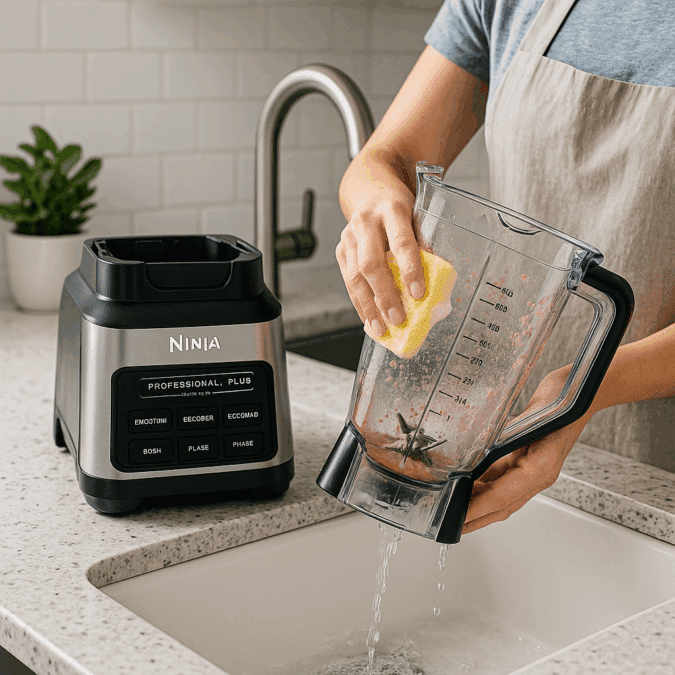
Use a soft brush or suitable cleaning tool to reach food trapped near the blade area. Keep your hands away from sharp edges.
- ✦ Step 5: Rinse
Rinse away soap and loosened food residue.
- ✦ Step 6: Dry
Allow parts to dry fully before storage or reassembly.
- ✦ Step 7: Wipe the base
Use a slightly damp cloth to wipe the motor base, then dry it. Keep liquid out of openings and controls.
The Quick Rinse Method
For a light smoothie or drink, a quick rinse can remove most fresh residue before a full wash. Add water only in the way your manufacturer allows, secure the lid, and use the blender’s cleaning or low-speed setting if the manual supports that method.
Do not treat this as a replacement for regular washing. Food can remain under the blade, around seals, or in the lid even when the jar looks clean.
- ✦ Use fresh water
Fresh water helps loosen soft residue before it dries.
- ✦ Do not overfill
Use only the amount and method recommended for your blender.
- ✦ Finish with a real wash
Wash the parts properly after foods that contain dairy, oils, thick sauces, or other sticky ingredients.
How to Clean Blender Blades Safely
Blender blades need special care because they can be sharp and may have tight spaces where food collects. Never reach into the blade area with bare fingers to remove stuck food. Use a soft brush, sponge, or tool that lets you keep your hand away from the cutting edge.
Some blender blades are part of a removable assembly. Others stay attached to the jar. Do not force a blade assembly apart just because you want to clean it. Follow the manufacturer’s instructions for removal, cleaning, lubrication if specified, and replacement.
Blade care is an important part of Blender Cleaning & Maintenance because buildup can affect both hygiene and performance. If the blade assembly becomes loose, cracked, badly corroded, or difficult to turn as designed, stop using the blender until the part is checked or replaced.
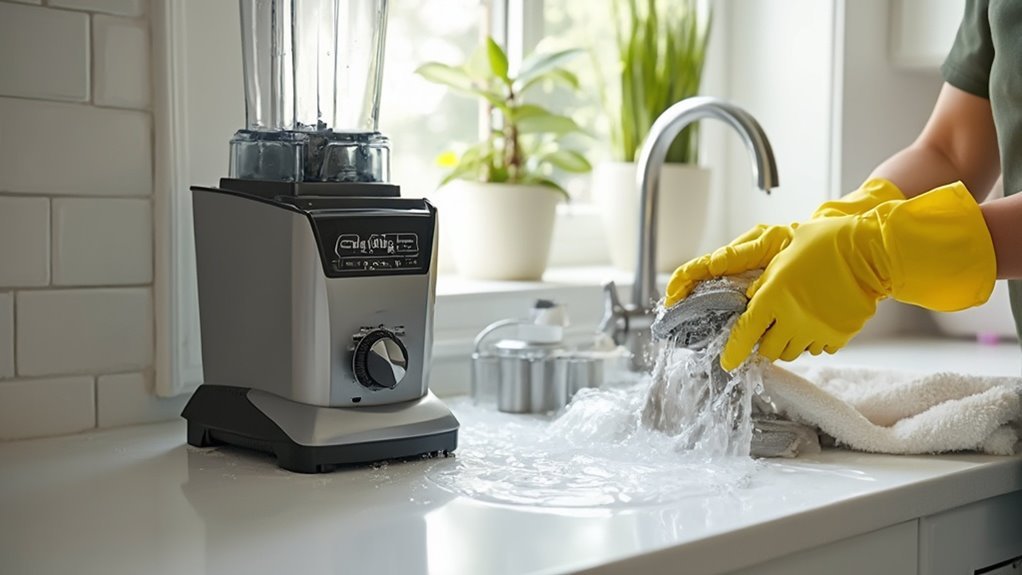
- ✦ Keep hands away
Never use your fingers to pull food from around sharp blades.
- ✦ Use a soft brush
A small brush can help reach food around the blade assembly without putting fingers near the cutting edge.
- ✦ Check the seal
Look for food buildup, cracks, or signs of leakage around the blade assembly and gasket.
- ✦ Do not force parts
Only remove blade parts when the manufacturer designed them to be removed.
Removing Stuck Food From the Blade Area
First unplug the blender and separate the removable container from the motor base. Let dried food soften with warm water when the manufacturer allows it. Then use a soft cleaning tool to loosen the residue.
Avoid metal tools that may scratch the jar or damage seals. If food remains trapped inside a sealed blade assembly, use the cleaning method in the owner’s manual rather than trying to pry the assembly apart.
- ✦ Soak first
Warm water can soften dried food and reduce the need for force.
- ✦ Brush gently
Use controlled strokes around the blade area and avoid direct contact with the sharp edge.
How to Clean the Blender Jar, Lid, and Gasket
The jar is easy to notice, but the lid and gasket often need more attention. Small bits of food can collect under a lid seal or inside a drinking cap. Thick smoothies can also stick to corners and ridges that a quick rinse may miss.
Wash the jar and lid with the method approved by the manufacturer. Pay close attention to grooves, seals, pour spouts, and locking areas. If a gasket can be removed safely, clean beneath it as directed and let it dry before putting it back.
Do not stretch, cut, or twist a gasket during cleaning. A seal that no longer sits correctly can cause leaks. Replacing a worn seal is often safer than trying to repair it.

- ✦ Inspect the lid
Check the underside, grooves, cap, and seal for trapped food.
- ✦ Clean the gasket
Remove and wash the gasket only if the manufacturer says it is removable.
- ✦ Check for cracks
Inspect the jar and lid for cracks, chips, or damage before use.
- ✦ Dry before storage
Dry the parts well to reduce moisture and odor during storage.
How to Remove Sticky Residue
Sticky foods such as nut butter, honey, thick sauces, and some fruit mixtures can leave a film. Warm water and dish soap often work well when used according to the blender’s care instructions.
Give stubborn residue time to soften rather than scraping hard. A soft sponge or brush can then remove the film with less risk of scratching the jar.
- ✦ Soften the residue
Use warm water when suitable for the blender and let the residue loosen before washing.
- ✦ Use mild dish soap
A normal dishwashing detergent is often enough for fresh food residue unless the manufacturer says otherwise.
How to Clean the Blender Base and Motor Safely
The motor base needs a very different cleaning method. It contains electrical components, switches, sensors, and other parts that should not be soaked. Never place the motor base in a sink or dishwasher unless the manufacturer specifically designed it for that use.
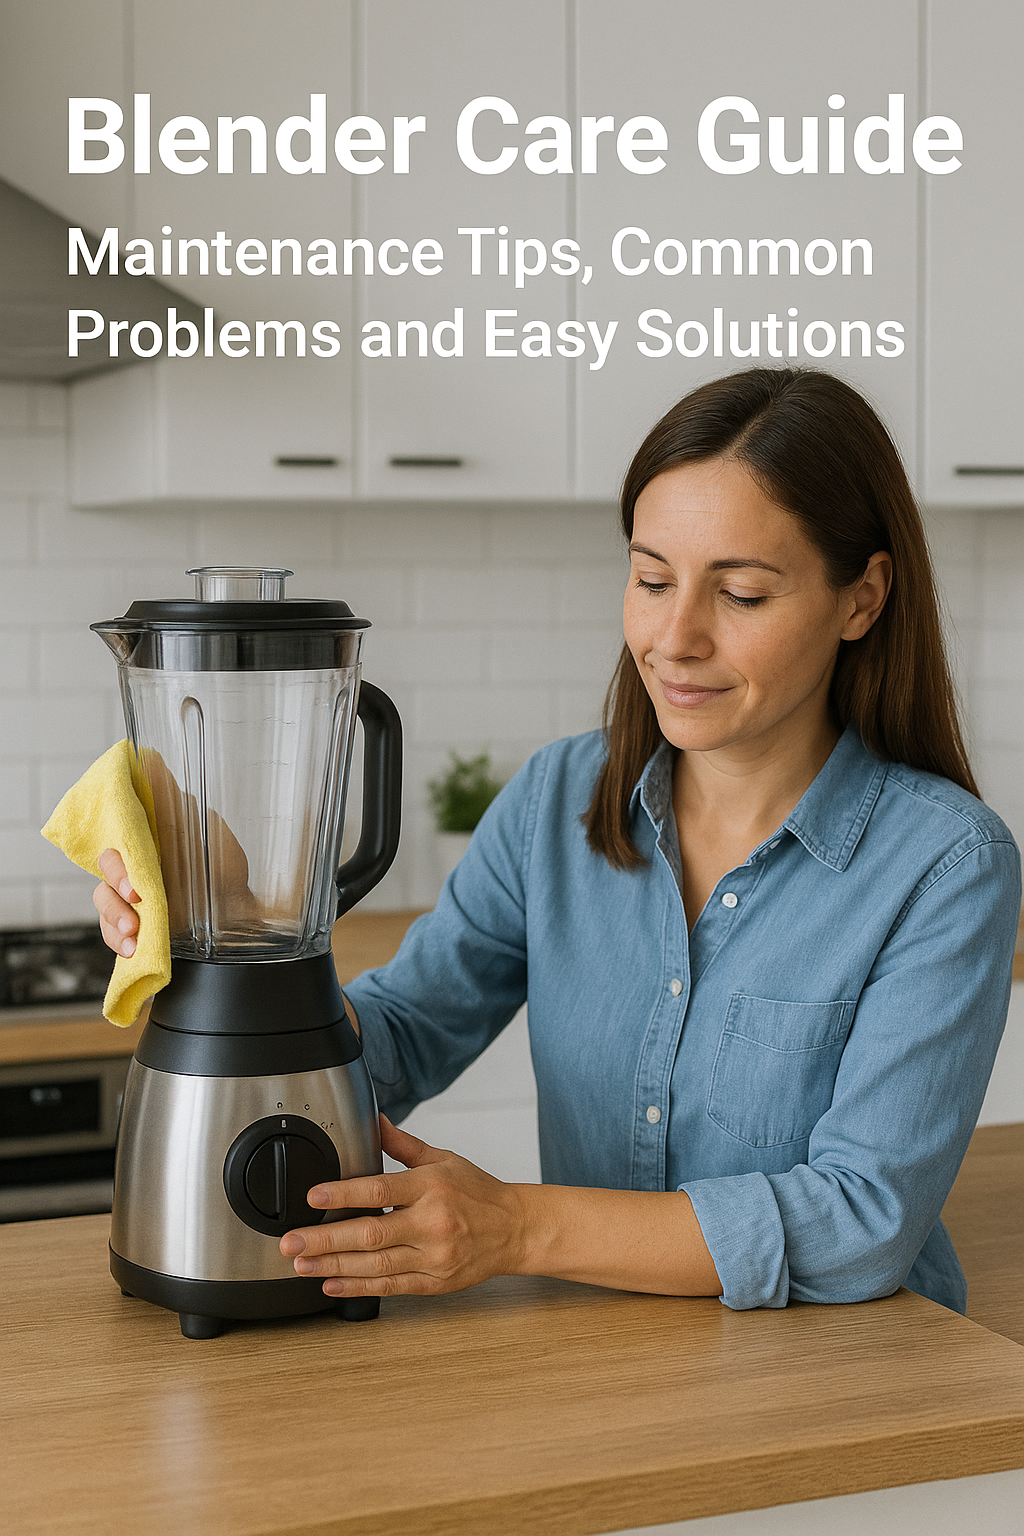
Unplug the blender when required for safe cleaning. Wipe the outside with a soft, slightly damp cloth. For food stuck around buttons or seams, use a carefully controlled cloth or cleaning tool rather than pouring liquid onto the base.
This is one of the most important Blender Cleaning & Maintenance rules: **water belongs on approved removable parts, not inside the motor housing**. If liquid enters the base, stop using the blender and follow the manufacturer’s safety guidance.

- ✦ Unplug first
Disconnect power before cleaning the motor base when the manufacturer’s instructions call for it.
- ✦ Use a damp cloth
Wipe the exterior with a cloth that is damp, not dripping wet.
- ✦ Keep openings dry
Do not let water enter vents, controls, seams, or other openings.
- ✦ Dry the surface
Finish with a dry cloth and let the base dry fully before use.
Cleaning Around Buttons and Controls
Food splashes can collect around control buttons. Turn off and unplug the blender as directed, then use a soft damp cloth to wipe the area. A cotton swab or small soft brush can help with narrow gaps when used carefully.
Do not spray cleaner directly onto the control panel. Apply any suitable cleaner to the cloth instead, and avoid harsh products unless the manufacturer approves them.
- ✦ Do not spray the base
Spraying liquid directly at controls can push moisture into the housing.
- ✦ Clean gently
Use light pressure so you do not damage buttons, labels, or seals.
Deep Cleaning a Blender: When and How to Do It
Daily washing handles most food residue, but a deeper clean helps when the blender develops an odor, sticky film, visible buildup, or stains. Deep cleaning is also useful after making foods with strong colors or smells.
Start with the manufacturer’s instructions. Remove only the parts designed for removal. Wash each approved part separately and pay attention to seals, grooves, the underside of the lid, and areas around the blade assembly.
Avoid aggressive cleaners and rough scrubbers unless the manufacturer approves them. They can scratch plastic, damage finishes, or weaken seals. Good Blender Cleaning & Maintenance should remove residue without creating new damage.
- ✦ Use warm soapy water
For many removable parts, warm water and dish soap provide a simple deep-cleaning method.
- ✦ Soak when appropriate
A short soak can soften dried food and reduce scrubbing.
- ✦ Clean hidden areas
Check under seals, around lid grooves, and near the blade assembly.
- ✦ Rinse well
Remove all soap before the next food preparation.
- ✦ Dry completely
Allow parts to air-dry or dry them with a clean towel before storage.
How Often Should You Deep Clean a Blender?
There is no single schedule that fits every blender. A person who makes plain fruit smoothies may need less deep cleaning than someone who blends nut butter, dairy, sauces, or strong spices often.
A practical rule is to deep clean whenever you see buildup, notice an odor, or find residue in areas that a normal wash does not reach. Regular inspection matters more than following an arbitrary calendar.
- ✦ After heavy foods
Deep clean sooner after thick, oily, sticky, or strongly colored foods.
- ✦ When odor appears
Inspect seals and hidden areas instead of masking the smell with fragrance.
- ✦ After long storage
Wash and inspect the blender before using it again if it has been stored for a long period.
How to Remove Blender Odors and Stains
Blender odors often come from food residue that remains in a seal, lid, blade area, or small groove. Strong ingredients such as garlic, onions, spices, and some protein-rich foods can leave smells even after a normal wash.
Begin with a normal wash using warm water and dish soap. If the odor remains, use a cleaning method approved by the blender manufacturer. Do not assume that every home remedy is safe for every jar, gasket, or blade assembly.
Stains are also common with foods such as berries, tomato-based sauces, turmeric, and leafy greens. A stain does not always mean the surface is dirty. If the material remains intact and clean after washing, the color may simply be cosmetic.

- ✦ Wash first
Remove normal food residue before trying to treat an odor or stain.
- ✦ Inspect hidden areas
Check seals, grooves, lid parts, and blade areas where food may remain.
- ✦ Follow material limits
Use only cleaning products and methods that are safe for the blender’s materials.
- ✦ Do not mask odors
A fragrance does not remove food residue and should not replace proper cleaning.
Preventing Smells From Coming Back
The best odor control starts with quick cleaning. Rinse the jar soon after use, wash it properly, and let removable parts dry fully before storage.
Do not store a damp blender jar with the lid tightly closed if the manufacturer does not recommend that practice. Good airflow during drying can help prevent stale smells.
- ✦ Clean soon
Fresh residue is easier to remove than food that has dried for hours.
- ✦ Dry fully
Moisture left during storage can contribute to stale odors.
Blender Maintenance Checklist for Long-Term Care
Blender Cleaning & Maintenance should include more than washing. A short inspection can reveal worn parts before they cause leaks, noise, or poor performance. This is especially useful for blenders that run often in busy homes or food-service settings.
Look at the jar, blade assembly, gasket, lid, controls, power cord, and motor base. The exact parts and replacement schedule vary by model, so use the owner’s manual for model-specific instructions.
If a part looks cracked, badly worn, loose, or damaged, do not keep using the blender just because it still turns on. A small replacement part can be much easier to deal with than a damaged machine or a preventable safety problem.

- ✦ Jar
Look for cracks, chips, clouding, unusual wear, or damage around the base.
- ✦ Blade assembly
Check for damage, unusual looseness, corrosion, or signs of leakage.
- ✦ Gasket
Look for stretching, cracks, hardening, food buildup, or poor fit.
- ✦ Lid
Check that the lid and any cap or locking parts fit as designed.
- ✦ Power cord
Inspect for cuts, exposed wires, melted areas, or other damage.
- ✦ Motor base
Check for unusual smells, liquid entry, damage, or changes in normal operation.
Signs That a Blender Part May Need Replacement
A blender part can wear out even when the rest of the machine works well. Seals can lose their shape, jars can develop damage, and blade assemblies can wear over time.
Use the manufacturer’s replacement parts when possible. Parts that look similar may not seal, fit, or operate correctly with your model.
- ✦ Repeated leaks
A leak that returns after correct assembly may point to a worn or damaged seal or container part.
- ✦ Visible cracks
A cracked jar, lid, or other structural part should be treated as a replacement issue.
- ✦ Unusual blade behavior
Grinding, wobbling, or other changes in blade operation can indicate a problem that needs inspection.
- ✦ Electrical damage
A damaged cord or electrical component should not be repaired casually or ignored.
Common Blender Cleaning Mistakes to Avoid
Many blender problems come from simple cleaning mistakes. People may soak the motor base, use a sharp tool around the blades, or store wet parts with the lid closed. These habits can damage the machine or make cleaning harder.
Another common mistake is waiting until food has completely dried. A few minutes of quick care can save much more work later. Blender Cleaning & Maintenance works best as a routine, not as a rescue job after weeks of buildup.
Always check your model’s manual for special instructions. Blender designs differ, and a cleaning method that works for one model may not be suitable for another.
- ✦ Soaking the motor base
Never soak or submerge the motor base unless the manufacturer specifically states that it is safe.
- ✦ Using fingers near blades
Do not reach into the blade area to pull out stuck food.
- ✦ Using harsh abrasives
Rough scrubbers and strong chemicals may damage surfaces or seals.
- ✦ Ignoring the gasket
The seal can trap residue and may wear even when the jar looks clean.
- ✦ Storing parts while wet
Let washable parts dry well before storage.
- ✦ Forcing removable parts
If a component is not designed to come apart, forcing it may cause damage.
Why Harsh Scrubbing Can Backfire
Scrubbing harder does not always produce a cleaner blender. Scratches can make some surfaces harder to keep clean, while damaged seals can lead to leaks.
Use the least aggressive cleaning method that removes the residue. Give dried food time to soften before using more force.
- ✦ Start gently
Use warm water, suitable dish soap, and a soft cleaning tool first.
- ✦ Increase effort slowly
If residue remains, use a manufacturer-approved method rather than jumping to harsh chemicals or abrasive tools.
Blender Cleaning & Maintenance for Commercial and Heavy Use
Blenders used in restaurants, smoothie shops, cafes, and other food businesses need a more disciplined cleaning routine. High use means more food contact, more wash cycles, and more wear on seals and blade assemblies.
Commercial operators should follow the equipment manufacturer’s cleaning instructions and their food-safety procedures. The cleaning process should also match the type of food and the equipment design.
For heavy use, a written checklist can help staff clean the same areas every time. This reduces the chance that small parts such as lid seals or blade areas get skipped during a busy shift.
- ✦ Clean between food uses
Follow the business’s food-safety procedure for cleaning and preventing cross-contact between foods.
- ✦ Inspect daily
Check blades, seals, containers, lids, cords, and other key parts as part of routine equipment care.
- ✦ Use approved chemicals
Only use cleaning and sanitizing products according to the equipment and product instructions.
- ✦ Train staff
Make sure every worker knows which parts can be removed, washed, sanitized, and dried.
- ✦ Record problems
Track damaged parts, leaks, unusual noise, and repairs so equipment issues do not get overlooked.
Why Commercial Blender Care Differs
A home blender may run once or twice a day. A commercial blender can run many times during one shift. That higher workload makes consistent cleaning and inspection more important.
Commercial users should not rely on a generic home cleaning routine alone. The equipment manual and the business’s food-safety plan should guide the exact process.
- ✦ Higher workload
Frequent use creates more opportunities for food buildup and component wear.
- ✦ More food types
Commercial equipment may handle fruits, dairy, sauces, powders, ice, and other ingredients in rapid succession.
How Cleaning Affects Blender Performance
Cleaning does not sharpen a worn blade or repair a damaged motor, but it can help the blender work without avoidable buildup. Food stuck around the blade or container can interfere with normal operation and may contribute to odors or leaks.
A clean gasket can also make it easier to see whether the seal sits correctly. A clean jar makes cracks, chips, and other damage easier to spot. These small checks are part of useful Blender Cleaning & Maintenance.
If a blender still makes unusual noise, smells hot, leaks, or struggles after proper cleaning, do not assume more scrubbing will solve it. The issue may involve the blade assembly, motor, drive system, electrical parts, or another component.
- ✦ Cleaner blade area
Removing trapped food keeps the blade area free of unnecessary residue.
- ✦ Clearer inspections
A clean machine makes damage and wear easier to see.
- ✦ Better odor control
Regular removal of food residue helps prevent persistent smells.
- ✦ Early problem detection
Routine cleaning gives you a chance to notice leaks, cracks, loose parts, and unusual wear.
Cleaning Versus Mechanical Problems
A slow blender does not always need cleaning. If the jar and blade area are clean but the blender still struggles, check the manufacturer’s troubleshooting guide.
Stop using the machine if you notice electrical problems, damaged parts, burning smells, severe leaks, or other unsafe behavior. Professional service or a replacement part may be needed.
- ✦ Unusual noise
New grinding, rattling, or wobbling can signal a mechanical issue rather than simple food buildup.
- ✦ Burning smell
A burning or electrical smell is a reason to stop and inspect the machine according to the manufacturer’s safety instructions.
A Simple Blender Cleaning & Maintenance Routine
The most useful routine is one you can follow without much effort. After each use, remove food, wash the approved removable parts, wipe the base, and let everything dry. Once in a while, inspect the seals, blade assembly, jar, lid, and power cord.
Keep the owner’s manual nearby, especially when you have a high-powered blender with special cleaning instructions. Model-specific guidance matters because blade assemblies, containers, dishwasher ratings, and seals vary.
A simple checklist also helps families and busy kitchens stay consistent. The goal is not to spend a long time cleaning the blender. The goal is to prevent small problems from becoming difficult ones.
- ✦ After every use
Empty, rinse, wash approved parts, wipe the base, and dry the components.
- ✦ When residue builds up
Deep clean the jar, lid, seals, and blade area using the manufacturer’s approved method.
- ✦ During routine inspection
Check the jar, gasket, blade assembly, lid, cord, and base for wear or damage.
- ✦ Before long storage
Clean and dry all parts fully, then store the blender in a clean, dry place.
- ✦ When something seems wrong
Stop and consult the manual or a qualified service provider rather than trying unsafe repairs.
The 5-Minute Habit
For many everyday blends, the basic routine can be very short. Empty the jar, rinse it, wash the removable parts, wipe the base, and leave the parts to dry.
That small habit can prevent dried food from turning a simple wash into a difficult cleaning job. It also gives you a regular chance to spot changes in the blender before they become serious.
- ✦ Do it now
Cleaning soon after use usually takes less effort than cleaning dried residue later.
- ✦ Keep tools nearby
A soft sponge and small cleaning brush can make routine care easier.