Rice Cooker Cooking & Water Ratios: A Complete Guide to Perfect Rice
Rice cookers make one of the most useful kitchen tasks much easier. Add rice, add water, press a button, and let the cooker handle the heat. Yet the simple process can still give poor results when the water ratio is wrong.
Rice Cooker Cooking & Water Ratios are not one fixed rule. White rice, jasmine rice, basmati rice, brown rice, and sushi rice can need different amounts of water. The cooker itself also matters. A basic cooker may behave differently from a fuzzy-logic model that changes heat and cooking time as the rice cooks.
In practice, the best method is to start with the maker’s instructions, use the correct measuring cup, and make small changes after a test batch. This approach is more reliable than following a single ratio for every kind of rice.
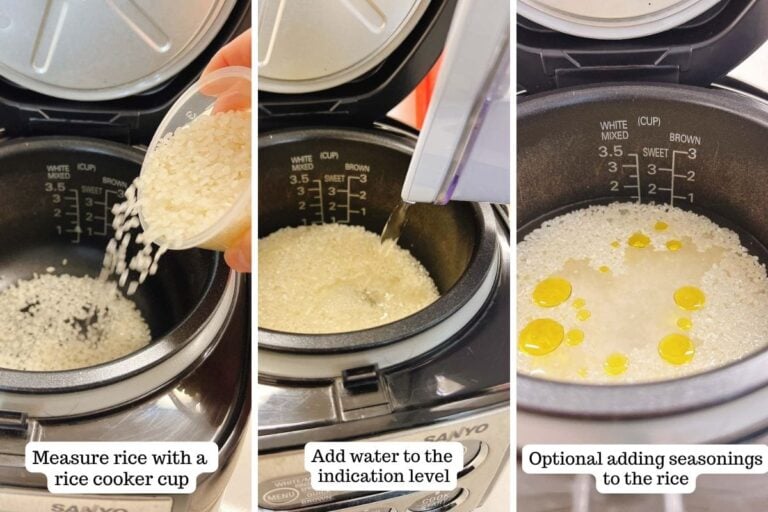
What Are Rice Cooker Cooking & Water Ratios?
Rice Cooker Cooking & Water Ratios describe how much liquid to use for a set amount of dry rice. The goal is to give the grains enough water to soften and cook without leaving the rice wet or hard.
A ratio is only a starting point. Rice absorbs water in different ways. Grain size, age, milling, rinsing, soaking, cooking temperature, and the shape of the cooker can all change the final result.
Most rice cookers are designed to make this easier. Their inner pots often have water marks for specific amounts of rice. When those marks match the rice type and the cup supplied with the cooker, they are usually the first measurement to try.
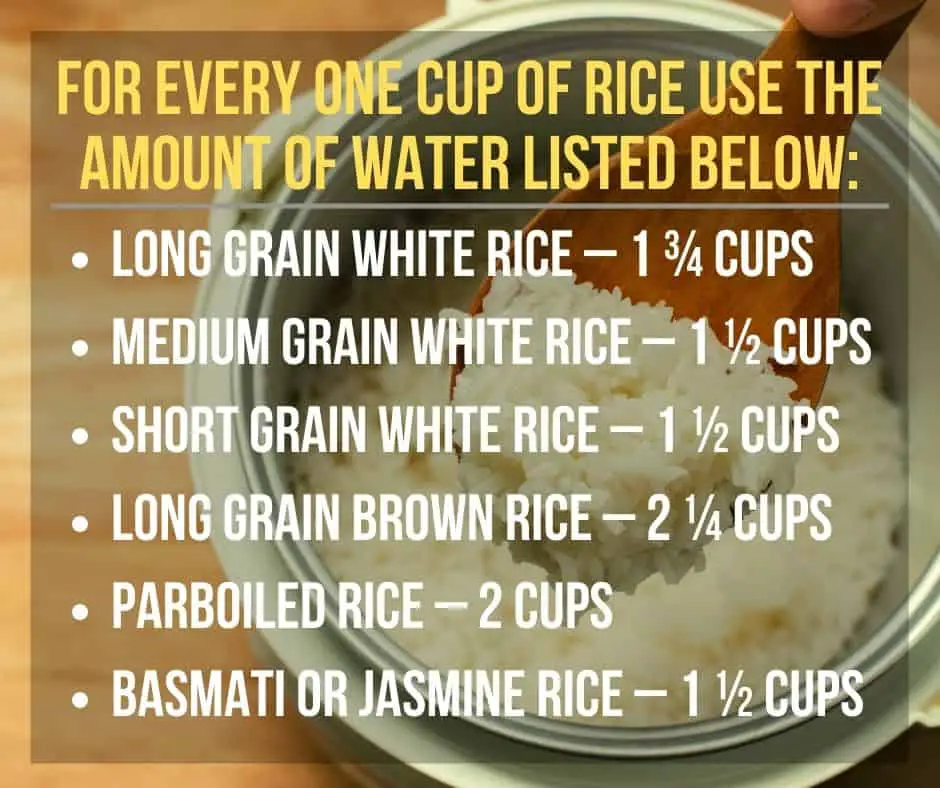
- ✦ Rice amount
Measure dry rice before cooking. Use the cup that came with the cooker when its manual says to do so.
- ✦ Water amount
Add water based on the rice type and the cooker instructions rather than using one ratio for every grain.
- ✦ Texture
More water usually makes rice softer. Less water usually makes it firmer, though large changes can lead to undercooked rice.
- ✦ Cooker design
Basic, digital, pressure, and fuzzy-logic cookers may use different settings and measurements.
Why There Is No Single Perfect Ratio
A common mistake is to treat rice and water like a fixed math formula. Rice varies from one package to another, and the same variety can cook differently after a change in brand or harvest.
For this reason, Rice Cooker Cooking & Water Ratios work best as a range and a testing process. Start with the maker’s guide. Then change the water by a small amount if the cooked rice needs a different texture.
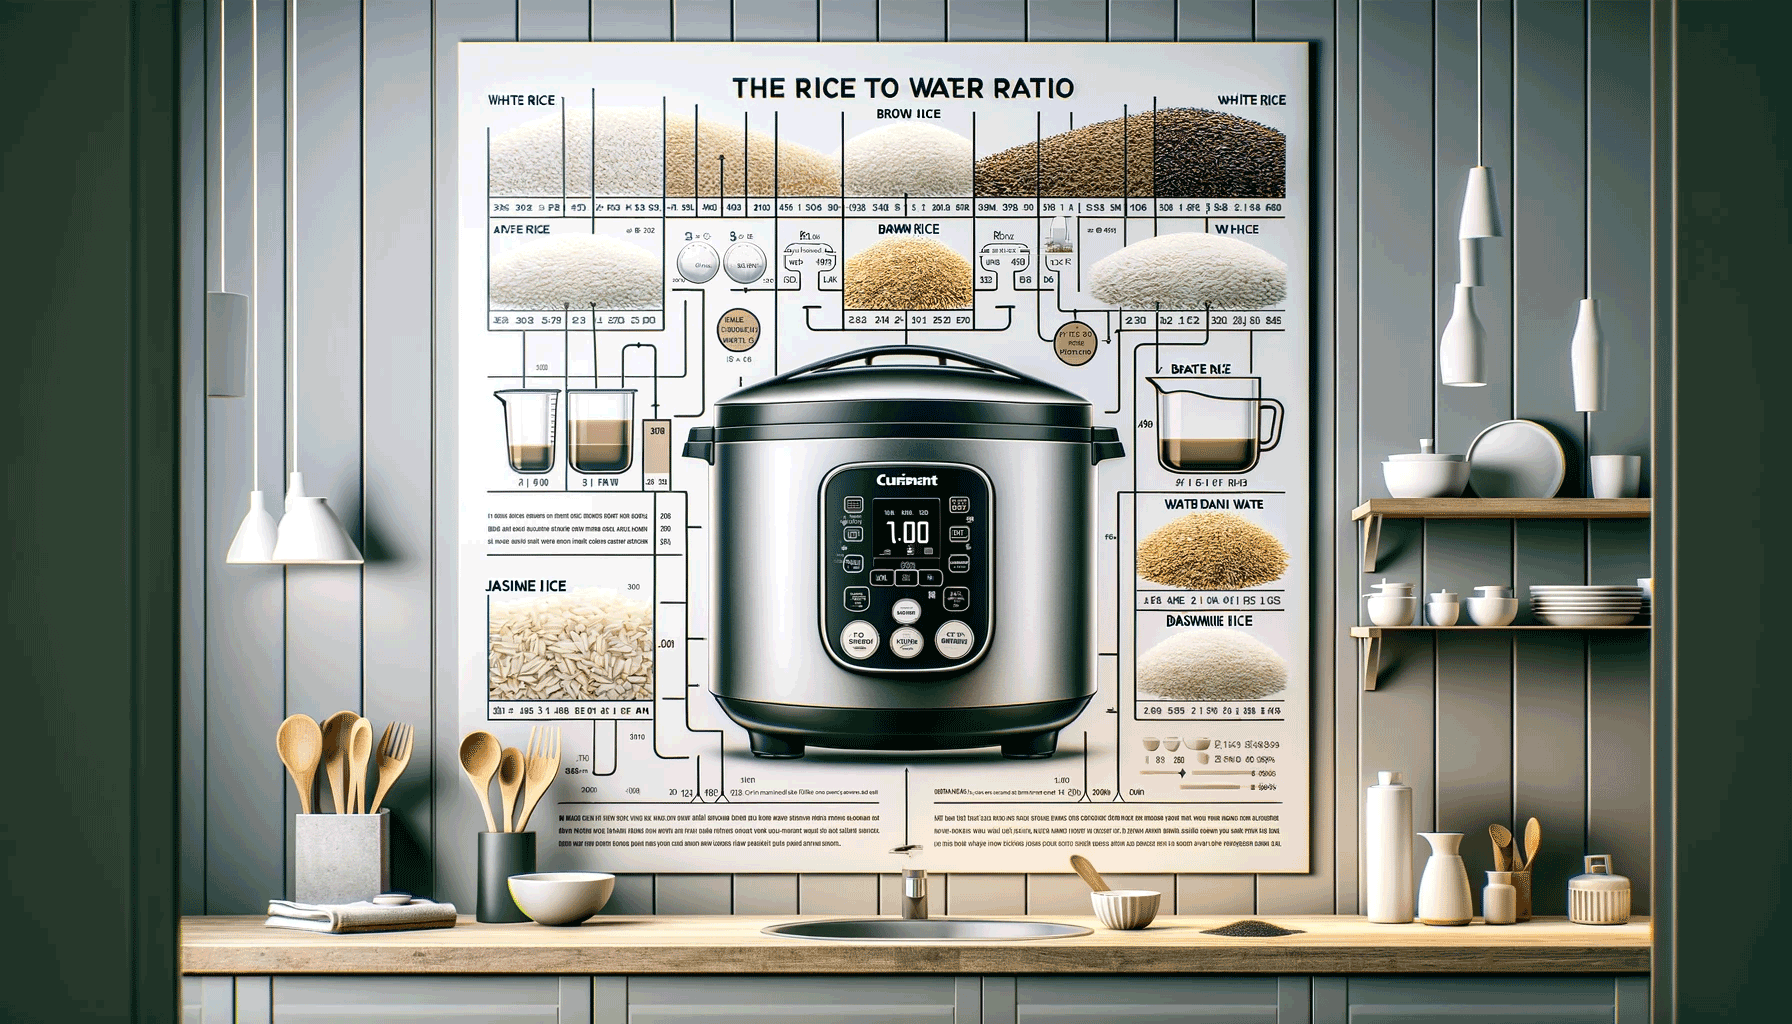
Basic Rice Cooker Water Ratios by Rice Type
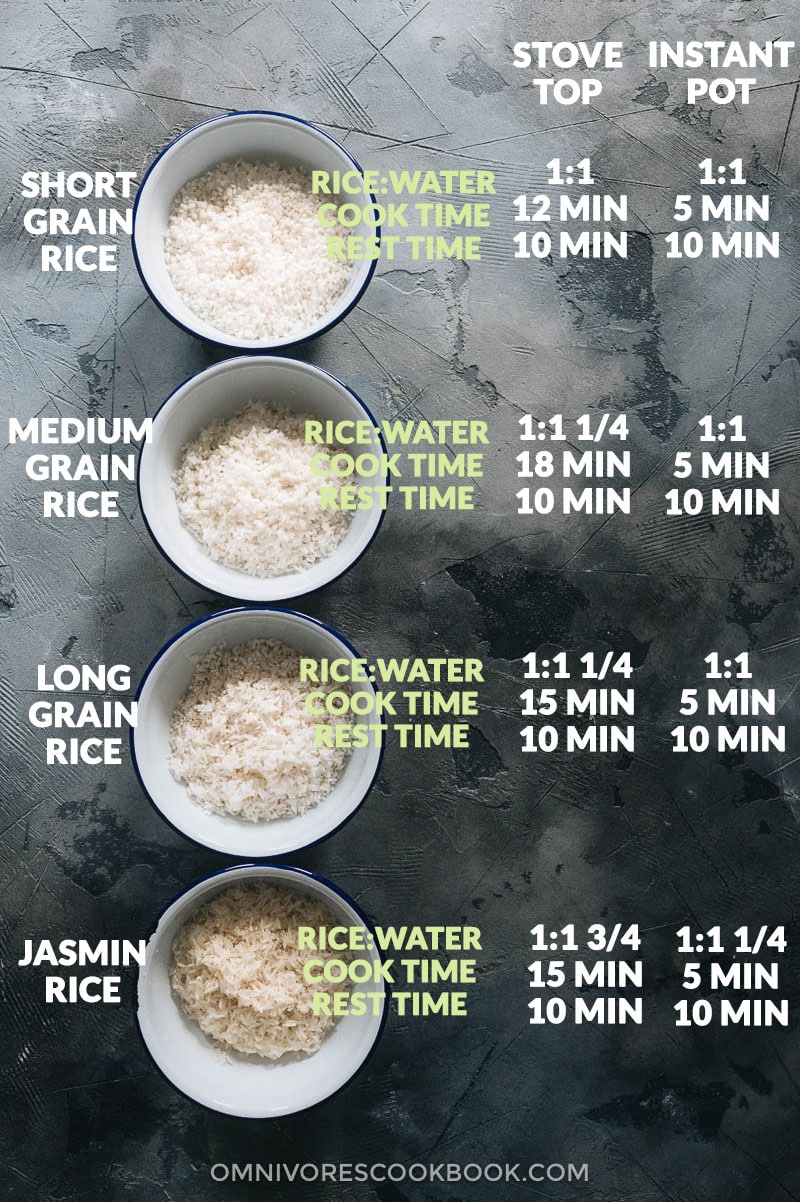
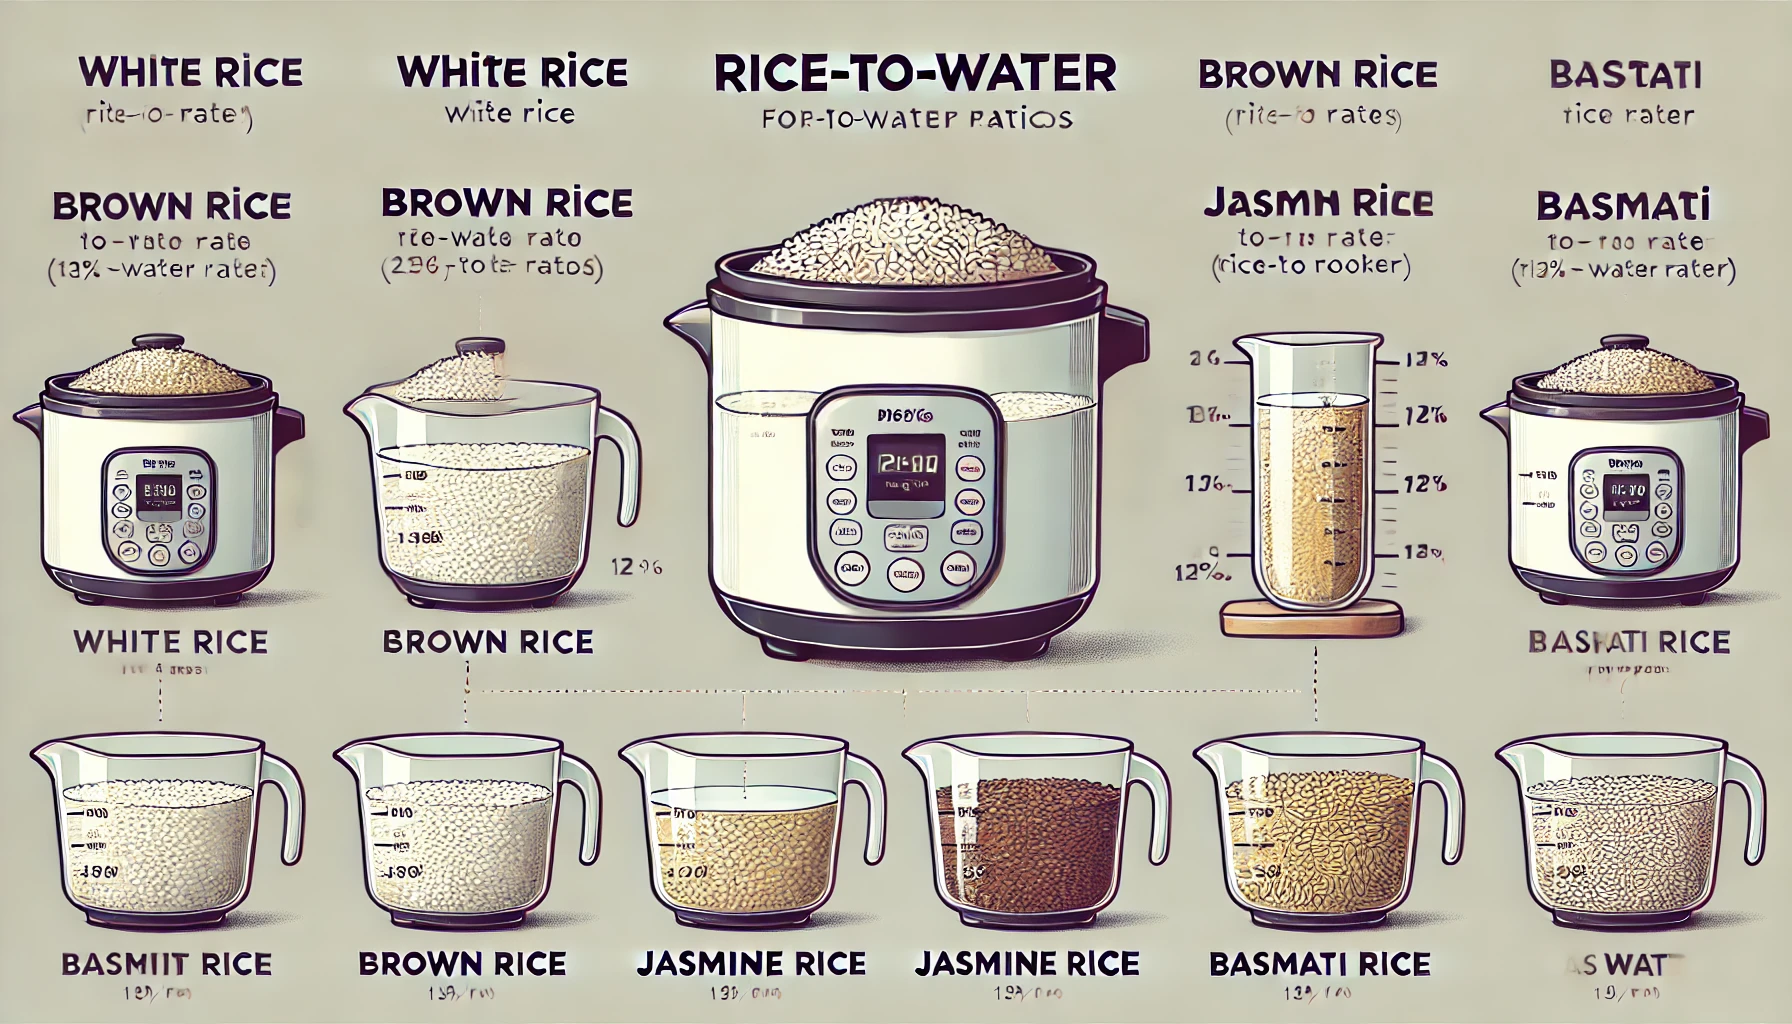
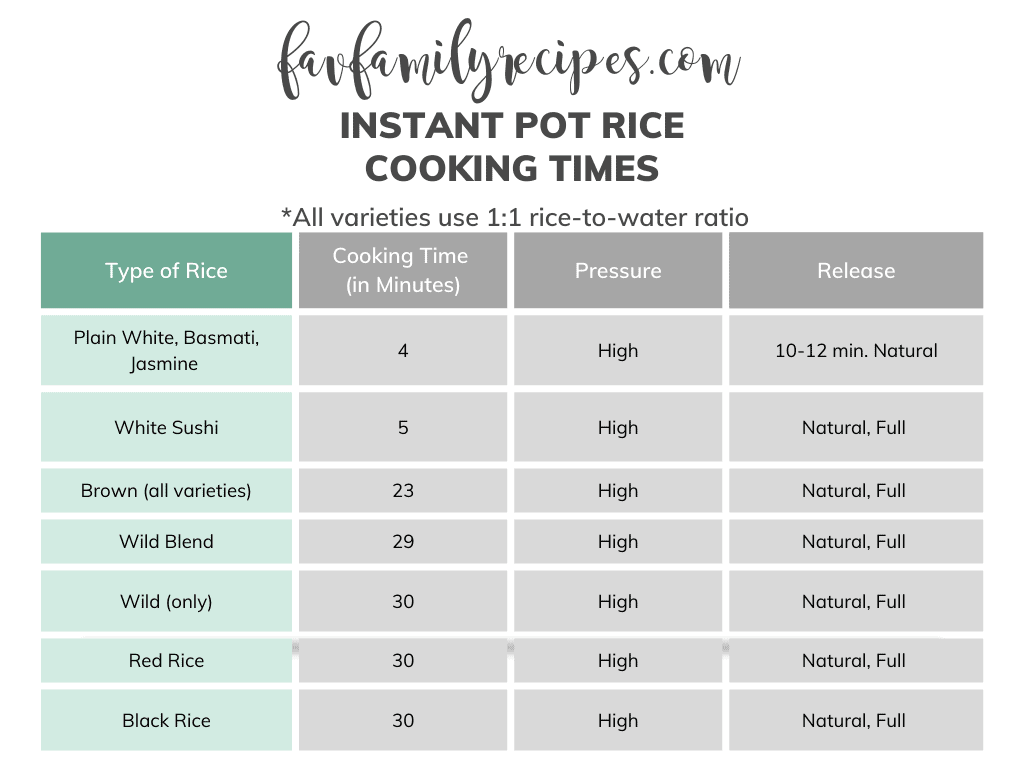
The table below gives useful starting points for a standard rice cooker. These are not universal rules. Always check the rice package and cooker manual first, especially for specialty rice or a cooker with marked water levels.
For most plain white rice, many home cooks start near 1 cup of rice to 1 to 1.25 cups of water. Brown rice often needs more water and a longer cooking time because the outer bran layer makes the grain tougher.
Jasmine rice often needs less water than some standard long-grain white rice. Basmati rice can also benefit from a lower water amount, especially when it is rinsed and soaked first.
- ✦ White long-grain rice
Start around 1 cup rice to 1 to 1.25 cups water. Adjust based on the cooker and desired texture.
- ✦ Jasmine rice
Start around 1 cup rice to about 1 cup water. Rinsing and the brand can affect the amount needed.
- ✦ Basmati rice
Start around 1 cup rice to about 1 to 1.25 cups water. Soaked basmati may need less water than unsoaked rice.
- ✦ Brown rice
A common starting range is about 1 cup rice to 1.5 to 2 cups water, but use the cooker manual when available.
- ✦ Sushi rice
Use the package or cooker guide first. Short-grain rice needs careful water control because it becomes sticky when cooked.
- ✦ Wild rice
Wild rice is not true rice and often needs much more water and a longer cook. Follow a recipe or cooker setting made for it.
A Simple Starting Chart
A simple chart can help when you are testing a new grain. Use it as a starting point, then record the result. If the rice is too firm, add a little more water next time. If it is too soft, reduce the water slightly.
- ✦ 1 cup white rice
Try about 1 to 1.25 cups water unless the cooker or package gives a different amount.
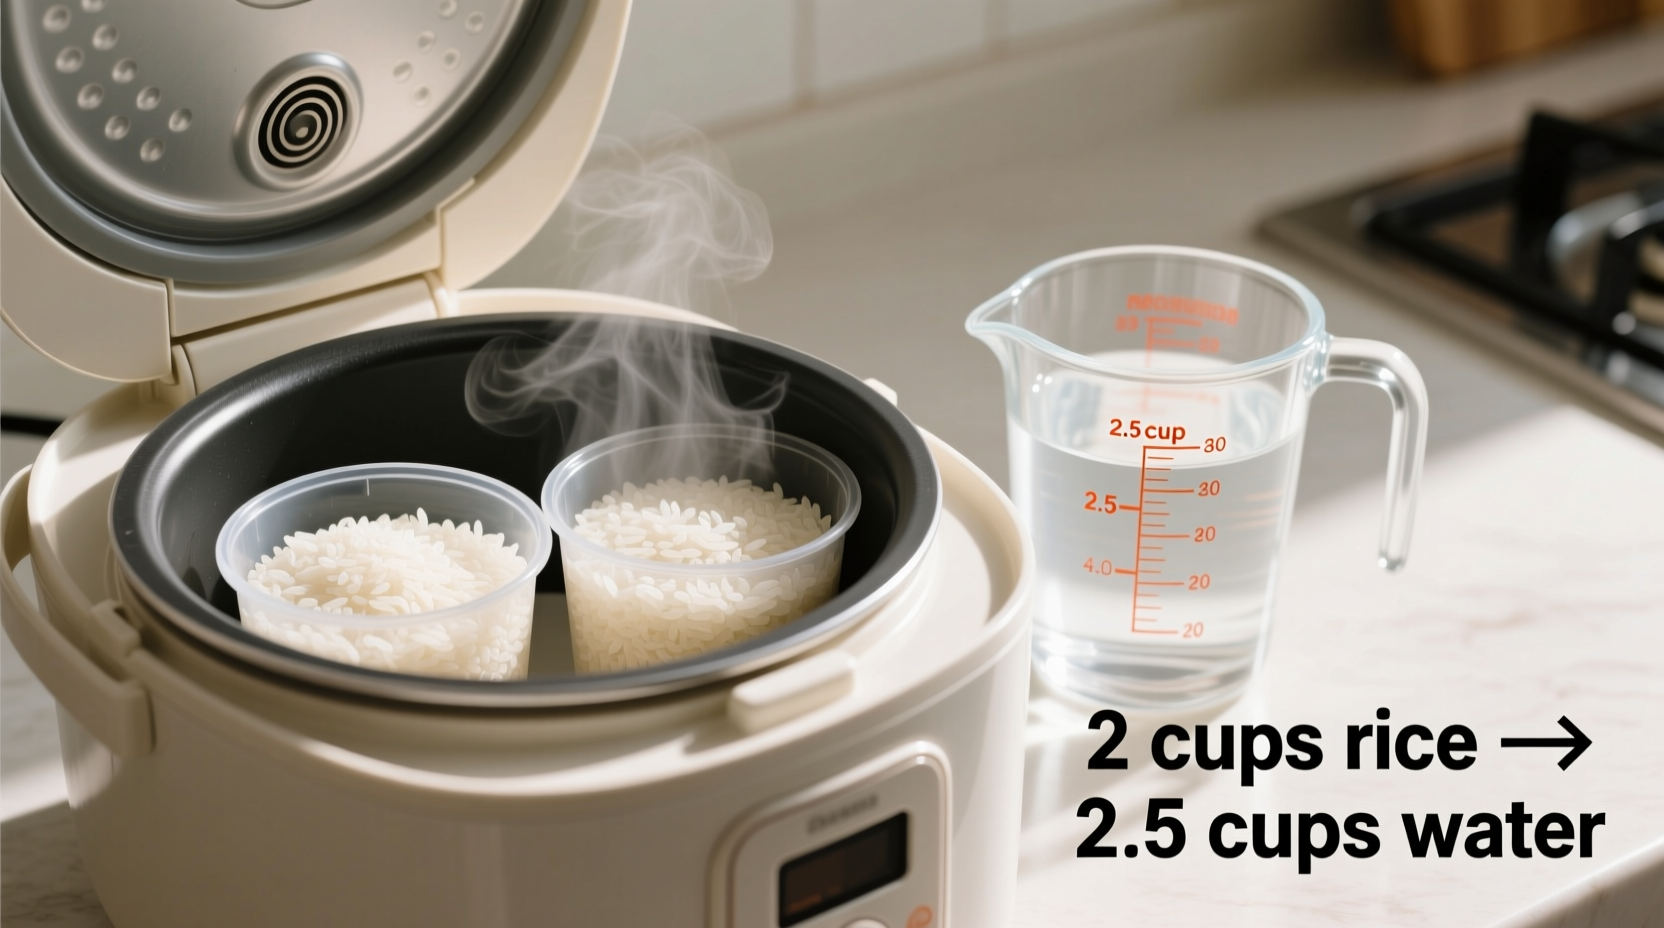
- ✦ 2 cups white rice
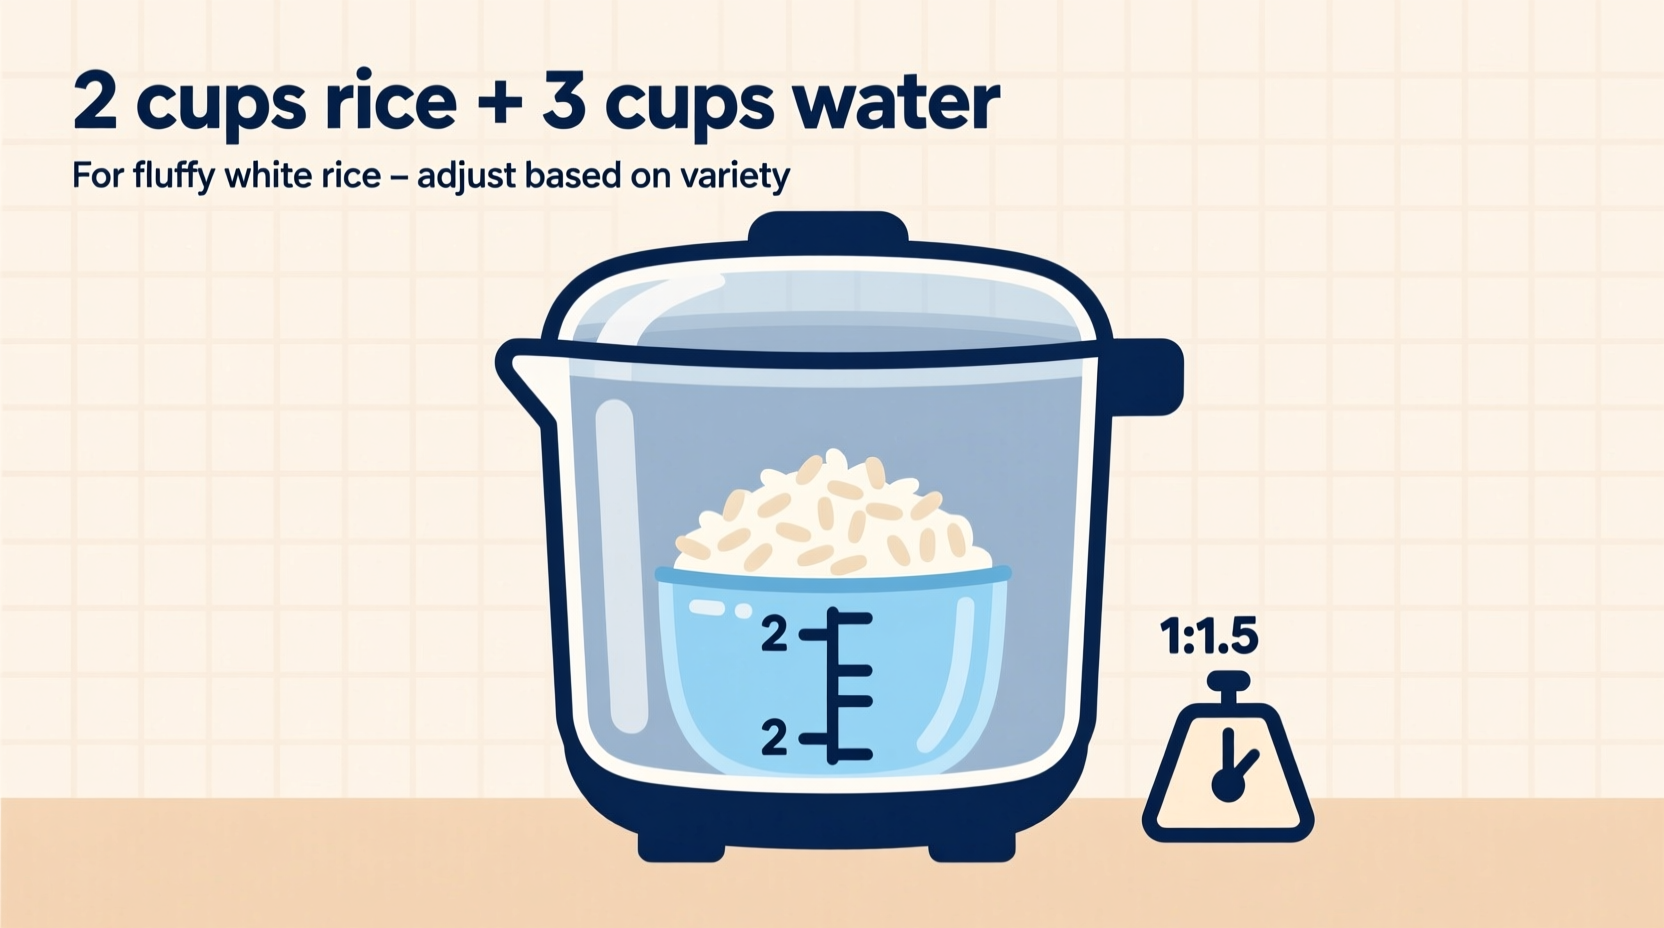
Try about 2 to 2.5 cups water using the same starting ratio.
- ✦ 1 cup brown rice
Try about 1.5 to 2 cups water and use the brown-rice setting if your cooker has one.
How to Measure Rice and Water Correctly
Correct measuring is one of the easiest ways to improve Rice Cooker Cooking & Water Ratios. Many rice cookers come with a small cup that is not the same size as a standard U.S. measuring cup. A cooker cup is often smaller than a standard 8-fluid-ounce cup.
If your cooker includes its own cup, use it when following the cooker markings. If you switch to a standard measuring cup, use a ratio that was designed for standard cup measurements rather than mixing two systems.
Water lines inside the pot can also cause confusion. After adding rice, place the pot on a flat surface and add water to the correct line for the amount of rice. The line is often easier to use than measuring water separately.
- ✦ Use the supplied cup
Use the rice cup supplied with the cooker when the manual and inner-pot markings are based on that cup.
- ✦ Keep the pot level
Set the inner pot on a flat surface before checking the water level.
- ✦ Read the correct line
Many pots have separate marks for different rice settings. Use the line that matches your selected rice type.
- ✦ Do not guess from the rim
The amount of water needed is usually far below the top of the pot. Use a measuring cup or the marked line.
The Finger Method
Some cooks use a finger method to judge water depth. It can work for a quick meal, but it is less exact than measuring because finger size and rice depth vary.
For repeatable results, measured Rice Cooker Cooking & Water Ratios are better. This matters even more when you cook a large batch or use a different rice variety.
How to Cook Rice in a Rice Cooker Step by Step
Once you understand Rice Cooker Cooking & Water Ratios, the cooking process is simple. Start with clean equipment, fresh rice, and the right measuring cup.
Rinsing is optional for some rice, but it can remove loose starch and surface dust. For rice that you want fluffy and separate, rinsing until the water becomes less cloudy can help. Some enriched rice products may have special instructions, so check the package before washing.
After cooking, let the rice rest with the lid closed for about 5 to 10 minutes when the cooker instructions allow it. Then fluff it gently with a rice paddle or fork.
- ✦ 1. Measure
Measure the dry rice with the correct cup.
- ✦ 2. Rinse if suitable
Rinse the rice under cool water when the variety and package instructions support rinsing.
- ✦ 3. Add water
Use the cooker water line or your tested Rice Cooker Cooking & Water Ratios.
- ✦ 4. Add optional ingredients
Salt, a small amount of oil, or stock can be used when appropriate for the recipe.
- ✦ 5. Start the cooker
Choose the correct rice setting and let the cooker complete its cycle.
- ✦ 6. Rest and fluff
Keep the lid closed during the short rest, then fluff gently to release excess steam.
Why Resting Rice Helps
Freshly cooked rice still contains a lot of steam. A short rest lets moisture spread through the grains and helps the texture settle.
Opening the lid again and again can let steam escape. That can leave the top layer drier than the lower layer, so it is better to wait until the cooking cycle ends.
How Rinsing, Soaking, and Rice Age Change Water Needs
Rice Cooker Cooking & Water Ratios can change when you change how you prepare the grains. Rinsed rice often carries less loose surface starch into the pot. This can affect both texture and how the rice looks after cooking.
Soaking can also change the result. When rice absorbs some water before the heat cycle begins, it may need less cooking water or less time. This is especially useful for some basmati and other long-grain varieties.
Older rice can also behave differently from newly milled rice. Storage conditions, grain structure, and the specific product all matter. That is why a small test batch is useful when you switch brands.

- ✦ Rinsing
Can reduce loose surface starch and may help produce a cleaner, more separate texture.
- ✦ Soaking
Allows grains to absorb water before cooking and can change the amount of water and time needed.
- ✦ Rice variety
Short, medium, and long grains have different starch structures and can need different water levels.
- ✦ Brand and storage
Different products can absorb water at different rates, so use the package directions as a useful reference.
How to Fix Rice That Is Too Wet, Dry, Hard, or Mushy
Rice problems often point to a water or cooking issue. The good news is that many problems are easy to correct in the next batch. Change one thing at a time so you know what caused the improvement.
If rice is hard and dry, it may need more water or more cooking time. If rice is wet or mushy, the next batch may need less water. Do not make a large change right away because a small adjustment can be enough.
The cooker itself can also affect the result. A damaged inner pot, blocked steam vent, poor lid seal, or inaccurate measurement can change cooking performance.
- ✦ Rice is too hard
Try adding a small amount of water next time. Also check that the cooker completes its full cycle.
- ✦ Rice is too dry
Use slightly more water and check whether the rice has been left on a warm setting for a long time.
- ✦ Rice is too wet
Reduce the water slightly in the next batch and make sure you use the correct measuring cup.
- ✦ Rice is mushy
Too much water, excess starch, or overcooking can cause a soft texture. Try less water and avoid extended warming.
- ✦ Rice sticks to the bottom
Some sticking is normal. Excess heat, a long warm period, or a worn inner pot can increase sticking.
- ✦ Rice is uneven
Make sure the rice sits level before cooking and avoid opening the lid during the cycle.
Use a One-Change Test
A simple kitchen test works well. Keep the rice brand, amount, rinse method, and cooking setting the same, then change only the water amount. This makes it much easier to find the right Rice Cooker Cooking & Water Ratios for your cooker.
For example, if one cup of jasmine rice comes out too soft, reduce the water by a small amount on the next batch. Record the result and repeat only if needed.
Rice Cooker Cooking Times and Settings
Water is only one part of Rice Cooker Cooking & Water Ratios. Cooking time also depends on the grain, amount, cooker design, and selected setting. A cooker may stop heating when it senses that most free water has been absorbed or evaporated.
White rice often cooks faster than brown rice. Some advanced cookers use sensors and programmed stages to change heat during the cycle. This can produce more consistent results, but the cooker still needs the correct rice type and water level.
Do not use the cooking time from one machine as a rule for another. The best guide is the manual for your exact model.
- ✦ White rice setting
Designed for common white rice and usually uses a shorter cycle than brown rice.
- ✦ Brown rice setting
Uses a longer cycle and is designed to handle the firmer outer layer of brown rice.
- ✦ Quick setting
Can reduce cooking time but may change the texture. Use it when the cooker manual supports the rice type.
- ✦ Keep-warm mode
Keeps cooked rice warm but can dry or brown the bottom if rice stays warm for too long.
Why Cooking Time Is Not a Fixed Number
A rice cooker does not simply boil water for a fixed number of minutes. Many models sense temperature and change the heat cycle as water disappears.
That means a larger batch can take longer than a small batch. It also means room temperature, rice temperature, and the amount of water can affect the cycle.
Tips for Better Rice Cooker Results Every Time
Consistent rice comes from consistent habits. Once you find a water level that works for your favorite rice, keep the same brand, measuring cup, rinse method, and cooker setting whenever possible.
Clean the inner pot and steam vent as directed by the manufacturer. Food starch can build up and affect the cooker over time. A clean lid and vent also help steam move as designed.
For busy U.S. households, a rice cooker can make meal prep easier. Cooked rice works well with stir-fries, grilled chicken, beans, vegetables, soups, and many quick weeknight meals.
- ✦ Follow the manual first
Use the manufacturer’s rice settings and water lines before trying general ratios from other sources.
- ✦ Change water slowly
Adjust by a small amount rather than making a large change after one imperfect batch.
- ✦ Keep notes
Write down the rice brand, amount, water, rinse method, setting, and final texture.
- ✦ Avoid overfilling
Stay within the cooker capacity. Too much rice can affect cooking and may cause water or foam to escape.
- ✦ Fluff gently
Use a rice paddle or fork and lift the grains instead of pressing them down.
- ✦ Store leftovers safely
Move leftover rice to a suitable container and refrigerate it promptly. Reheat it until hot before eating.
The Most Reliable Method for Finding Your Ratio
Start with the cooker manual. Make one batch exactly as instructed. If the texture is not right, change only the water on the next batch.
This method takes less time than trying many ratios at once. It also creates a repeatable recipe that works with your exact cooker and favorite rice.