Pizza Oven Preparation & Preheating: A Complete Guide to Better Pizza
Pizza Oven Preparation & Preheating is the step that sets up the whole bake. A pizza can have great dough and fresh toppings, yet still turn out pale, soft, or uneven if the oven is not ready. High heat works best when the oven, cooking surface, and pizza are prepared as one system.
In home kitchens across the U.S., pizza ovens range from indoor electric models to gas and wood-fired outdoor ovens. Each type heats in a different way. The goal stays the same: build enough heat, let that heat settle, and start cooking only when the oven can hold the heat you need.
One lesson that matters in real pizza making is simple: do not rush the preheat. The display may show a high number while the stone or steel still needs more time to heat. A short wait at the start can save a lot of trouble once the pizza goes in.

Why Pizza Oven Preparation & Preheating Matters
Pizza needs strong heat to cook well. When the oven is ready, the dough can set quickly while the top cooks at the same time. This helps create a crisp base, a light edge, and well-cooked toppings.
If you place pizza in a cold or partly heated oven, the dough may sit on the hot surface for too long. The base can dry out before the top is done. In some cases, the crust stays pale and soft because the oven does not provide enough heat for fast browning.
Good Pizza Oven Preparation & Preheating also makes cooking more repeatable. Once you learn how your oven heats, you can use the same process for future pizza nights.
- ✦ Fast cooking
A hot oven lets pizza cook in a short time, which helps protect moisture inside the crust.
- ✦ Better crust
A hot cooking surface helps the bottom of the dough set and brown instead of turning soft.
- ✦ Even results
A well-heated oven reduces large temperature swings during the bake.
- ✦ Better control
A proper preheat gives you a clear starting point for adjusting flame, heat, and cooking time.
What Happens During Preheating?
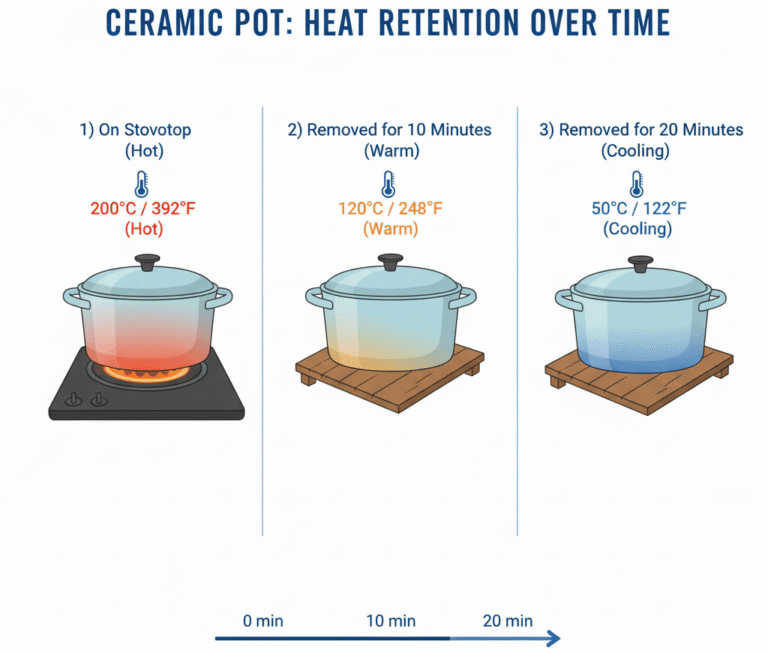
The oven walls, roof, air, and cooking surface all absorb heat. They do not always heat at the same speed. A stone or brick floor may need more time than the air inside the oven.
As the oven gets hot, stored heat becomes useful during the bake. This matters most in ovens with a thick stone, brick, or ceramic cooking surface. Opening the door or lid too often can release heat and slow recovery.
How to Prepare a Pizza Oven Before Turning It On
Pizza Oven Preparation & Preheating starts before the heat begins. Clear the cooking area and make sure the oven is installed and used as the manufacturer directs. For outdoor ovens, keep the unit on a stable, suitable surface with safe space around it.
Have your dough, sauce, cheese, toppings, peel, and heat-safe tools ready before the oven reaches full heat. This keeps the oven closed and helps prevent unnecessary heat loss.
For wood-fired ovens, use dry wood that the oven maker approves. For gas or electric ovens, check the fuel connection, power supply, controls, and cooking surface before heating.

- ✦ Clean the cooking floor
Remove old flour, ash, crumbs, and loose food from the cooking area before heating.
- ✦ Check the oven
Look for cracks, loose parts, damaged cords, blocked vents, or other visible problems.
- ✦ Prepare the tools
Keep a pizza peel, heat-safe gloves, brush, and other needed tools close by.
- ✦ Prepare the pizza
Build the pizza only when you are close to baking so the dough does not sit on the peel for too long.
Prepare the Pizza Peel
A clean peel makes launching easier. Dust it lightly with flour or another suitable material based on your dough and oven method. Too much flour can burn on the oven floor and create bitter smoke.
Shape the dough, add the toppings, and give the peel a gentle shake. The pizza should slide without sticking. If it sticks before launch, lift one edge and add a small amount of flour under the sticky area.
Check the Cooking Surface
The cooking surface should be clean and dry. A damp stone can crack when exposed to strong heat, so never use water on a hot pizza stone unless the manufacturer clearly allows it.
For ovens with removable stones or baking plates, make sure the surface sits in the correct position before heating. Follow the model’s instructions for placement and care.
Pizza Oven Temperature: How Hot Should It Be?
There is no single temperature that fits every pizza. Thin, fast-baked pizza often needs much more heat than a thick American-style pizza. The best target depends on the dough, toppings, oven design, and cooking method.
Many home ovens bake pizza well at temperatures near their upper limit. A pizza stone or steel can help the base cook faster. Dedicated outdoor pizza ovens can reach much higher temperatures, but you should always stay within the range set by the oven maker.
Pizza Oven Preparation & Preheating works best when you think about both the air and the cooking floor. A hot air reading does not always mean the floor has stored enough heat to bake the base properly.
- ✦ Home electric or gas oven
Use the highest temperature that your recipe and oven safely support. A common home-pizza range is around 450°F to 550°F.
- ✦ Outdoor gas pizza oven
Many models are designed for very high heat and fast cooking. Follow the manufacturer’s stated temperature and preheat process.
- ✦ Wood-fired pizza oven
These ovens can reach very high temperatures. Use the oven maker’s guidance and manage the fire so the floor and roof heat evenly.
- ✦ Thick-crust pizza
A lower temperature and longer bake can work better when the dough needs more time to cook through.
Air Temperature vs. Floor Temperature
The air inside the oven can become hot before the cooking floor reaches the same useful heat level. This is why some pizzas brown well on top but stay pale underneath.
If your oven supports a suitable infrared thermometer, you can check the cooking surface. Point the thermometer at the center of the clean floor and follow the thermometer maker’s instructions. Avoid looking at the laser beam and never use a tool outside its rated range.
How to Preheat Different Types of Pizza Ovens
The basic idea behind Pizza Oven Preparation & Preheating stays the same, but the steps change with the oven type. Electric, gas, and wood-fired ovens move heat in different ways.
Always read the manual for your exact model before using a new oven. Manufacturer instructions can set limits for temperature, fuel, cookware, cleaning, and preheat time.
- ✦ Electric pizza oven
Turn the oven on, choose the required mode and temperature, and allow the heating elements and cooking surface to reach the target.
- ✦ Gas pizza oven
Follow the ignition steps in the manual. Let the oven heat with the door or lid in the position the manufacturer specifies.
- ✦ Wood-fired pizza oven
Build a controlled fire, spread heat across the oven, and allow the cooking floor to heat before baking.
- ✦ Conventional home oven
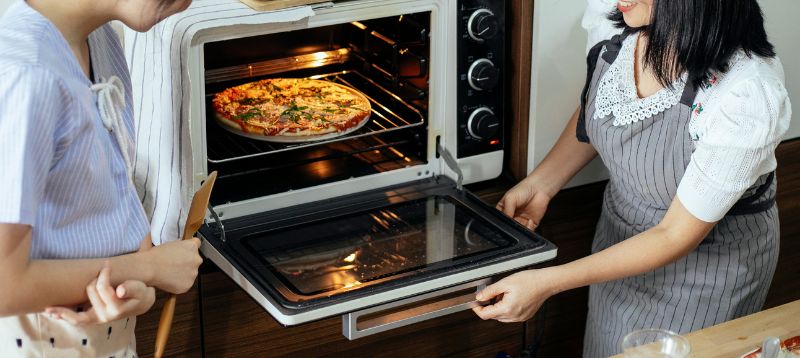
Place the rack and baking surface correctly, then preheat fully before launching the pizza.
Electric Pizza Ovens
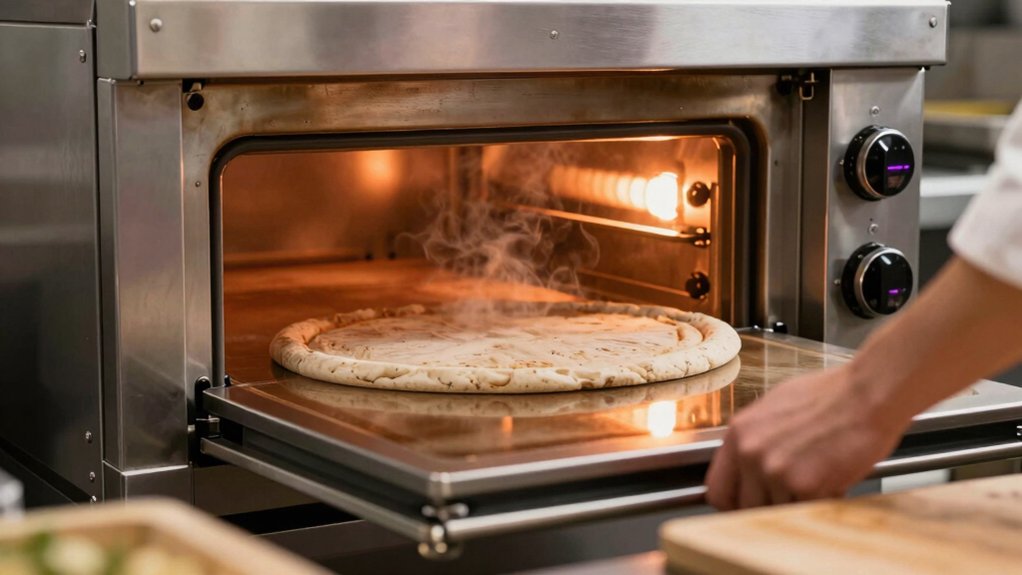
Electric pizza ovens are often simple to start. Set the desired mode and temperature, then allow the oven to complete its heating cycle. Some models use separate controls for the top and bottom elements.
If the top browns too fast while the base stays soft, check whether the lower element or cooking surface needs more heat. Do not change internal parts or bypass safety controls.
Gas Pizza Ovens
Gas ovens can heat quickly, but the flame still needs time to warm the cooking surface. Follow the correct lighting order and keep the oven in a well-ventilated area when required.
A strong flame does not always mean the oven floor is ready. Give the cooking surface enough time to absorb heat before you launch the pizza.
Wood-Fired Pizza Ovens
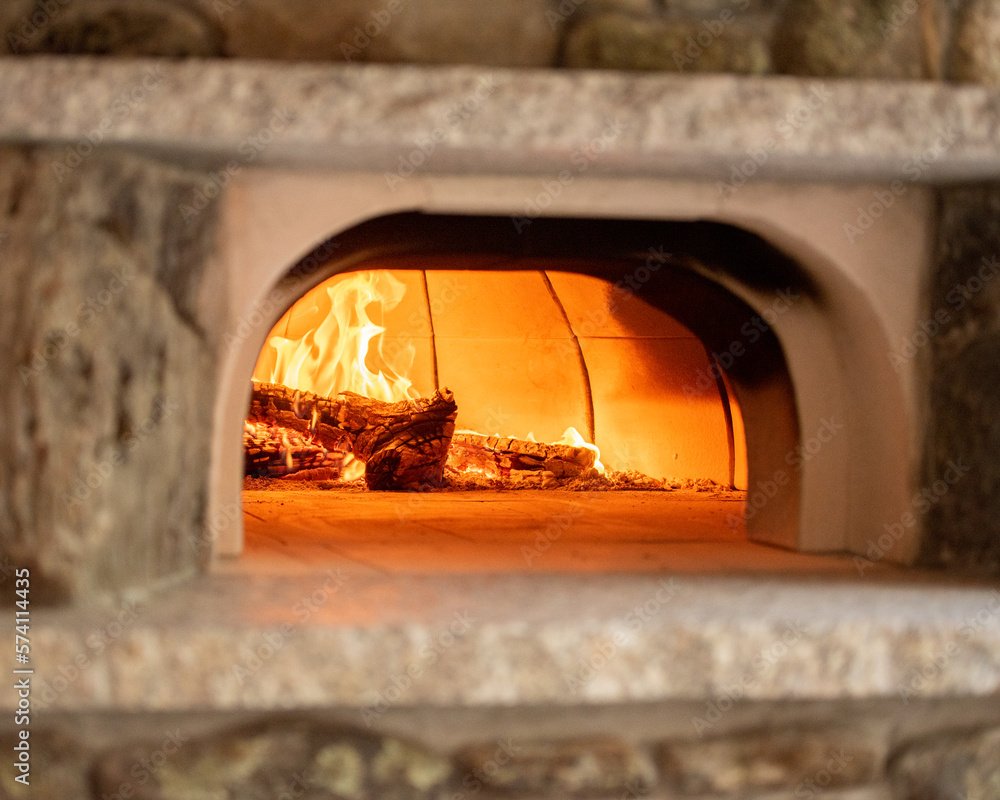
Wood-fired ovens need more active heat management. The fire heats the roof, walls, and floor, while the flame can also add strong top heat during the bake.
A common mistake is to start cooking as soon as the oven looks very hot. Instead, watch the oven’s heat pattern and follow the maker’s guidance for moving or clearing the fire before cooking.
How Long Does a Pizza Oven Take to Preheat?
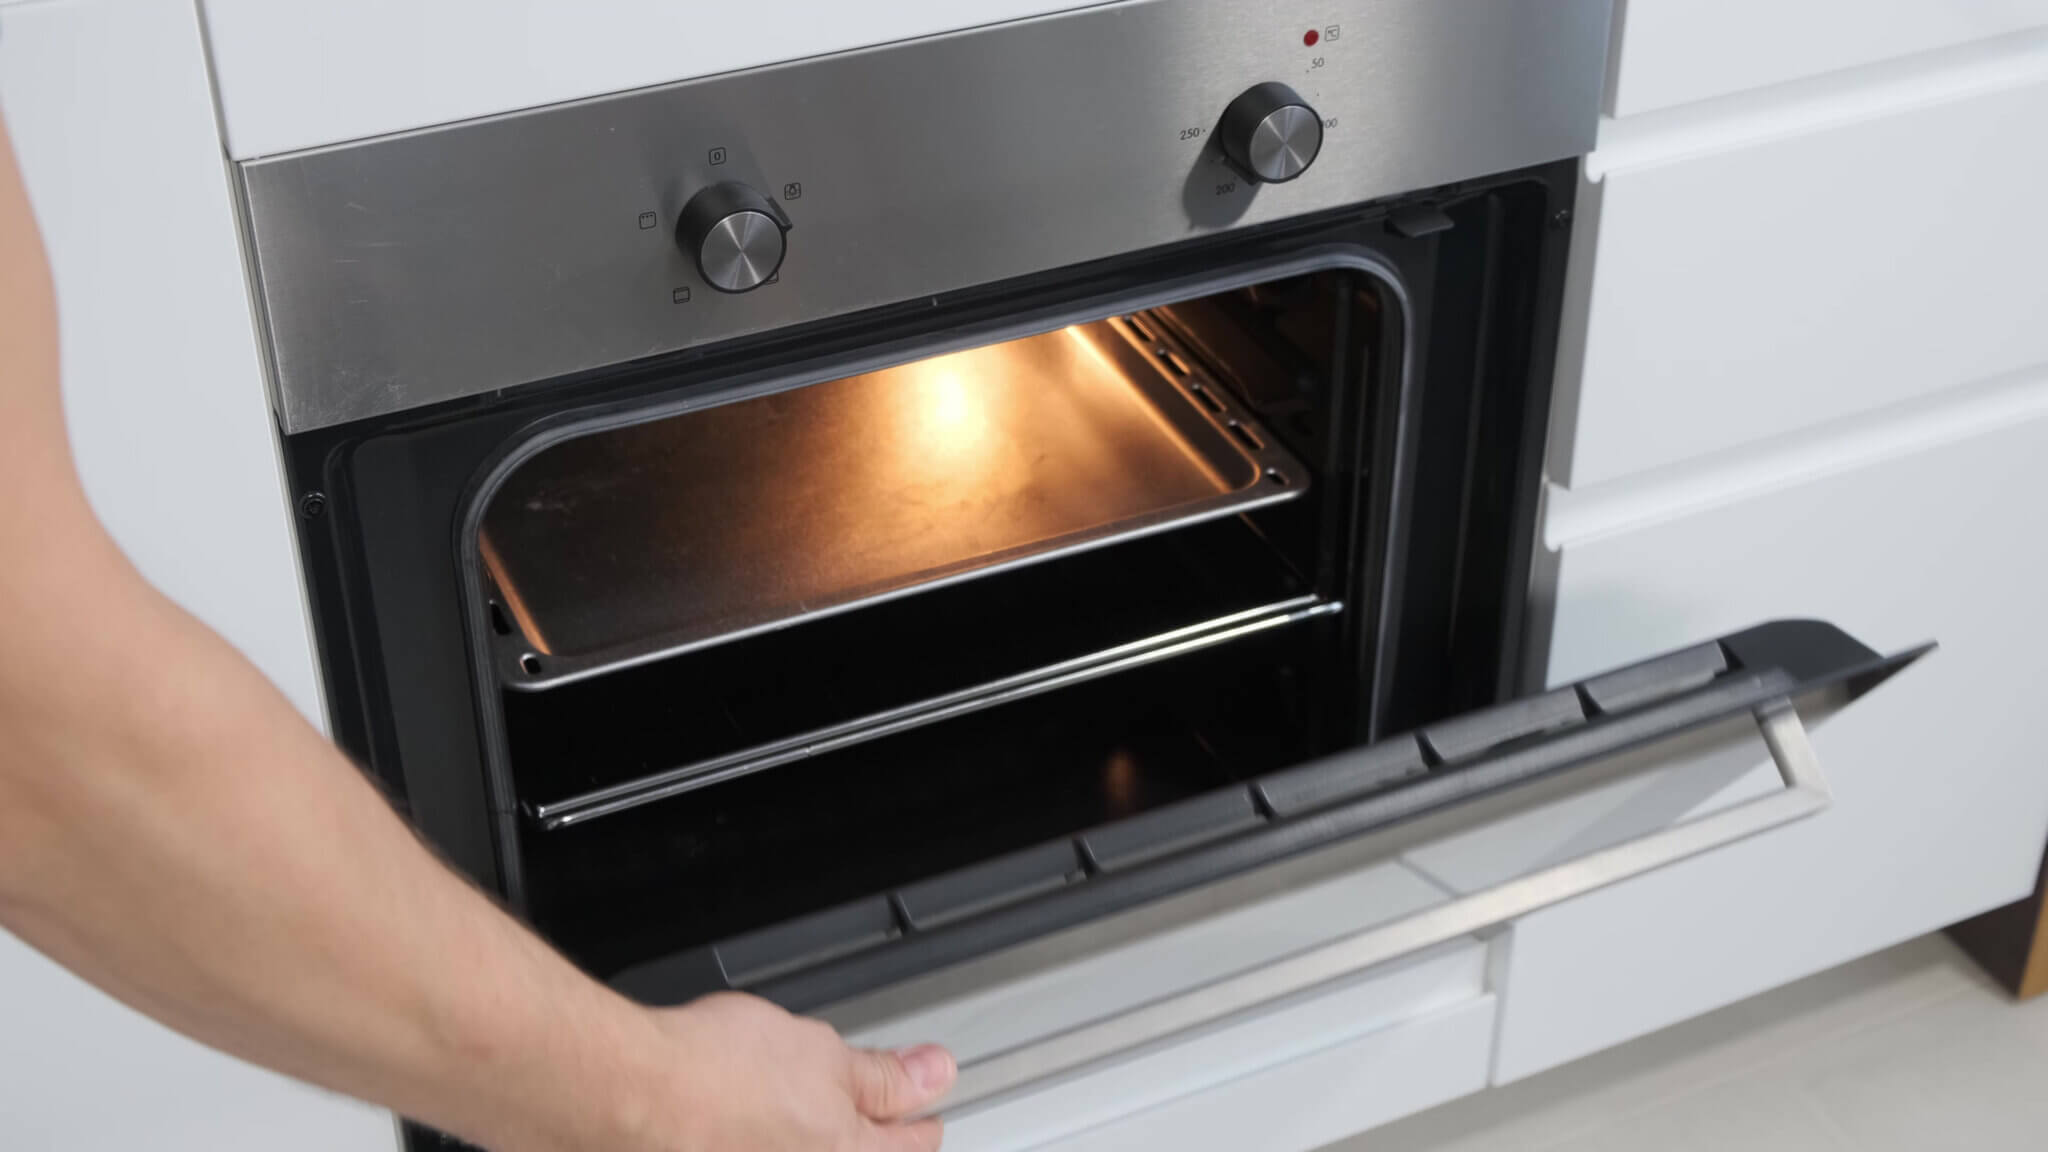
Preheat time can vary a lot. A small electric oven may heat much faster than a thick masonry oven. Outdoor conditions, fuel, oven size, cooking surface thickness, and starting temperature all affect the time.
Instead of relying only on a clock, use the oven’s temperature indicator and the cooking surface temperature when your equipment allows it. This gives you a better idea of whether the oven is ready.
For Pizza Oven Preparation & Preheating, the goal is not simply to wait for a set number of minutes. The goal is to reach a stable cooking temperature that suits your pizza.
:max_bytes(150000):strip_icc()/Simply-Recipes-Preheating-Oven-LEAD-2-7b6269f619804e56be81f0c6f2b9c209.jpg "Preheating an oven before baking pizza")
- ✦ Small electric oven
Often needs less preheat time than a large outdoor oven, but the exact time depends on the model.
- ✦ Large outdoor oven
May need a longer heating period because more material must absorb heat.
- ✦ Cold weather
An outdoor oven may take longer to heat when the surrounding air and oven start cold.
- ✦ Repeated baking
The oven may recover faster between pizzas once the walls and cooking floor are already hot.
Using a Pizza Stone or Baking Steel During Preheating
A pizza stone or baking steel can change how your home oven cooks pizza. The surface stores or transfers heat directly into the dough, which can help the bottom cook and brown.
The key is to heat the surface before the pizza goes on it. Putting cold dough on a cold stone removes one of the main benefits of using that surface.
Place the stone or steel where your recipe and oven design call for it, then allow it to heat fully. Never move a hot stone with wet hands or place a hot stone on a cold or wet surface.
- ✦ Use a stable rack
Keep the stone or steel on a suitable oven rack and leave enough room for safe pizza handling.
- ✦ Preheat fully
Heat the surface before baking rather than placing it into the oven at the last moment.
- ✦ Avoid thermal shock
Do not expose a hot stone to water or sudden cold conditions, as some stones can crack.
- ✦ Keep the surface dry
Moisture on a hot stone can cause damage and can also create steam during cooking.
Stone vs. Steel
A stone gives a gentler transfer of heat and works well for many home pizza styles. Baking steel transfers heat more aggressively, so it can produce a strongly browned base when used correctly.
Neither surface is automatically right for every pizza. The choice depends on your oven, dough, desired crust, and cooking time.
Getting the Dough and Toppings Ready While the Oven Heats
The best Pizza Oven Preparation & Preheating routine prepares the food and the oven at the same time. Let the dough reach the state your recipe calls for, then shape it without pressing all the gas out of the edge.
Keep toppings simple enough for the chosen oven temperature. Too much sauce, cheese, or wet topping can add moisture and make the center hard to cook.
Have all toppings cut and measured before the final preheat. Once the oven is ready, you want to build and launch the pizza with as little delay as possible.
- ✦ Use balanced toppings
Spread sauce and toppings in a thin, even layer so the center can cook well.
- ✦ Avoid excess moisture
Drain very wet ingredients when needed to reduce a soggy center.
- ✦ Keep dough relaxed
Give the dough enough time to rest when your recipe requires it so it is easier to shape.
- ✦ Launch quickly
Do not leave a topped pizza on the peel for a long time because moisture can make it stick.
Common Pizza Oven Preheating Mistakes
Many pizza problems start before the pizza enters the oven. A rushed preheat, a wet cooking surface, or too much flour on the peel can affect the bake even when the recipe is good.
Fixing these problems starts with finding the cause. Watch the bottom of the pizza, the top crust, and the cooking surface. These clues can tell you whether the oven needs more floor heat, less top heat, or a change in cooking position.
- ✦ Launching too early
The oven may look hot while the cooking floor still lacks enough stored heat.
- ✦ Opening the oven too often
Repeated opening can release heat and make recovery slower.
- ✦ Using too much flour
Extra flour can burn on the cooking floor and create smoke or bitter flavors.
- ✦ Ignoring the oven manual
Different models have different limits and operating steps, so one method may not fit every oven.
- ✦ Overloading the pizza
Heavy toppings add moisture and can slow the center even when the oven is very hot.
- ✦ Using a damaged stone
A cracked or damaged cooking surface may need replacement based on the manufacturer’s guidance.
Pizza Burns on Top but Stays Soft Underneath
This often points to an imbalance between top heat and floor heat. The upper part may cook faster than the base.
Try giving the cooking surface more time to heat before the next pizza. You can also adjust the pizza position or cooking mode if your oven allows it.
Pizza Sticks to the Peel
Sticking can happen when the dough sits on the peel too long, carries too much moisture, or lacks enough release flour. Build the pizza close to launch time and test its movement before placing it in the oven.
Do not add large amounts of flour to solve the problem. Excess flour can burn and affect the taste.
Safety Tips for Pizza Oven Preparation & Preheating
High-temperature ovens can cause serious burns and fires if used carelessly. Keep children and pets away from the hot oven and follow the safety instructions for your model.
For gas and wood-fired ovens, use the correct fuel and provide the ventilation required by the manufacturer. Never use an indoor oven outdoors or an outdoor fuel-burning oven in an enclosed space unless the model is specifically designed and approved for that use.
Heat-safe gloves and proper tools are useful, but they do not make hot surfaces harmless. Treat the oven floor, roof, door, metal parts, and tools as hot until they have cooled completely.
- ✦ Follow the manual
Use the manufacturer’s instructions for setup, fuel, ignition, temperature, ventilation, and shutdown.
- ✦ Keep flammables away
Do not place paper, towels, packaging, or other combustible items near hot surfaces or flames.
- ✦ Use proper ventilation
Fuel-burning ovens need the airflow and venting required for safe operation.
- ✦ Protect your hands
Use suitable heat-resistant gloves and tools when working around hot parts.
- ✦ Never pour water on a hot stone
Sudden temperature changes can damage some stones and may create dangerous steam.
A Simple Pizza Oven Preheating Routine
A repeatable routine makes Pizza Oven Preparation & Preheating much easier. Start with a clean oven, prepare your tools and ingredients, then heat the oven without opening it more than needed.
Once the oven reaches the target range, check the cooking surface if your equipment allows it. If the floor is ready, launch the pizza and watch the crust rather than relying only on a fixed cooking time.
After the first pizza, use the result as feedback. A pale bottom may mean the floor needs more heat. A burnt top may mean the upper heat is too strong. Small changes can improve the next bake.

- ✦ Step 1: Inspect
Check the oven, cooking surface, fuel or power source, and nearby area.
- ✦ Step 2: Prepare
Set out the peel, gloves, tools, dough, sauce, cheese, and toppings.
- ✦ Step 3: Heat
Start the oven and let the walls and cooking surface heat according to the oven’s instructions.
- ✦ Step 4: Check
Confirm the oven has reached the desired cooking range and check the floor when practical.
- ✦ Step 5: Launch
Slide the pizza onto the cooking surface with a quick, controlled motion.
- ✦ Step 6: Cook
Turn the pizza when needed and watch the crust, cheese, and base for signs of proper doneness.
- ✦ Step 7: Recover
Give the oven time to recover its heat before baking another pizza when needed.
How to Know the Oven Is Ready
A ready oven should meet the temperature range needed for your pizza. The cooking surface should also have enough heat to cook the base at the pace you want.
Visual signs can help in wood-fired ovens, but they should not replace the manufacturer’s guidance or a suitable temperature check. Learn how your specific oven behaves after several baking sessions.